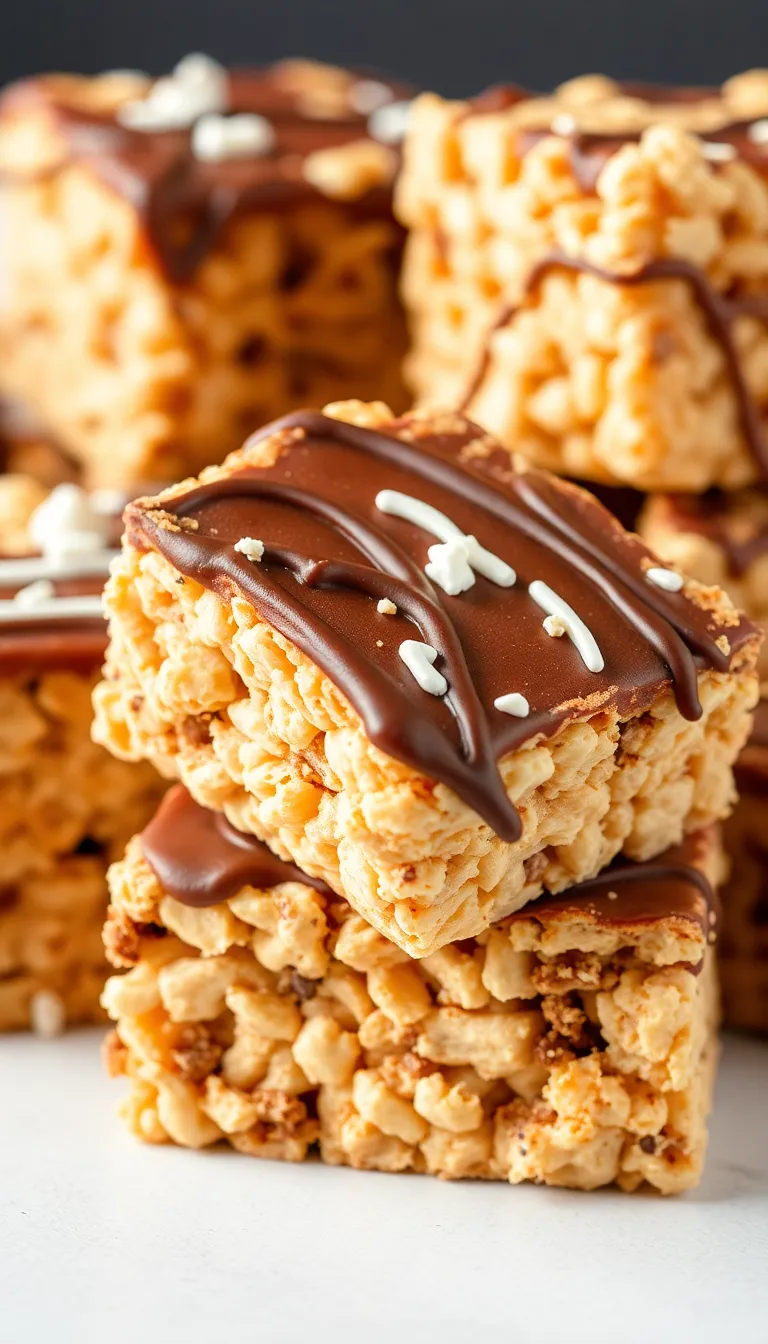
You’ve had Rice Krispie treats. You’ve had chocolate. But have you had them together?
This isn’t just a snack—it’s a cheat code for happiness. Imagine crispy, gooey marshmallow squares dunked in velvety chocolate, hardening into a shell that cracks with every bite. Kids lose their minds over these.
Adults pretend they’re “just having one” before demolishing the whole tray. Why settle for basic when you can upgrade to legendary in 20 minutes?
What Makes This Recipe So Good

First, it’s stupidly easy. No baking, no fancy tools, and zero patience required.

Second, the texture combo is unreal: crunchy cereal, sticky marshmallow, and smooth chocolate create a symphony in your mouth. Third, you can customize these like a mad scientist—add sprinkles, peanut butter, or sea salt, and suddenly you’re a dessert genius. Lastly, they’re nostalgia on steroids.
Remember those after-school treats your mom made? These are that, but dressed in a tuxedo.
Ingredients
- 6 cups Rice Krispies cereal (generic brands work, but don’t tell Kellogg’s)
- 10 oz marshmallows (mini ones melt faster, but regular ones work if you’re not in a hurry)
- 3 tbsp unsalted butter (because salted butter in sweets is a crime)
- 1 tsp vanilla extract (optional, but highly recommended)
- 2 cups chocolate chips (milk, dark, or white—pick your poison)
- 1 tbsp coconut oil (for smoother chocolate dipping)
Step-by-Step Instructions
- Melt the butter in a large pot over low heat. Add marshmallows and stir until they’re a gooey blob.
Pro tip: If you burn them, start over. Burnt marshmallows taste like regret.
- Remove from heat and stir in vanilla extract. Then, fold in the Rice Krispies until they’re fully coated.
Pretend you’re mixing cement, but tastier.
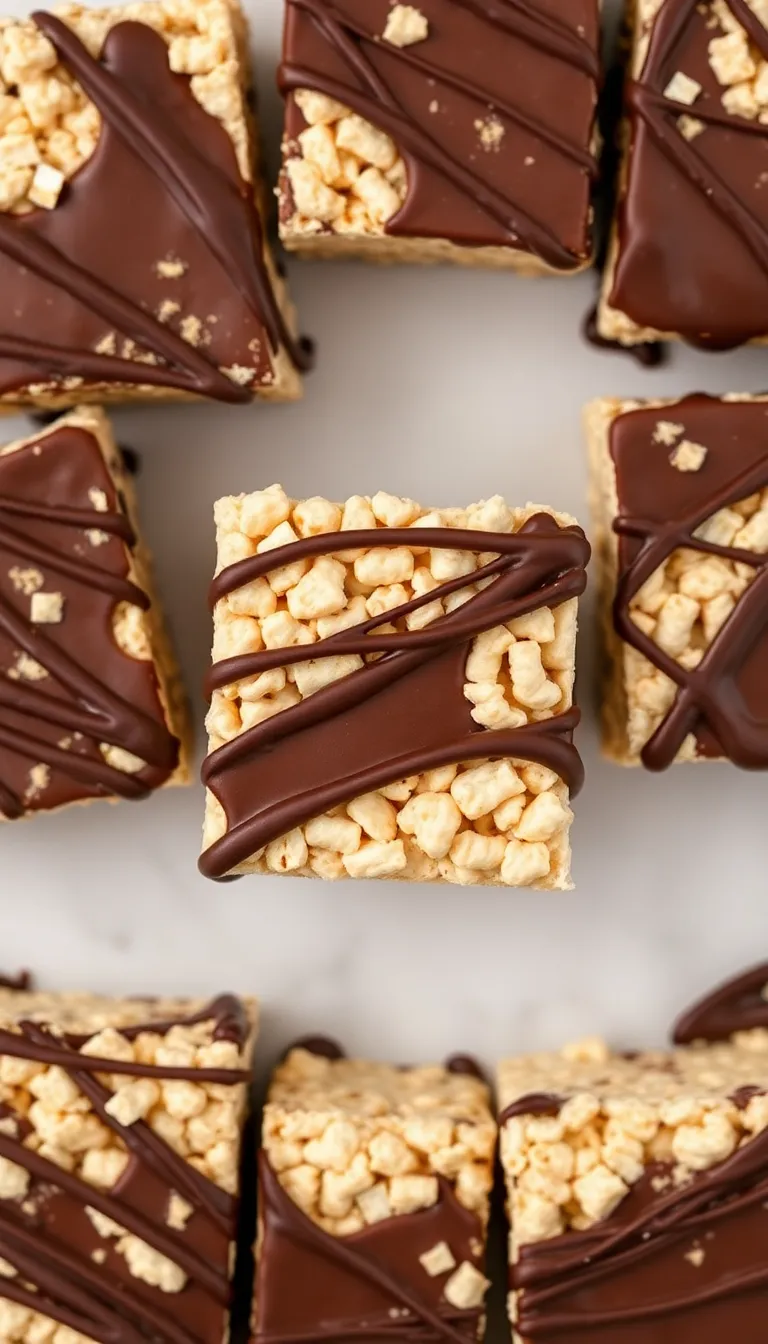
- Press the mixture into a greased 9×13-inch pan. Use a spatula or your hands (lightly greased to avoid sticking). Smash it down firmly—loose treats crumble like your willpower around chocolate.
- Let it cool for at least 30 minutes.
Cut into squares. Try not to eat half the tray now. We’re watching you.
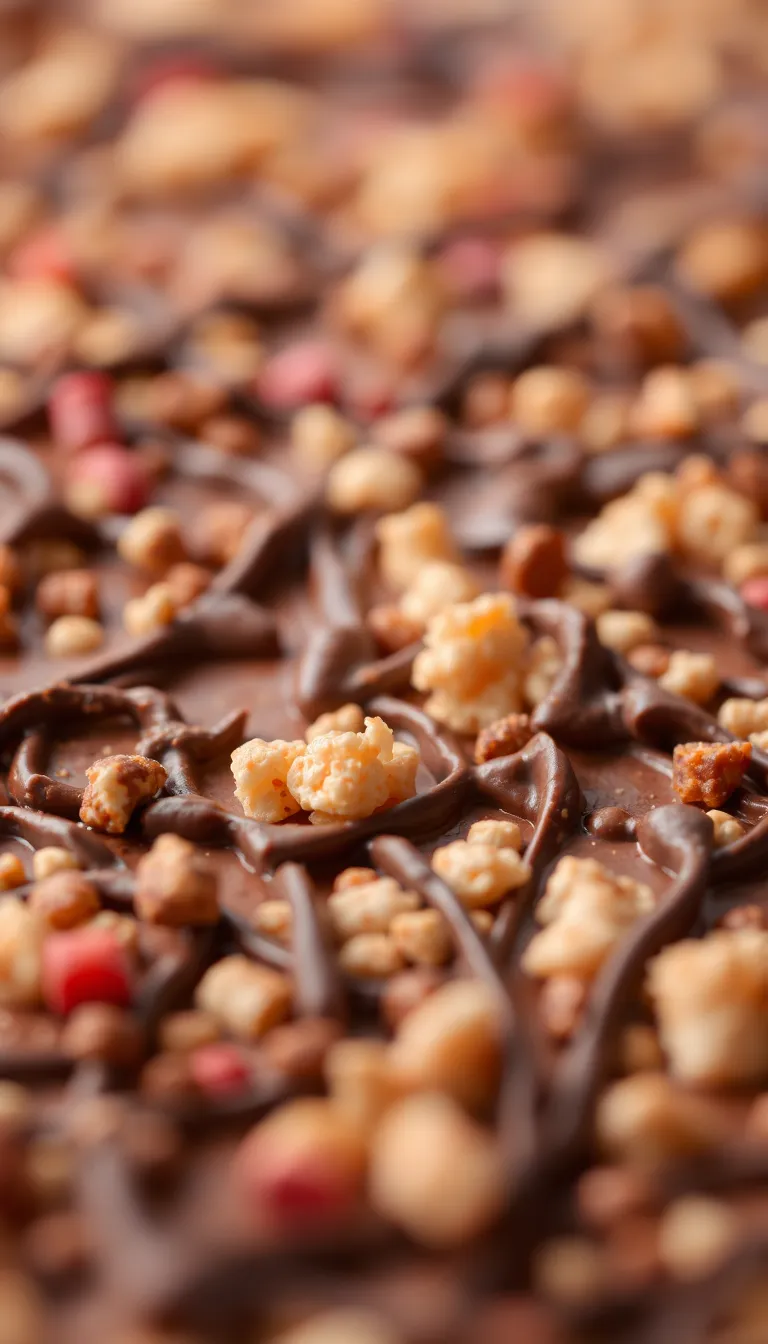
- Melt chocolate chips and coconut oil in a microwave or double boiler.
Stir until smooth. If it seizes up, you’ve overheated it. Congrats, you just made chocolate gravel.
- Dip each square into the chocolate, coating halfway or fully.
Place on parchment paper and let the chocolate set. Optional: Add sprinkles or flaky salt before the chocolate hardens.

Storage Instructions
Store these in an airtight container at room temperature for up to 3 days. If it’s hot, fridge them to prevent melting, but let them come to room temp before eating—cold chocolate tastes like betrayal.
For longer storage, freeze them (up to a month), but let’s be real—they won’t last that long.
Benefits of This Recipe
Beyond being delicious, these treats are versatile. Need a last-minute party dessert? Done.

Kid’s bake sale? Easy win. Midnight snack?
No judgment. They’re also gluten-free (assuming your cereal is) and can be made vegan with dairy-free butter and marshmallows. Plus, they’re a great way to use up leftover cereal that’s gone stale.
Waste not, want not.
Common Mistakes to Avoid
- Overheating the marshmallows: They should melt, not turn into lava. Low and slow wins the race.
- Not pressing the mixture firmly: Loose treats fall apart faster than your New Year’s resolutions.
- Skipping the coconut oil: Without it, the chocolate coating cracks like your patience after a long day.
- Using stale cereal: Fresh = crispy. Stale = sad.
Alternatives
Feel like mixing it up?
Try these twists:
- Peanut butter: Add ½ cup to the marshmallow mixture for a Reese’s vibe.
- Fruity Pebbles: Swap Rice Krispies for this colorful cousin. Instant party.
- Cookie butter: Replace half the butter with Biscoff spread. Thank us later.
- Mint chocolate: Add a drop of peppermint extract to the chocolate.
Holiday magic.
FAQ
Can I use marshmallow fluff instead of marshmallows?
Yes, but it’s stickier and harder to work with. Use 1.5 cups of fluff and reduce the butter to 2 tbsp. Proceed with caution—this stuff is like edible glue.
Why is my chocolate coating too thick?
You didn’t add enough coconut oil.
Thin it with another ½ tsp until it’s dippable. If it’s already hardened, reheat and adjust.
Can I make these ahead of time?
Absolutely. Make them up to 2 days in advance, but store them uncovered if you’re adding chocolate later.
Otherwise, the cereal gets soggy, and nobody wants that.
What’s the best way to cut them cleanly?
Use a sharp knife dipped in hot water and wiped dry between cuts. Or just embrace the chaos—rustic is a fancy word for “I didn’t try.”
Final Thoughts
Chocolate-covered Rice Krispie treats are the ultimate crowd-pleaser. They’re easy, customizable, and guaranteed to disappear faster than your motivation to meal prep.
Whether you’re a kitchen newbie or a seasoned pro, these treats are your ticket to dessert glory. Now go forth and dip like nobody’s watching.