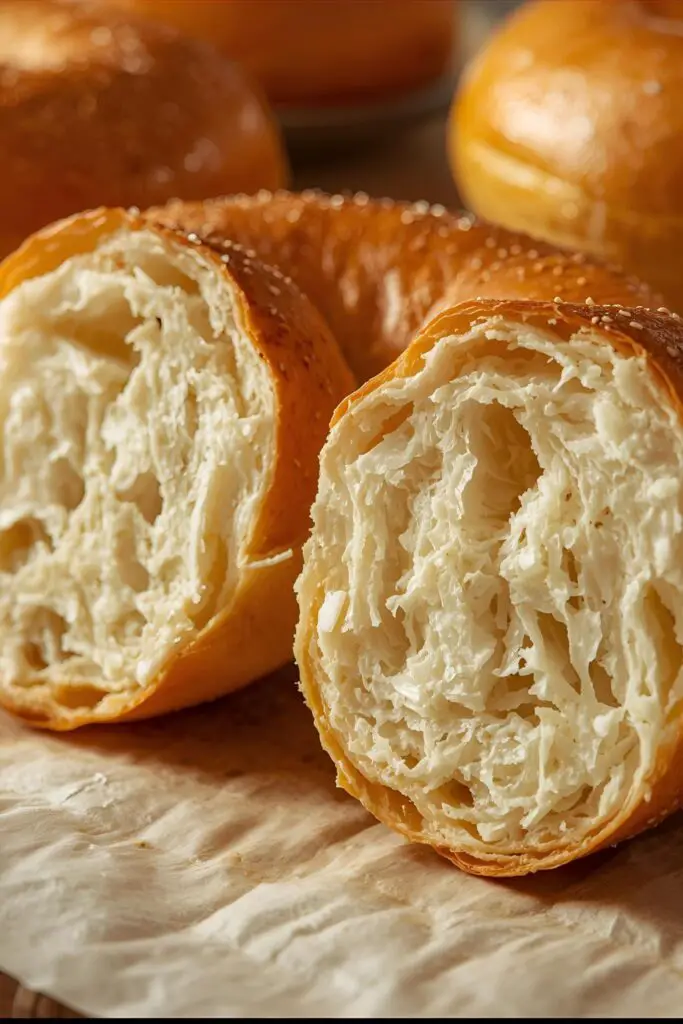
How to Make Bagels Homemade: Your Guide to Chewy, Glorious Perfection
Let’s be real, the thought of making bagels at home probably sounds like a weekend project reserved for only the most ambitious (or slightly unhinged) bakers. You picture complicated steps, specialized equipment, and a level of culinary zen you just don’t possess before your morning coffee. But what if I told you that achieving those perfect chewy-on-the-inside, crusty-on-the-outside rings of joy is actually totally within your grasp? Today, we’re going to dive into how to make bagels homemade, and I promise you, it’s easier and more rewarding than you think. Prepare to ascend to a new level of breakfast badassery.
Why This Homemade Bagel Recipe Is Your New Obsession
Why bother making bagels when you can just grab them from a shop? Because the difference, my friend, is like night and day. A fresh, warm, homemade bagel straight from your oven is a transcendent experience. It has that perfect chew, that subtle sweetness, and that glorious crust that store-bought versions can only dream of. This recipe is awesome because it breaks down the “intimidating” steps (hello, boiling!) into something completely manageable. You’ll impress every single human you share these with (if you even share them, no judgment here), and your kitchen will smell like the best bakery in town. Plus, you get to control the toppings, so go wild!
Your Bagel-Making Arsenal: The Ingredients
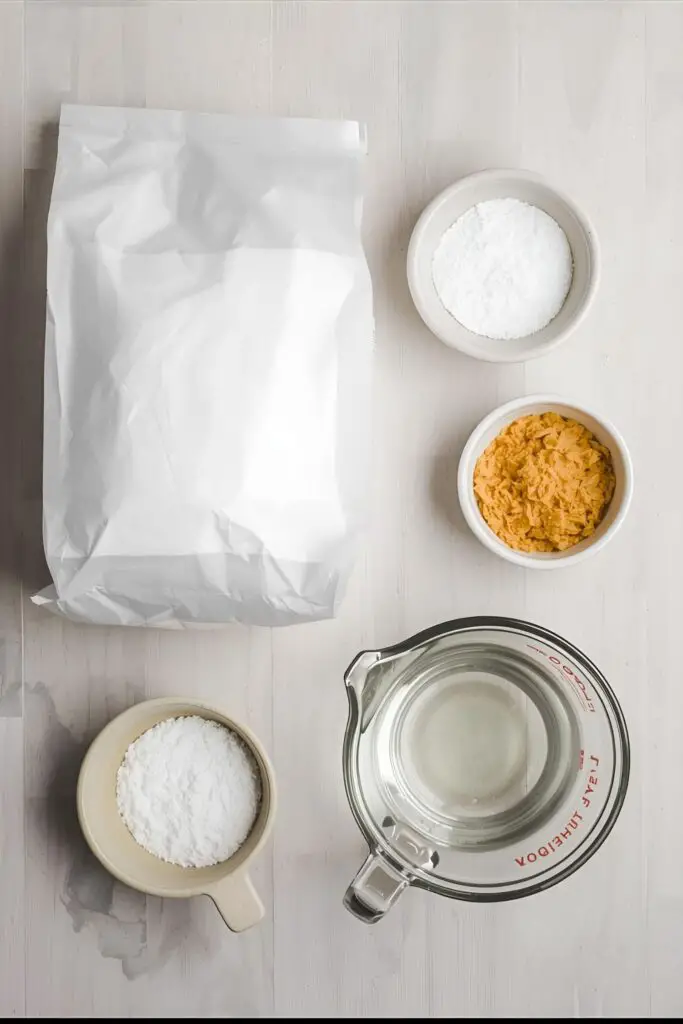
The ingredient list for classic bagels is surprisingly simple. You probably have most of it already.
- Warm Water: 1 ½ cups (around 105-115°F or 40-46°C). Not too hot, not too cold – just right for waking up the yeast.
- Active Dry Yeast: 2 teaspoons (or one packet). Our little puff-making friends.
- Granulated Sugar: 2 tablespoons, plus 2 tablespoons for the boiling water. This is crucial for flavor and that beautiful shiny crust. You can also use malt barley syrup or honey in the boiling water for an even more authentic taste and shine.
- Bread Flour: 4 cups, plus more for dusting. This is key! Bread flour has higher protein content, which gives bagels their signature chew. Don’t substitute with all-purpose unless you’re prepared for a slightly softer bagel.
- Salt: 2 teaspoons. Essential for flavor balance.
- Egg White (optional): 1 large, lightly beaten. For an egg wash to help toppings stick.
- Toppings (optional): Everything bagel seasoning, sesame seeds, poppy seeds, minced dried garlic or onion flakes, coarse salt.
The Tools of the Trade: Gadgets for Glorious Bagels
You don’t need a professional bakery, but these tools will make your bagel journey much smoother.
- Stand Mixer with Dough Hook: This is your best friend for kneading the stiff bagel dough. You can knead by hand, but prepare for an arm workout worthy of a personal trainer.
- Large Mixing Bowl: For the dough’s initial rise (its beauty sleep).
- Measuring Cups and Spoons: Precision matters, even in fun baking.
- Large Pot or Dutch Oven: For the crucial boiling step. The wider, the better.
- Slotted Spoon or Spider Strainer: For safely transferring boiled bagels.
- Baking Sheets: Two of them, ideally.
- Parchment Paper or Silicone Baking Mats: Prevents sticking and makes cleanup a breeze.
- Wire Cooling Rack: For letting those beauties cool down.
Let’s Roll! Step-by-Step to Homemade Bagel Bliss
Ready to get your hands doughy? Let’s make some bagels!
H3: Step 1: Wake Up the Yeast

In the bowl of your stand mixer, combine the warm water, 2 tablespoons of granulated sugar, and the active dry yeast. Give it a gentle whisk and let it sit for 5-10 minutes. You want to see foam and bubbles forming on top. If it’s just a sad, flat liquid, your yeast is probably expired. Time for a fresh packet!
H3: Step 2: Mix and Knead the Dough
Once your yeast is active, add the bread flour and salt to the bowl. Attach the dough hook. Mix on low speed until a shaggy dough forms, then increase the speed to medium-low and knead for 8-10 minutes. This dough will be stiff—that’s exactly what we want for that chewy bagel texture! It should be smooth, elastic, and pass the windowpane test (stretch a small piece until it’s thin enough to see light through it without tearing).
H3: Step 3: First Rise (The Long Nap)
Lightly oil a large bowl. Place the kneaded dough in the bowl, turning it once to coat. Cover the bowl tightly with plastic wrap. Now, here’s the secret for amazing flavor: refrigerate the dough overnight, or for at least 8 hours (up to 24 hours). This slow, cold fermentation develops incredible depth of flavor. If you’re really pressed for time, you can do a room temperature rise for 1-1.5 hours, but trust me, the cold rise is worth it.
H4: Step 4: Shape the Bagels (The Ring of Power)
Take the dough out of the fridge. On a lightly floured surface, divide the dough into 8 equal pieces (about 4-5 ounces each). Now, for shaping:
- Method 1 (Rolling): Roll each piece into a 8-inch rope. Pinch the ends together firmly to form a circle.
- Method 2 (Poke and Stretch): Roll each piece into a smooth ball. Poke a hole through the center with your thumb, then gently stretch the hole to about 1.5-2 inches wide, making sure it’s even.
Place your shaped bagels on baking sheets lined with parchment paper.
H5: Step 5: The Second Rise (The Float Test)
Cover the shaped bagels loosely with plastic wrap or a clean kitchen towel. Let them rise at room temperature for 20-30 minutes. To test if they’re ready for boiling, gently drop one bagel into a bowl of water. If it floats after 10-20 seconds, they’re ready! If it sinks, let them rise for another 10-15 minutes and test again.
H6: Step 6: The Boil (The Magic Bath)

While the bagels are doing their float test, preheat your oven to 425°F (220°C). Bring a large pot of water to a rolling boil. Add the remaining 2 tablespoons of sugar (or malt barley syrup/honey) to the boiling water. This gives them that beautiful shiny crust.
Carefully drop 2-3 bagels into the boiling water at a time. Don’t overcrowd the pot! Boil for 30-60 seconds per side. For a chewier bagel, boil closer to 60 seconds per side. For a slightly softer bagel, boil for 30 seconds.
H7: Step 7: Top and Bake
Use your slotted spoon to remove the boiled bagels, letting excess water drip off. Place them back on the parchment-lined baking sheets. If using, brush the tops with a lightly beaten egg white and sprinkle generously with your chosen toppings.
Bake for 18-22 minutes, flipping them halfway through, until they are a deep golden brown.
H8: Step 8: Cool and Devour
Transfer the baked bagels to a wire rack to cool completely. Or, you know, just tear into one while it’s still warm. I won’t tell.
Calories & Nutritional Info: The Delicious Details
Bagels are a satisfying breakfast, and homemade ones are no exception. Here’s an estimated breakdown for one plain homemade bagel (this will vary with toppings):
- Calories: Approximately 250-300 kcal
- Carbohydrates: Around 50-60g
- Protein: About 10-12g
- Fat: Less than 2g
- Fiber: Around 2-3g

They’re a great source of sustained energy, especially when paired with some protein-packed cream cheese or eggs.
Common Mistakes to Avoid: Your Bagel Blunder Blueprint
Even seasoned bakers can make a bagel boo-boo. Here’s how to dodge the most common ones:
- Using All-Purpose Flour: Resist the urge! Bread flour is key for that signature chewy texture. All-purpose will give you a softer, more bread-like result.
- Skipping the Cold Fermentation: Yes, it takes patience. But that long, cold rise in the fridge is where the magic happens for flavor development. Don’t rush it!
- Under-kneading the Dough: Bagel dough needs a serious workout. If it’s not elastic and smooth, your bagels will be dense and sad.
- Overcrowding the Boil Pot: This drops the water temperature too much, leading to poorly boiled bagels. Give those rings some space!
- Under-boiling or Over-boiling: Too short, and you miss out on the crust and chew. Too long, and they can get rubbery. Stick to that 30-60 second per side sweet spot.
- Skipping the Float Test: This test tells you if your bagels have proofed enough to get that airy interior. Don’t guess!
Variations & Customizations: Your Bagel, Your Rules
Once you’ve mastered the basic plain bagel, the world is your oyster… or, well, your bagel!
- Everything Bagels: This is a classic for a reason. After the egg wash, sprinkle generously with a store-bought “Everything Bagel” seasoning blend, or make your own with poppy seeds, sesame seeds (white and black), dried minced garlic, and dried minced onion.
- Cinnamon Raisin Bagels: In Step 2, knead in ¾ cup of raisins and 1 tablespoon of ground cinnamon with the flour. Be sure to dry your raisins a bit if they’re super moist to prevent them from adding too much moisture to the dough.
- Asiago Cheese Bagels: After the egg wash, top with shredded Asiago cheese (or your favorite hard cheese). The cheese will get wonderfully crispy in the oven. For an extra punch, you can mix a little shredded cheese into the dough during the last minute of kneading.
FAQ Section: All Your Bagel Burning Questions Answered
Let’s chew on some common bagel inquiries.
Q1: What makes a bagel different from a donut?
A: Bagels are made from a dense, yeasted dough that is boiled before it’s baked, giving them their unique chewy interior and glossy crust. Donuts are typically fried and are generally softer and sweeter.
Q2: How do I get a really chewy bagel?
A: Use bread flour (for high protein), ensure thorough kneading, and boil them for the full 60 seconds per side. The longer boil contributes significantly to chewiness.
Q3: Can I make the bagel dough ahead of time?
A: Absolutely! In fact, the overnight cold fermentation in the fridge is highly recommended for the best flavor. You can leave the dough in the fridge for up to 2 days after its first rise.
Q4: My bagels flattened in the oven! What went wrong?
A: This usually happens if they were over-proofed (rose too long after shaping) or if the boiling water wasn’t hot enough, causing them to collapse. The float test helps prevent over-proofing!
Q5: What’s the best way to store homemade bagels?
A: Store cooled bagels in an airtight container or a large zip-top bag at room temperature for 1-2 days. For longer storage, slice them, then freeze them in a freezer-safe bag for up to 3 months. Toast from frozen!
Q6: Why do you add sugar to the boiling water?
A: The sugar (or malt/honey) helps to create that beautiful, shiny, golden-brown crust and adds a subtle sweetness. It also helps with the Maillard reaction during baking.
Q7: Can I use all-purpose flour instead of bread flour?
A: You can, but the texture will be different. Your bagels will be softer and less chewy due to the lower protein content in all-purpose flour. For an authentic bagel, bread flour is truly best.
Final Thoughts: Welcome to the Homemade Bagel Club!
You’ve done it. You faced the yeast, embraced the boil, and conquered the oven. Your kitchen now smells divine, and your breakfast game just got a serious upgrade. You are no longer just a bagel consumer; you are a bagel creator. Go ahead, slice one open, slather it with cream cheese, and bask in the glory of your own homemade deliciousness. You’ll probably never buy a boring, chewy-deficient store-bought bagel again. You’re welcome!