How to Make Croissants Homemade: A (Totally Doable) Guide to Buttery Perfection
Let’s be honest. You’re here because you’re a little bit crazy and a whole lot ambitious. You’ve tasted a truly transcendent croissant—a shatteringly crisp, impossibly flaky, deeply buttery crescent of pure joy—and thought, “I want to do that.” Welcome, my friend, to the Mount Everest of home baking. But what if I told you that learning how to make croissants homemade is not some dark art reserved for French bakers with handlebar mustaches? It’s a project, for sure. A weekend-consuming, butter-worshipping ritual. But it is 100% doable. You just need a good guide, a bit of patience, and a willingness to embrace the butter.
Why This Recipe Is Worth Your Entire Weekend
I won’t lie to you; this isn’t a 30-minute recipe. This is a journey. So why embark on this quest?
First, the sheer, unadulterated glory. When you pull a tray of golden, puffy, perfectly layered croissants from your own oven, the sense of accomplishment is cosmic. You will feel like you can do anything. You are a Baking God.
Then there’s the smell. Your home will be filled with an aroma so intoxicatingly buttery and yeasty that your neighbors might just show up at your door with plates. And the taste? It will ruin all other croissants for you, forever. The layers will flake and fly, the inside will be tender and airy, and the flavor will be pure, unadulterated butter. It’s an experience.
TBH, making croissants isn’t as much difficult as it is specific. It’s a dance between time, temperature, and technique. And I’m here to be your dance partner.
The Sacred Ingredient List
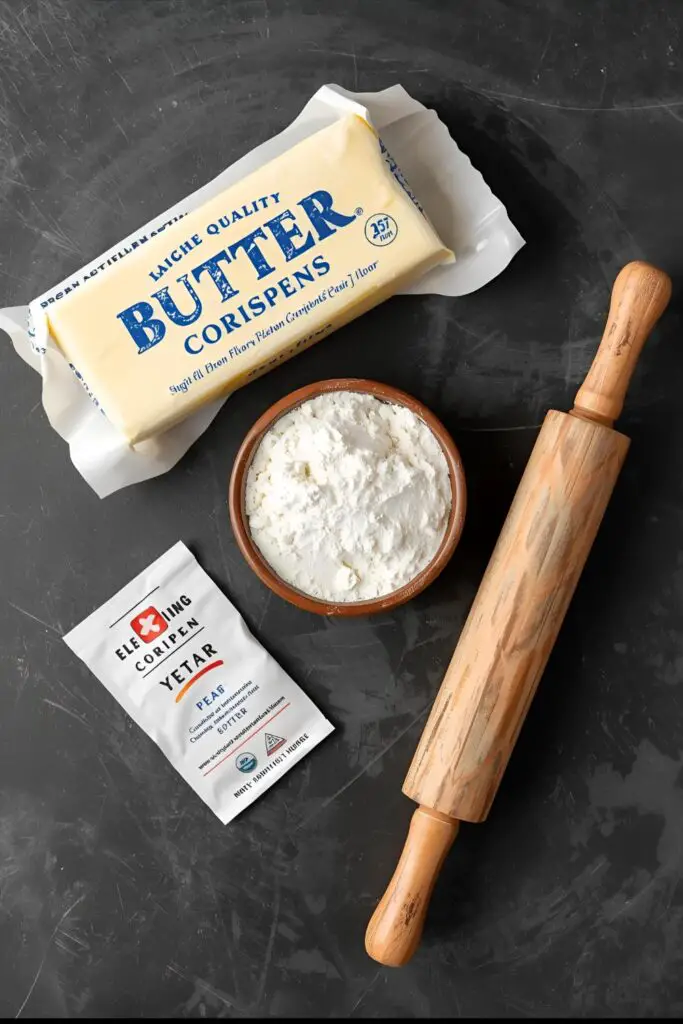

Precision matters here, so let’s get our cast of characters straight. We’re dealing with two main components: the dough (détrempe) and the butter block (beurrage).
For the Dough (Détrempe):
- 4 cups (500g) All-Purpose Flour: Good old AP flour works beautifully here.
- 1/2 cup (120ml) Lukewarm Milk: Whole milk is best for richness.
- 1/2 cup (120ml) Lukewarm Water:
- 1/4 cup (55g) Granulated Sugar: For a touch of sweetness and to feed the yeast.
- 2 1/4 tsp (7g) Instant Yeast: One standard packet.
- 2 tsp (12g) Fine Sea Salt:
- 3 tbsp (45g) Unsalted Butter, softened: Just a little to enrich the dough itself.
For the Butter Block (Beurrage):
- 1 1/4 cups (285g) Unsalted European-Style Butter: This is the most important ingredient on this list. European butter has a higher fat content (usually 82% or more) and less water. This prevents it from getting greasy and helps create those distinct layers. Do not substitute this with regular American butter. You will be very, very sad.
For the Finishing Touch:
- 1 Large Egg: For that beautiful, glossy egg wash.
- 1 tbsp Milk or Water: To thin the egg wash.
Your Arsenal of Baking Gadgets
To conquer Mount Croissant, you’ll need the right gear. Think of this as your expedition equipment.
- Stand Mixer: While you can do this by hand, a stand mixer with a dough hook makes the initial dough-making a breeze.
- Heavy Rolling Pin: A French-style tapered pin or a heavy marble one is your best friend for the next three days.
- Ruler or Measuring Tape: Non-negotiable. Lamination is all about precision. You will be measuring your dough. A lot.
- Bench Scraper: Invaluable for dividing dough, cleaning your work surface, and lifting sticky dough.
- Parchment Paper: You’ll need plenty for shaping the butter block and baking.
- Plastic Wrap: Your dough will spend a lot of time chilling in the fridge, and this will be its cozy blanket.
- Baking Sheets: At least two large ones.
- Pastry Brush: For applying the egg wash.
- Pizza Cutter or a Very Sharp Knife: For clean, sharp cuts when shaping the croissants.
Let’s Bake! The Three-Day Croissant Marathon
Deep breath. You can do this. We’re going to break this down day by day.
Day 1: Making the Dough and the Butter Block
1. Make the Dough (Détrempe): In the bowl of your stand mixer, combine the flour, sugar, yeast, and salt. Give it a quick whisk. Add the lukewarm milk, water, and softened butter. Using the dough hook, mix on low speed until a shaggy dough forms. Increase the speed to medium-low and knead for about 5-7 minutes, until the dough is smooth and pulls away from the sides of the bowl.
2. First Chill: Shape the dough into a ball, place it in a lightly oiled bowl, cover with plastic wrap, and let it rest in the refrigerator for at least 4 hours, or overnight. Chilling is key!
3. Prepare the Butter Block (Beurrage): While the dough chills, let’s prep our butter. Place your cold sticks of European butter between two large sheets of parchment paper. Now for the fun part: beat the butter with your rolling pin until it’s pliable. Pound it, flatten it, and shape it into a perfect 8×8 inch (20×20 cm) square. Use your ruler! Fold the parchment paper around it to keep the shape neat. Pop this butter slab into the fridge to chill alongside your dough.
Day 2: Lamination Station! (It’s Foldin’ Time)

This is where the magic happens. Lamination is the process of folding the butter into the dough to create hundreds of paper-thin layers.
1. The Lock-In: Take your chilled dough out of the fridge and place it on a lightly floured surface. Roll it into a 12×12 inch (30×30 cm) square. Take your chilled butter block out and place it in the center of the dough, rotated 45 degrees so it looks like a diamond on a square. Fold the four corners of the dough over the butter, meeting in the center. Pinch the seams together tightly to completely encase the butter. You’ve just locked it in!
2. The First Turn (Letter Fold): Lightly flour your surface again. Carefully roll your dough package into a long rectangle, about 24×8 inches (60×20 cm). Be gentle but firm. Now, perform a “letter fold”: fold the bottom third of the rectangle up, then fold the top third down over it, like you’re folding a business letter. You should have a neat, buttery package. Wrap it tightly in plastic wrap and chill in the fridge for 1 hour.
3. The Second and Third Turns: Repeat the process two more times. After the first chill, take the dough out, rotate it 90 degrees (so the seam is on the side), roll it back out to a 24×8 inch rectangle, and do another letter fold. Wrap and chill for another hour. Then, do it one final time. That’s a total of three turns. After the third and final turn, wrap the dough tightly and chill it overnight. Yes, the whole night. This lets the gluten relax and ensures the butter stays cold.
Day 3: Shape, Proof, and Bake to Glory!
You’re in the home stretch!
1. Cut and Shape: Take your final, glorious dough slab out of the fridge. On a lightly floured surface, roll it into a large rectangle, about 16×20 inches (40×50 cm) and about 1/4 inch thick. Use your ruler and pizza cutter to trim the edges neatly. Cut the rectangle in half lengthwise. Now, cut each long rectangle into triangles. A good base for each triangle is about 4 inches (10 cm).

To shape a croissant, take one triangle. Make a small 1/2-inch slit in the center of the base. Gently stretch the two “legs” you just created outwards, then roll the triangle up from the base to the tip. Don’t roll too tightly! Place the shaped croissant on a parchment-lined baking sheet with the tip tucked underneath. Curve the ends slightly to create that classic crescent shape. Repeat with the rest of the triangles, leaving plenty of space between them on the baking sheets.
2. The Final Proof: This is another critical step. Let the shaped croissants proof at a comfortable room temperature (around 75°F/24°C) for about 2-3 hours. They should double in size, look visibly puffy, and jiggle like Jell-O when you gently shake the pan. Do not rush this step!
3. Bake! Preheat your oven to 400°F (200°C). Whisk the egg and milk/water together to make an egg wash. Gently brush the proofed croissants with the egg wash. Bake for 15-20 minutes, or until they are deeply golden brown and beautifully puffed up. Let them cool on the baking sheet for a few minutes before moving them to a wire rack.
Calories & Nutritional Info

Let’s just call this what it is: a butter delivery system. But if you must know, here’s an estimate for one medium-sized croissant:
- Calories: Approximately 300-400 kcal
- Fat: Around 18-25g (Most of it is glorious, high-quality butterfat!)
- Carbohydrates: Roughly 30-40g
- Protein: About 5-7g
- Note: This is a celebration food. Enjoy every single flaky, buttery bite without a shred of guilt.
Common Mistakes to Avoid (AKA The Croissant Hall of Shame)
- Using the Wrong Butter: I’m saying it one last time. If you use regular butter with lower fat content, the water in it will turn to steam and burst through your layers, creating a greasy mess instead of flaky pockets. Use European-style butter with >82% fat.
- A Warm Kitchen: Your mortal enemy is heat. If your kitchen is warm, your butter will melt during lamination. Work quickly, and if you ever see butter starting to get soft or leak, stop immediately and put the dough in the fridge for 30 minutes.
- Under-Proofing: This is the most common mistake. If your croissants don’t puff up enough before baking, the butter will just melt and leak out in the oven, leaving you with flat, dense, sad pastries. They must be visibly larger and jiggly.
- Rushing the Chills: The chilling periods are not suggestions. They are laws. The gluten needs to relax between folds, and the butter needs to stay solid. Respect the chill.
Variations & Customizations
Once you’ve nailed the classic, you can start playing.
- Pain au Chocolat: Instead of cutting triangles, cut rectangles. Place two chocolate bâtons (or just good quality dark chocolate chunks) at one end and roll them up. Proof and bake as usual.
- Ham and Cheese Croissants: When shaping, lay a thin slice of good ham and some grated Gruyère or Swiss cheese on the triangle before rolling it up. Divine.
- Almond Croissants: The ultimate way to use day-old (or fresh, who are we kidding?) croissants. Slice them in half, dip them in a simple syrup, fill with almond cream (frangipane), top with more cream and sliced almonds, and bake again until golden.
Frequently Asked Questions (Your Croissant Crisis Hotline)
1. Why aren’t my croissants flaky? The culprit is almost always melted butter. Either your kitchen was too warm, you didn’t chill the dough long enough, or you used the wrong kind of butter. Cold butter creates steam pockets, which create flakes. Melted butter just creates grease.
2. Can I seriously not make these in one day? I mean, you could, but you’d be a stressed-out, frantic mess, and your croissants would suffer. The long chilling periods are essential for gluten relaxation and flavor development. Trust the process.
3. What’s the best butter for croissants? High-fat (>82%), unsalted, European-style butter. Brands like Plugrà, Kerrygold, or Lurpak are excellent choices.
4. Can I freeze croissant dough? Yes! The best place to freeze it is after you’ve shaped the croissants but before the final proof. Place them on a baking sheet to freeze solid, then transfer to a freezer bag. To bake, let them thaw and proof overnight on the counter or in a cool oven, then bake as directed.
5. Why did all the butter leak out in the oven? Almost certainly because they were under-proofed. The yeast didn’t create a strong enough structure to hold the butter in, so it just melted and pooled out.
6. How do I get that beautiful honeycomb interior? That gorgeous open crumb comes from perfect lamination (no broken butter layers), a good, strong dough, and proper proofing. It’s the sign of a well-made croissant!
7. What is “lamination” anyway? It’s just the fancy term for the process of creating alternating layers of dough and butter by repeatedly rolling and folding.
Final Thoughts
Look at you. You made it. You stared into the buttery abyss and did not blink. You are a baker of croissants. You are a legend. Go forth and wield your newfound power. Make them for brunch, for special occasions, or just for yourself on a random Tuesday because you deserve it. You’ve officially earned your baking black belt. Now, go enjoy the fruits (and butters) of your labor. You’ll never see the bakery aisle the same way again.