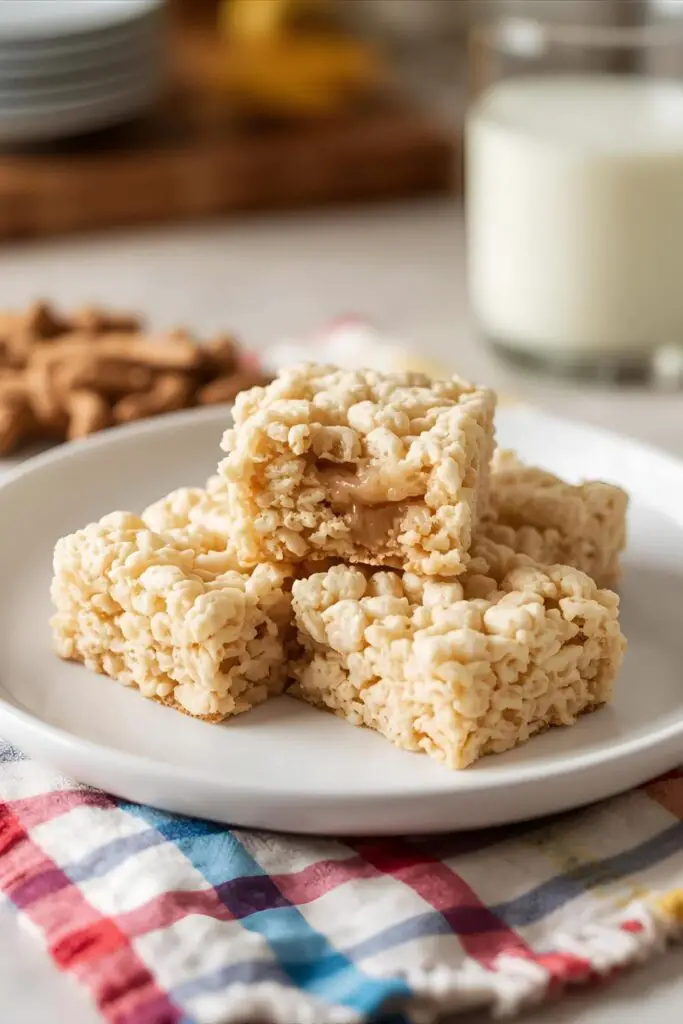
Seriously Simple Rice Krispie Treats: Your Guide to Crispy, Gooey Perfection
Okay, let’s be real. You’re probably here because you need a quick win in the kitchen, right? Something that requires minimal effort but delivers maximum satisfaction. Well, buckle up buttercup, because you’ve just hit the jackpot. Today, we’re diving headfirst into the ridiculously easy world of how to make rice krispie treats. Yes, those classic, marshmallowy squares of joy that bring out the inner child in everyone. And trust me, this ain’t your grandma’s boring recipe (unless your grandma is secretly a culinary genius with a penchant for sarcasm, in which case, high five!).
Why This Rice Krispie Treat Recipe is Actually Awesome
Let’s not beat around the bush. These aren’t some fancy, gourmet dessert that will impress your Michelin-star-obsessed friends. But that’s precisely why they’re awesome! Need a last-minute bake sale contribution? Got kids who are suddenly demanding a “special treat”? Or maybe you just need a little something sweet to go with your third cup of coffee? Rice Krispie treats have got your back. They’re ridiculously quick to make, require like three ingredients, and honestly, who doesn’t love that gooey, crunchy combo? Plus, watching that melted marshmallow and cereal come together? It’s oddly therapeutic. And let’s be honest, they disappear faster than free pizza at an office party.
Ingredients You’ll Need (Spoiler Alert: It’s Not Much)
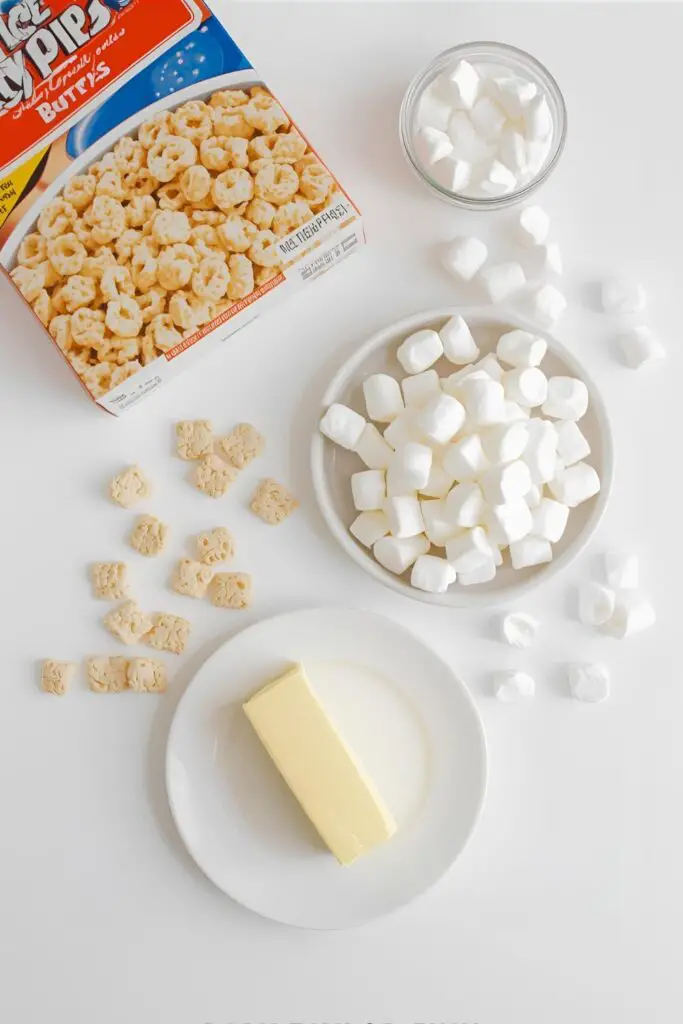
Here’s the super complicated (not really) list of what you’ll need:
- 6 cups Rice Krispies cereal: The OG. Don’t try to get fancy with other puffed rice cereals unless you’re feeling adventurous (and slightly rebellious).
- 10 oz (about 40) marshmallows: Go for the standard size. Mini marshmallows melt faster, but hey, you do you. Fresh marshmallows are your friend here; older ones can be a bit stiff.
- 1/2 cup (1 stick) unsalted butter: Because everything is better with butter. Salted butter will work in a pinch, but unsalted gives you more control over the flavor.
Key Substitutions? Sure, Why Not?
- Vegan Butter/Margarine: For a dairy-free version. The texture might be slightly different, but still delicious.
- Vegan Marshmallows: Yep, they exist! Dandies are a popular brand.
- Gluten-Free Rice Krispies: If you need to avoid gluten, Kellogg’s makes a gluten-free version. Just double-check the packaging.
Tools & Kitchen Gadgets Used (Get Your Amazon Carts Ready!)
Alright, time for some retail therapy… I mean, listing the essential tools:
- Large saucepan: For melting that glorious butter and marshmallows.
- Large mixing spoon or spatula: To stir everything together like you mean it.
- 9×13 inch baking pan: Your canvas for this masterpiece.
- Measuring cups: For accurate cereal quantification (though let’s be real, a little extra never hurt anyone).
- Measuring spoons: Just for the butter, mostly.
- Parchment paper or aluminum foil: To line the pan and prevent sticky situations (literally).
- Butter knife or offset spatula: For pressing the mixture into the pan.
Step-by-Step Instructions (Easy Peasy, Lemon Squeezy… Marshmallowy?)
Okay, pay attention, because this is where the magic (and minimal effort) happens.
- Butter Up: Line your 9×13 inch baking pan with parchment paper or aluminum foil. Leave a little overhang on the sides – trust me, this will be your best friend when it’s time to get these treats out of the pan. Lightly butter the paper/foil. Why? Because sticky treats are a tragedy.
- Melt the Goodness: In your large saucepan over low heat, melt the 1/2 cup of butter. Keep an eye on it; burnt butter is sad butter.
- Marshmallow Mania: Once the butter is melted, add the 10 oz of marshmallows to the saucepan. Stir them continuously until they are completely melted and smooth. This might take a few minutes, so be patient. It should look like a glorious, gooey white lava. Don’t walk away! Scorched marshmallows are not your friend.
- Cereal Thrill: Remove the saucepan from the heat. Now, quickly pour in the 6 cups of Rice Krispies cereal. Stir everything together until the cereal is completely coated in the melted marshmallow mixture. Make sure you get all those little puffs involved! Are your arms getting a workout? Probably not, but hey, you’re making progress!
- Press It Out: Transfer the marshmallow-coated cereal mixture into your prepared baking pan. Using your buttered spatula or butter knife, gently press the mixture evenly into the pan. Don’t press too hard, or you’ll end up with hard, brick-like treats. We’re going for chewy, remember?
- Cool Down Period: Let the treats cool in the pan for at least 30 minutes. This allows them to set up properly so they don’t just fall apart when you try to cut them. This is the hardest part, IMO. The anticipation is real.
- Cut and Conquer: Once cooled, use the parchment paper/foil overhang to lift the entire slab of treats out of the pan. Place it on a cutting board and cut it into squares. The size is up to you – go big or go home (and then eat more treats).
Calories & Nutritional Info (The Part We Sometimes Ignore)
Alright, let’s talk numbers. Keep in mind these are estimates and can vary based on the exact ingredients and size of your squares:
- Estimated Calories per serving (1 square): Around 150-200 calories. Hey, they’re treats, not health food.
- Key Nutritional Notes (per serving, approximate):
- Sugar: Varies, but it’s definitely in there.
- Fat: Mostly from the butter.
- Carbohydrates: Primarily from the cereal and marshmallows.
- Protein: Minimal.
Common Mistakes to Avoid (Don’t Be That Person!)
We’ve all been there. Soggy treats, rock-hard squares… the horror! Let’s avoid those pitfalls:
- Overcooking the Marshmallows: Seriously, don’t do it. Overcooked marshmallows become stiff and will result in hard treats. Melt them gently until just smooth. Patience, grasshopper!
- Pressing Too Hard: We already mentioned this, but it’s worth repeating. Gentle pressure is key to chewy goodness. You’re not trying to flatten a pancake.
- Using Stale Cereal: Nobody wants sad, soft Rice Krispies. Make sure your cereal is fresh and crispy for the best texture. Check that expiration date, my friend.
- Adding Too Many Extras While Hot: If you’re adding things like chocolate chips or sprinkles, wait a minute or two after mixing the cereal and marshmallow. Adding them to a super hot mixture can cause them to melt and get weird.
- Not Buttering Your Utensils/Pan: Sticky treats are a nightmare to work with. A little butter (or cooking spray) goes a long way.
Variations & Customizations (Let’s Get Creative!)
Okay, so the classic is great, but what if you’re feeling a little… extra? Here are a few fun twists:
- Chocolate Lover’s Dream: Melt some chocolate (milk, dark, or white – your choice!) and drizzle it over the cooled treats. Or, for extra indulgence, dip the entire square in melted chocolate. You can even stir in some cocoa powder into the melted marshmallow for a chocolatey base.
- Peanut Butter Power: Stir in 1/2 cup of peanut butter (or any nut butter) with the melted marshmallows for a nutty, gooey explosion of flavor. You can even top with chopped peanuts.
- Sprinkle Fiesta: Who doesn’t love sprinkles? Mix them into the marshmallow mixture right before adding the cereal, or press them onto the top of the treats before they set. Instant party!
- Keto-Friendly (The Ambitious One): Okay, this is a stretch, but you could try using keto-friendly marshmallows and a low-carb crispy cereal alternative. Results may vary wildly, but hey, I admire your dedication.
- Spicy Kick (For the Daring): A pinch of cayenne pepper or a dash of hot sauce in the melted marshmallow? Don’t knock it ’til you try it! It adds a surprisingly delicious warmth.
- Cookie Butter Craze: Swirl in some melted cookie butter with the marshmallows. You’re welcome.
FAQ Section (Because You Probably Have Questions)
You know you do. Here are some of the burning questions people have about these magical squares:
- How do you keep Rice Krispie treats from getting hard? The key is not to overcook the marshmallows and to avoid pressing the mixture too firmly into the pan. Store them in an airtight container at room temperature for a day or two.
- Can you freeze Rice Krispie treats? Technically, yes, but the texture might change slightly. They can become a bit more crumbly. If you do freeze them, wrap them tightly in plastic wrap and then foil, and thaw them at room temperature.
- Why are my Rice Krispie treats so sticky? You might have used too many marshmallows or not enough cereal. Also, humidity can play a role. Make sure you’re using the correct ratios and storing them properly.
- How long do Rice Krispie treats last? They’re best enjoyed within 2-3 days. After that, they can start to get a bit stale. But let’s be honest, they probably won’t last that long anyway.
- Can I use different flavors of marshmallows? Absolutely! Experiment with vanilla, strawberry, or even toasted coconut marshmallows for a fun twist.
- What’s the best way to cut Rice Krispie treats? Use a lightly buttered knife or pizza cutter. Cutting them while they’re still slightly warm (but mostly set) can also make it easier.
- Can I make Rice Krispie treats without butter? You can try using margarine or coconut oil as a substitute, but butter contributes to the flavor and texture, so it’s generally recommended.
Final Thoughts (Go Forth and Marshmallow!)
So there you have it! Your comprehensive (and hopefully entertaining) guide on how to make rice krispie treats. Now go forth, melt those marshmallows, and create some seriously delicious squares of joy. Don’t be surprised if you suddenly feel the urge to build a fort or watch cartoons. It’s the Rice Krispie treat effect. And hey, if they don’t turn out perfect the first time? Who cares! They’ll still taste good. Now, if you’ll excuse me, I hear a batch calling my name… Share your gooey creations with me! What crazy additions did you try? Let me know in the comments! You might never buy those sad, store-bought versions again. Just sayin’. 😉


