How to Make Baseball Cake Pops (and Hit a Home Run at Your Next Party)
Let’s talk party desserts. You could show up with a perfectly respectable tray of brownies. You could even bring a sheet cake. And that’s… fine. But do you want to be fine, or do you want to be a legend? Do you want to bring the dessert that makes both kids and adults stop in their tracks and say, “Whoa, you made those?!” If you chose legend status (and I hope you did), then you’ve come to the right place. Today, we are going to learn how to make baseball cake pops, and I promise, it’s a total game-changer.
Forget everything you think you know about the fussiness of cake pops. We’re breaking it down into a simple, fun, and surprisingly therapeutic process of crumbling cake and playing with melted candy. Ready to step up to the plate and knock one out of the park?
Why This Recipe Is the MVP of Party Treats
So, why should you embark on this journey of creating tiny, edible baseballs on a stick? Let me convince you with this all-star lineup of reasons.
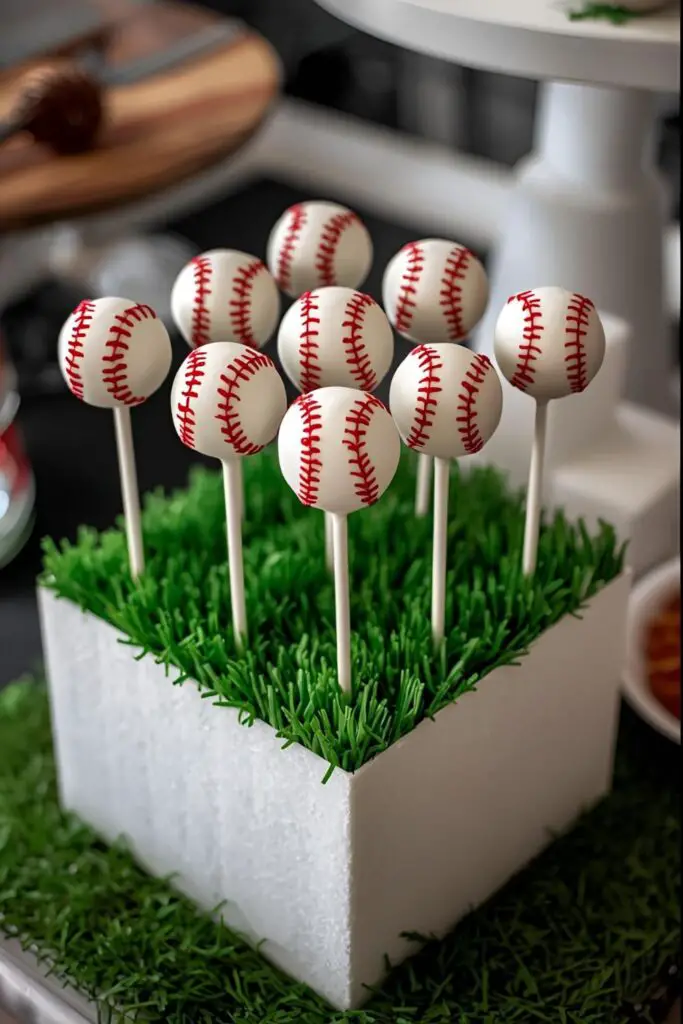
First, they are ridiculously cute. Seriously. A platter of these little guys is an instant home run for any birthday party, team celebration, or World Series viewing party. They are the definition of an Instagram-worthy dessert.
Second, they’re way easier than they look. The process is basically a fun, delicious craft project. You get to crumble a cake (so satisfying!), roll some dough, and dip things in candy. What’s not to love? It’s less “gourmet baking” and more “adult Play-Doh.”

Finally, everyone loves them. It’s a scientific fact that putting any food on a stick automatically increases its appeal by at least 50%. Cake on a stick? That’s just next-level genius. They are the perfect, no-forks-required, grab-and-go treat.
The Starting Lineup (Ingredients)
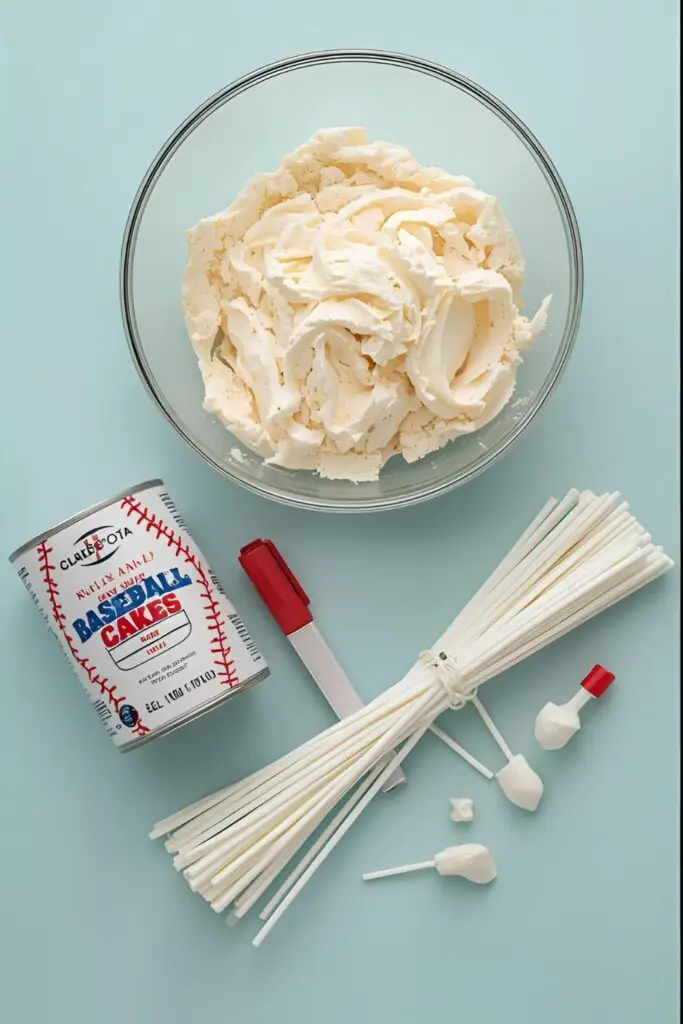
To create these edible all-stars, you’ll need a few key players from your pantry and baking aisle.
For the Cake “Dough”:
- A Baked 9×13-inch Cake: Your favorite vanilla or yellow cake is a classic choice. You can use a box mix (and the ingredients to prepare it) or your favorite from-scratch recipe. The cake needs to be completely cooled.
- Frosting: About ½ to ¾ cup of vanilla buttercream. Canned frosting is your best friend here for the sake of convenience, but homemade works great too.
For the Coating & Decoration:
- Bright White Candy Melts: One 12-ounce bag. Candy melts are highly recommended over white chocolate for beginners because they melt smoothly and harden quickly without any fussy tempering.
- Red Food Coloring Pen: This is the easiest way to draw those iconic baseball stitches. A tube of red decorating icing with a very fine tip also works.
- Lollipop Sticks: The backbone of the whole operation. You’ll need about 30-40 sticks.
Your Dugout of Tools & Gadgets
Having the right equipment will make this process a breeze and prevent you from striking out.
- Large Mixing Bowl: For the magical transformation of cake into cake pop dough.
- Cookie Scoop: A 1.5-tablespoon scoop is your secret weapon for perfectly uniform cake balls.
- Baking Sheet lined with Parchment or Wax Paper: An essential landing pad for your cake balls at every stage.
- Microwave-Safe Bowl or a Candy Melting Pot: A tall, narrow bowl or mug is ideal for deep dipping.
- Cake Pop Stand or a Block of Styrofoam: Absolutely crucial for letting your cake pops dry without smudging. In a pinch, a sturdy cardboard box with holes poked in it will work.
Step-by-Step to Cake Pop Glory
Alright, batter up! Follow these steps, and you’ll be a cake pop pro in no time.
Step 1: The Great Crumbling
Once your 9×13-inch cake is completely cool, it’s time for the most therapeutic part. Crumble the entire cake into your large mixing bowl. You can use your hands (clean ones, obviously), a fork, or even a stand mixer with the paddle attachment. You want to break it down into fine, even crumbs.
Step 2: Form the “Dough”
Now, add your frosting. But wait! Start with just ½ cup. You can always add more, but you can’t take it away. Using your hands (it’s the best way, just embrace the mess), mix the frosting into the cake crumbs until a thick, pliable dough forms. It should be the consistency of Play-Doh and hold its shape easily when you squeeze it. If it’s still too crumbly, add another tablespoon of frosting at a time.
Step 3: Roll ‘Em Up

Use your cookie scoop to portion out the cake dough. This ensures all your baseballs will be the same size. Roll each portion between your palms to create a smooth, tight ball. Place the finished cake balls on your parchment-lined baking sheet.
Step 4: Time for a Chill
Place the baking sheet of cake balls into the refrigerator for at least 30 minutes, or the freezer for 15 minutes. You want them to be firm, but not frozen solid. This step is non-negotiable; it’s what prevents them from falling apart during the dipping process.
Step 5: The “Glue” and the Stick
While the cake balls are chilling, melt about ¼ cup of the white candy melts in your microwave-safe bowl. Microwave in 30-second intervals at 50% power, stirring in between, until smooth.
Take your chilled cake balls out of the fridge. Dip the tip of a lollipop stick about ½-inch into the melted candy, and then insert that end straight into the center of a cake ball, pushing it about halfway through. The melted candy acts as a glue to hold the cake pop together. Repeat for all your cake balls and let them set for a few minutes.
Step 6: The Full Plunge
Melt the rest of your white candy melts until completely smooth. Now, take a cake pop by the stick and dip it straight down into the melted white candy until the entire cake ball is submerged.
Lift it straight up out of the candy. Gently tap the stick on the edge of the bowl to allow any excess coating to drip off. Give it a little twirl to smooth everything out.
Step 7: Let Them Dry

Immediately place the freshly dipped cake pop into your cake pop stand or styrofoam block to dry. Do not lay it down! Let it stand upright until the candy shell is completely hard, which should take about 15-20 minutes.
Step 8: Draw the Stitches
Once the white coating is firm to the touch, it’s time for the final detail. Using your red food coloring pen or fine-tipped icing, draw the two iconic curved lines of the baseball stitches. Then, add the little “V” marks along the lines. And just like that, you have a perfect baseball cake pop!
Calories & Nutritional Info (It’s Cake on a Stick, Folks)
Let’s not get too caught up in the numbers here. This is a fun treat, not a health food.
- Serving Size: 1 baseball cake pop
- Estimated Calories: 150-200
- Main Components: Sugar, flour, and pure, unadulterated joy.
- Disclaimer: These are best enjoyed in moderation, preferably while celebrating a big win. 🙂
Common Mistakes to Avoid (Don’t Strike Out!)
- The Dreaded “Plopping” Cake Pop: Your cake pop falls right off the stick into the melted candy. This usually happens if you skipped the step of “gluing” the stick in with melted candy, or if your cake ball is too heavy/soft.
- The Cracked Shell Calamity: You dipped a rock-solid frozen cake ball into warm candy melts. The extreme temperature difference causes the shell to crack. If you freeze your cake balls, let them sit at room temp for 5-10 minutes before dipping.
- Lumpy, Gloopy Coating: You overheated your candy melts. This “seizes” them and makes them thick and unworkable. Always melt them slowly, in short bursts, and stir frequently. If they’re still too thick, you can stir in a tiny bit of vegetable shortening or paramount crystals to thin them out.
- The Greasy Ball Fiasco: You added way too much frosting to your cake crumbs. The dough will be too soft and oily. Start with less frosting; you can always add more!
Variations & Customizations (Extra Innings)
Feel like changing up the game? Here are a few fun ideas.
1. Team Spirit Pops
Instead of the classic red stitches, use your favorite team’s colors! Use a blue food coloring pen for the Dodgers or Cubs, navy for the Yankees, orange for the Giants, etc. It’s a great way to show your team pride.
2. “Cracker Jack” Inspired Cake Pops
Use a caramel or peanut butter-flavored cake mix for the inside. After dipping in the white candy, but before it sets, roll the cake pop in finely crushed peanuts or toffee bits for a crunchy, delicious twist.
3. “Dirt Diamond” Display
For a fun presentation, serve your finished baseball cake pops by sticking them into a tray filled with crushed Oreo cookies to look like a baseball field’s dirt diamond.
FAQ: Your Cake Pop Queries, Answered
Let’s cover all the bases with these frequently asked questions.
1. Can I use regular white chocolate instead of candy melts? You can, but it’s trickier. Real chocolate needs to be “tempered” to get that smooth, hard shell. If you don’t temper it, it can be soft, sticky, or streaky when it sets. For beginners, candy melts are much more forgiving and highly recommended.
2. Why are my cake pops falling apart when I try to dip them? This is usually because the cake ball “dough” is too soft (too much frosting) or the cake balls weren’t chilled for long enough to become firm.
3. How do I get a perfectly smooth, drip-free coating? The key is the consistency of your candy melts and the dipping technique. Make sure your melts are fluid (not too thick), dip straight down and pull straight up, and then gently tap the stick on the side of your bowl to let all the excess drip off.
4. How far in advance can I make baseball cake pops? They are a great make-ahead treat! You can store the finished cake pops in an airtight container in the refrigerator for up to 3-4 days.
5. What is the best way to store them? In a single layer in an airtight container in the fridge. If you need to stack them, place a layer of parchment paper between them once they are completely set.
6. I don’t have a food coloring pen. What else can I use for the stitches? You can use red royal icing or a thick red decorating gel in a piping bag fitted with a very small round tip (like a Wilton #1 or #2).
7. Can I use a different flavor of cake? Absolutely! While vanilla is classic, chocolate, strawberry, or even red velvet would be a delicious surprise inside your baseball.
Final Thoughts
You did it! You stepped up to the plate and hit a grand slam. You are now the proud creator of adorable, delicious, and seriously impressive baseball cake pops. These little guys are guaranteed to be the MVP of any dessert table they grace.
So go ahead and take a victory lap around your kitchen. You’ve earned it. Now go share your amazing creations and be prepared for the roar of the crowd (or at least the enthusiastic “YUM!” of your friends and family).