How to Melt Merckens Chocolate Perfectly (Without a Meltdown)
Let’s be honest. You’ve had a chocolate melting disaster, haven’t you? We’ve all been there. You start with beautiful, innocent chocolate chips, dreaming of silky, dippable goodness. Five minutes later, you’re staring at a sad, seized, clumpy mess that looks more like a science experiment gone wrong than a dessert. If this trauma sounds familiar, I’m here to tell you there’s a better way. Today, we’re learning how to melt Merckens chocolate—the foolproof candy wafers that will make you look like a professional confectioner, even if you’ve previously managed to burn water.
Forget everything you think you know about melting chocolate. Merckens plays by a different, much friendlier set of rules. This isn’t just a recipe; it’s a culinary redemption story. Ready to feel like a candy-making wizard?
Why This Method Is Your New Best Friend
So, what’s the big deal with Merckens anyway? Why should you specifically learn how to melt these little rainbow-colored discs of joy?
First and foremost: No tempering required! I repeat, NO TEMPERING. For those who have tried and failed to temper real chocolate, you know what a godsend this is. Merckens is a compound chocolate (or candy coating), which means it melts down silky smooth and hardens with a beautiful shine and a satisfying snap, all without that fussy, high-maintenance temperature dance.
Second, it’s incredibly forgiving. Merckens is designed to be melted by home bakers and candy makers. It wants you to succeed. This makes it perfect for everything from coating cake pops and pretzels to making molded candies and drizzling over desserts. It’s basically the golden retriever of the confectionery world: happy, eager to please, and ridiculously lovable.

Finally, the colors! The sheer variety of vibrant colors available means you can create stunning, custom treats for any occasion without wrestling with finicky food coloring. It’s easy, it’s reliable, and the results are consistently awesome. What’s not to love?
Just One Simple Ingredient (Seriously)
This is going to be the shortest ingredient list you’ve ever seen. It’s less of a list and more of a… single item.
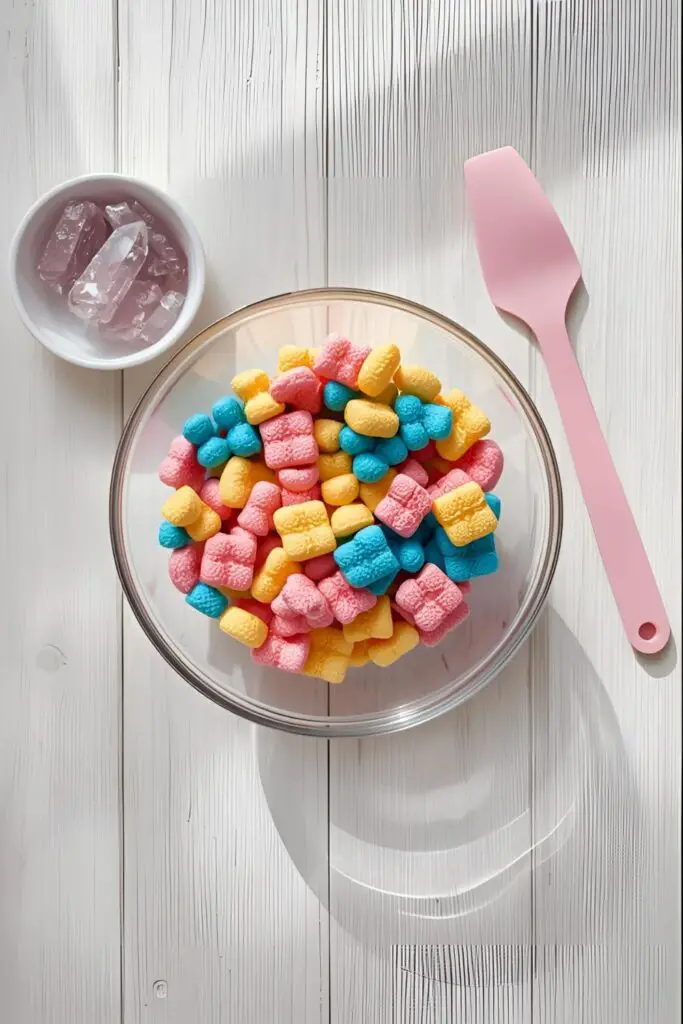
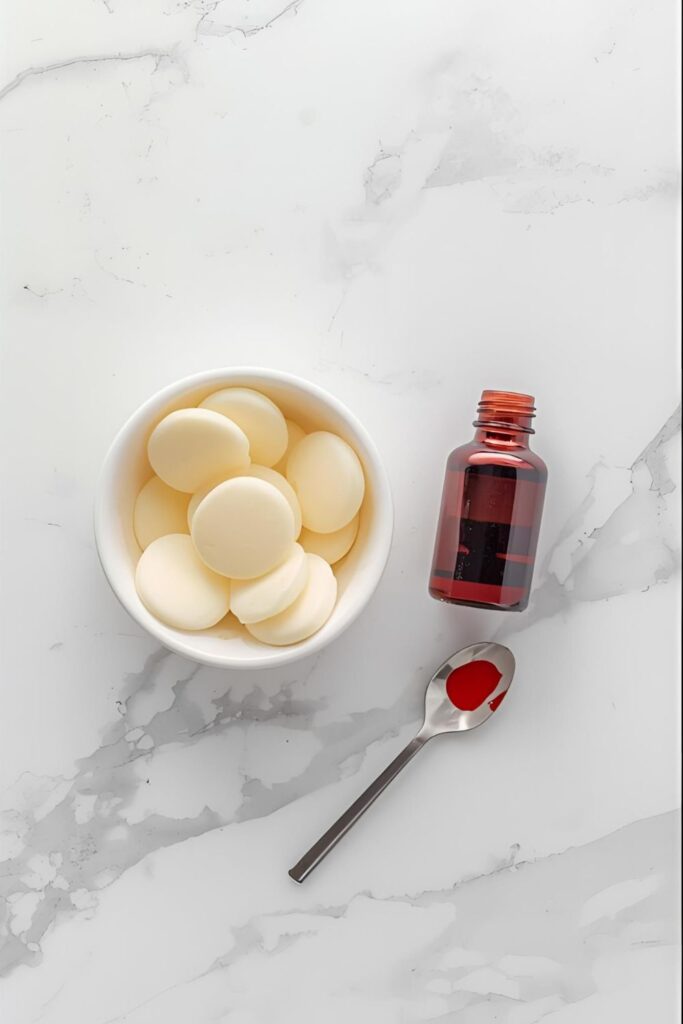
- Merckens Chocolate Wafers: At least one 12-ounce bag. Pick any color your heart desires—white, milk, dark, or one of the countless vibrant rainbow hues.
- Optional Helper: Paramount Crystals (or 2 teaspoons of solid vegetable shortening/coconut oil per 12-ounce bag). This is totally optional, but if your melted chocolate seems a bit thick, a few of these magical little flakes will thin it out to the perfect dipping consistency.
That’s it. No, really. That’s all you need.
The Essential Tools for a Flawless Melt
While the ingredient list is short, having the right tools will make the process a breeze and prevent a chocolate catastrophe.
- Microwave-Safe Bowl: A plastic or silicone bowl is highly recommended. Glass and ceramic bowls can get scorching hot and retain too much heat, which increases your risk of burning the chocolate.
- Silicone Spatula: For stirring. Its flexibility ensures you can scrape the sides of the bowl, leaving no wafer behind.
- Microwave: The fastest and easiest way to melt Merckens wafers.
- OR a Double Boiler: If you’re anti-microwave or just prefer the classics, a double boiler (or a saucepan with a heatproof bowl that fits snugly on top) works great too.
- Chocolate Melting Pot (Optional): If you’re a serious candy maker or plan on a long dipping session, one of these little pots is a game-changer for keeping your chocolate at the perfect temperature.
Step-by-Step Instructions: The Art of the Melt
Sounds simple, right? Well, it is… and it isn’t. The secret isn’t in a complicated technique but in patience and following a few key rules. We’ll cover the two best methods.
Method 1: The Microwave (Easy Mode)
This is my go-to method. It’s fast, efficient, and requires minimal cleanup.
- Pour and Power Down: Pour your desired amount of Merckens wafers into your microwave-safe bowl. Now, for the most important part: set your microwave to 50% power (or the defrost setting). Microwaving on full power is a one-way ticket to scorched, lumpy chocolate sadness. Don’t do it.
- The 30-Second Rule: Microwave the wafers for 30 seconds. Take the bowl out and give it a good stir with your silicone spatula.
- Stir, Stir, Stir: Here’s where people go wrong. The wafers will still look solid. They will hold their shape, trying to trick you into thinking nothing is happening. They are lying. Stir them anyway. You’ll be surprised how they start to melt down.
- Repeat and Be Patient: Put the bowl back in the microwave for another 30 seconds at 50% power. Take it out and stir again. Repeat this process until the wafers are about 80-90% melted.
- The Final Stir: When you have just a few lumps left, stop microwaving. The residual heat in the bowl is more than enough to finish the job. Just keep stirring gently until every last lump has disappeared and you’re left with a gloriously smooth, liquid pool of chocolate. If it seems too thick for your project, now is the time to stir in a teaspoon or two of paramount crystals.
Method 2: The Double Boiler (Classic & Controlled)

This method is great if you don’t have a microwave or if you need to keep your chocolate melted for a longer period.
- Set Up Your Station: Fill the bottom of your double boiler (or a small saucepan) with about an inch of water. Bring it to a gentle simmer over low-medium heat—you do not want a rolling boil. Place the top part of the boiler or your heatproof bowl over the pot, ensuring the bottom of the bowl does not touch the water.
- Add the Wafers: Add your Merckens wafers to the dry top bowl.
- Stir Gently and Constantly: As the gentle steam from the simmering water heats the bowl, the wafers will begin to melt from the bottom up. Stir constantly with your silicone spatula to ensure they melt evenly.
- Beware of Water! This is chocolate’s mortal enemy. Do not let a single drop of water or steam get into your chocolate. It will cause the chocolate to “seize” instantly, turning it into a stiff, grainy paste. Game over.
- Melt and Remove: Continue stirring until the chocolate is completely smooth. Once melted, carefully remove the bowl from the heat and wipe the bottom dry to prevent any condensation from dripping into your perfect chocolate.
Calories & Nutritional Info (A Moment of Silence for Our Diets)
Let’s be real, we’re not melting candy wafers for their health benefits. This is soul food. But for the sake of transparency, here’s a general idea.
- Serving Size: 1 ounce (about 28g)
- Estimated Calories: 150-160
- Fat: Approximately 9g
- Carbohydrates: Approximately 18g
- Sugar: It’s candy. A lot. Let’s just say a lot.
- Main Benefit: A 100% increase in happiness and creative expression. 🙂
Common Mistakes to Avoid (Or, “How Not to Ruin Your Chocolate”)
I’ve made these mistakes so you don’t have to. You’re welcome.
- Overheating the Chocolate: This is the #1 sin. Microwaving on high power or for too long without stirring will scorch your wafers, making them thick, clumpy, and smell faintly of burnt plastic. Always use 50% power and short intervals.
- Letting Water Join the Party: As mentioned, water is the arch-nemesis of melting chocolate. Ensure your bowls, spatulas, and hands are completely dry. A single drop can cause it to seize.
- Under-Stirring: Don’t trust your eyes. The wafers are sneaky and will look solid even when they are molten inside. Stir after every single interval in the microwave.
- Using the Wrong Coloring or Flavoring: If you want to customize white Merckens, you MUST use oil-based candy colors and flavorings. Regular water-based food coloring or extracts will cause the chocolate to seize instantly.
Variations & Customizations
Once you have a bowl of perfectly melted chocolate, the fun really begins.
1. Make Custom Colors
Start with white Merckens wafers and add a few drops of oil-based candy coloring. Stir until you achieve the perfect hue. This is how you get those trendy, custom-colored cake pops for themed parties.
2. Infuse with Flavor
Add a few drops of an oil-based candy flavoring like peppermint, orange, raspberry, or caramel to your melted chocolate. A peppermint-infused dark chocolate bark? Yes, please.
3. Create a Crunchy Chocolate Bark

Pour your melted chocolate onto a parchment-lined baking sheet. Immediately sprinkle it with toppings like crushed peppermint candies, chopped nuts, mini marshmallows, toffee bits, or crispy rice cereal. Let it harden, then break it into delicious, shareable shards.
FAQ: Your Merckens Melting Mysteries, Solved
Let’s tackle some of the most common questions from the internet.
1. Do I need to temper Merckens chocolate? Nope! That’s the beauty of it. It’s a compound coating, not a “real” chocolate that contains cocoa butter, so it melts and hardens perfectly without any tempering.
2. Why is my melted chocolate so thick? It might be slightly overheated, or some colors (like red and black) are naturally thicker. Stir in a few paramount crystals or a tiny bit of solid vegetable shortening to thin it to your desired consistency. Add a little at a time!
3. Can I use regular liquid food coloring from the grocery store? Absolutely not. It’s water-based and will make your chocolate seize into an unusable mess. You must use oil-based or powder-based colors designed specifically for candy.
4. How do I store leftover melted chocolate? Easy! Pour the leftover chocolate onto a piece of parchment or wax paper and spread it into a thin layer. Let it cool and harden completely. Then, break it into chunks and store it in an airtight container at room temperature for your next project.
5. Is Merckens chocolate considered “real” chocolate? Technically, it’s a “confectionery coating” or “compound chocolate.” Real chocolate’s fat source is cocoa butter. Merckens and other candy melts use palm kernel oil or other vegetable oils instead, which is what allows them to melt so easily without tempering.
6. Help! My chocolate seized! Can I fix it? Once it truly seizes from contact with water, it’s pretty much done for in terms of dipping or coating. However, don’t throw it out! You can still use the seized chocolate in recipes where it will be melted into fat, like in some brownie or cookie batters. FYI, it won’t be smooth again on its own.
7. How long does it take for melted Merckens to harden? At room temperature, it usually takes about 10-20 minutes to harden completely. To speed things up, you can pop your dipped treats in the refrigerator for 5-10 minutes.
Final Thoughts
Congratulations! You are now a master of the melt. You hold the key to perfectly coated cake pops, beautifully drizzled cookies, and flawlessly molded candies. No more lumpy, scorched chocolate nightmares for you. Go forth and dip everything in sight—pretzels, cookies, fruit, your fingers (no judgment here).
Now that you know the secret, you’ll be unstoppable. Welcome to your new, silky-smooth, chocolate-covered life.