Level Up Your Hot Chocolate Game: Easy Peppermint Spoons Recipe!
Ever feel like your cozy mug of hot chocolate is missing… something? Like it needs a tiny, edible, pepperminty magic wand? Well, my friend, you’ve stumbled upon the answer: how to make peppermint spoons! Forget those boring stirrers. We’re about to dive headfirst into the wonderful world of DIY candy that’s both ridiculously easy and secretly impressive. Get ready to elevate your winter beverage experience – you’ll wonder how you ever survived without these!
Why This Peppermint Spoon Recipe Rocks (Spoiler: It’s the Sass)
Let’s be real, most homemade candy projects sound like a culinary Mount Everest. But these peppermint spoons? They’re more like a gentle, delicious molehill. You basically melt chocolate and stick a peppermint in it. Seriously, that’s the gist. But oh boy, the payoff! Imagine handing these out to your guests. They’ll think you’re some kind of artisanal chocolatier. Little do they know it took you all of, like, ten minutes. Plus, the burst of peppermint as the chocolate melts in your hot cocoa? Pure genius. It’s like a party in your mouth, a cozy, minty party. And who doesn’t love a good party?
Peppermint Spoons: The Dream Team (Ingredients)
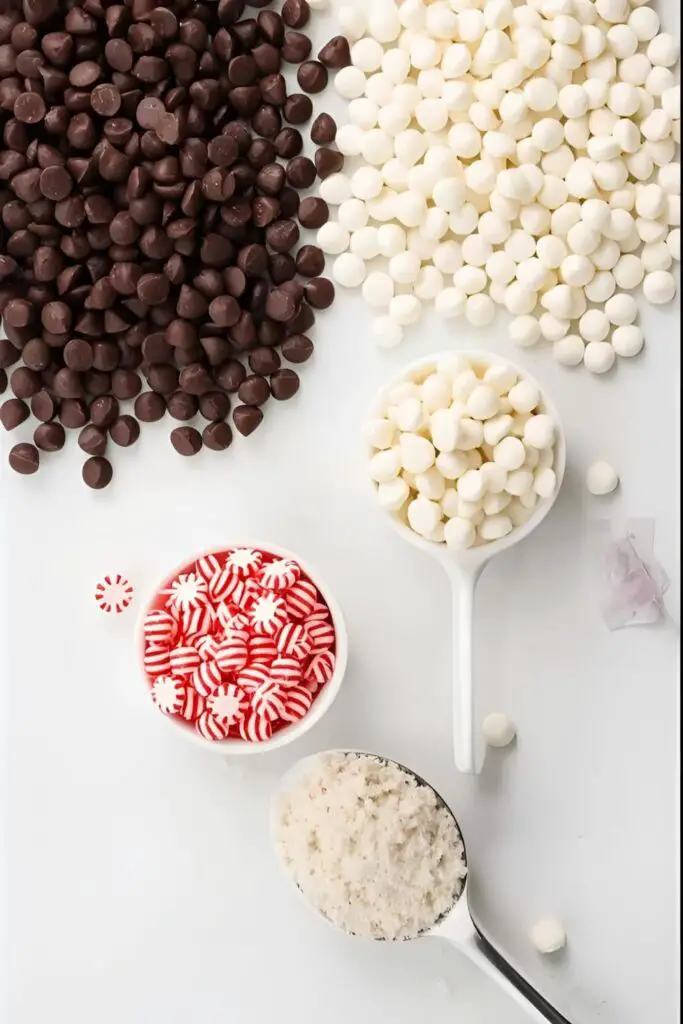
You won’t need a grocery store haul for this, promise. Here’s the ridiculously short list:
- 1 cup good quality chocolate chips (milk, dark, or white – go wild, you rebel!)
- 12-15 peppermint candies (the round, flat kind works best, unless you’re into abstract spoon art)
Tools & Kitchen Gadgets Used:
- Microwave-safe bowl
- Spoon or spatula for stirring
- Baking sheet
- Parchment paper or silicone mat
Let’s Get Spooning: The Super Simple Steps
Alright, buckle up, buttercup. This is where the magic… barely happens. It’s that easy.
- First things first, grab your chocolate chips and toss them into a microwave-safe bowl. Are you ready for the intense labor? Probably not, because there isn’t any.
- Microwave the chocolate in 30-second intervals, stirring after each. Keep going until it’s all smooth and melty. Don’t overdo it unless you fancy burnt chocolate – and trust me, nobody does.
- Now for the artistic bit (sort of). Take a peppermint candy and gently dip the back of a spoon into the melted chocolate. Then, press the peppermint onto the chocolate-covered spoon. Make sure it sticks! If it doesn’t, maybe your chocolate isn’t melty enough. Just sayin’.
- Place your soon-to-be peppermint spoons onto a baking sheet lined with parchment paper or a silicone mat. This prevents sticky situations later. Nobody likes a sticky situation.
- Pop the baking sheet into the fridge for about 15-20 minutes, or until the chocolate is firm. Patience, young grasshopper! This is crucial for structural integrity. You don’t want your spoon dissolving in your cocoa, do you? Rhetorical question, obviously not.
- Once they’re solid, gently peel them off the parchment paper. Behold! You’ve created peppermint spoons. Bask in your minor culinary victory.
Peppermint Spoon Stats: The Nitty-Gritty (Calories & Nutritional Info – Approx. per spoon)

- Calories: Around 50-70 (depending on the type and amount of chocolate used)
- Sugar: Varies, but expect a decent amount thanks to the chocolate and peppermint.
- Fat: Also depends on the chocolate – dark chocolate will have less than milk chocolate.
- Other nutrients: Let’s be honest, we’re not doing this for the vitamins. It’s for the deliciousness.
Uh Oh, Spoon Fails! Common Mistakes to Dodge
So, you think you can’t mess this up? Think again! Here are a few classic blunders and how to avoid them:
- Burnt Chocolate: Microwaving for too long is a cardinal sin. Use those 30-second intervals and stir! Trust the process.
- Peppermints Sliding Off: Make sure the chocolate is melted smoothly but not too hot. If it’s scorching, it won’t grip the peppermint properly. Also, press gently but firmly.
- Spoons Sticking to the Paper: Always use parchment paper or a silicone mat. Otherwise, you’ll be scraping sad, broken chocolate off your baking sheet. Not a good look.
- Not Letting Them Chill Long Enough: Impatience is a virtue in some situations, but not here. Give them the full 15-20 minutes in the fridge. Soft spoons are no fun.
Spice It Up: Peppermint Spoon Variations & Customizations

Feeling adventurous? Let’s get creative!
- Dark Chocolate Delight: Use dark chocolate chips for a richer, less sweet spoon. It pairs beautifully with the refreshing peppermint. Plus, it makes you feel slightly more sophisticated, doesn’t it?
- White Chocolate Wonder with Crushed Candy Canes: Melt white chocolate and, before it sets, sprinkle crushed candy canes on top for an extra festive and crunchy twist. Double the minty madness!
- Mocha Magic Spoons: Mix a teaspoon of instant coffee powder into your melted chocolate for a coffee-infused spoon that’s perfect for a mocha. Caffeine and peppermint? Genius!
Your Burning Peppermint Spoon Questions Answered (FAQ)
We know what you’re thinking because Google told us.
- Can I use candy melts instead of chocolate chips? Absolutely! Candy melts are designed to melt smoothly and set firmly, so they’re a great option.
- How long do peppermint spoons last? Stored in an airtight container at room temperature, they should last for up to 2 weeks. Though, let’s be honest, they probably won’t survive that long.
- Can I make these ahead of time? Yes! They’re perfect for making in advance for parties or just to have on hand for your hot chocolate cravings.
- Do I need special spoons? Nope! Any regular eating spoon will do. Just make sure they’re clean and dry.
- Can I add sprinkles? Go for it! Sprinkles make everything more fun. Add them to the melted chocolate before the peppermint sets.
- What if my chocolate seizes? Oh no! This usually happens when a little water gets into the melting chocolate. Sometimes, stirring in a tiny bit of vegetable oil or shortening can help bring it back.
- Can I use different flavors of hard candy? Experiment away! Just keep in mind that different flavors will give a different vibe to your hot chocolate.
Final Thoughts: Go Forth and Spoon!
So there you have it. The incredibly complex (not really) process of making peppermint spoons. Now you can impress your friends, jazz up your hot cocoa, and feel like a culinary genius without breaking a sweat. Go ahead, whip up a batch. IMO, your next cozy night in just got a whole lot better. And let’s be real, you’re never going back to plain stirrers, are you? 😉