The Ultimate Guide to Making Magical Red Clover Jelly (It’s Easier Than You Think!)
Ever look out at your lawn, see those cheerful little pinkish-purple poofs, and think, “I’m about to mow my next culinary masterpiece”? No? Just me? Well, let me tell you, you’re missing out. Because today, my friend, we are diving headfirst into how to make red clover jelly, and it’s about to blow your toast-loving mind. Forget strawberry, banish grape—we’re making something that tastes like a warm, honey-kissed summer afternoon.
Seriously, stop thinking of them as weeds. Red clovers are little bundles of floral, honey-like flavor just waiting for you to turn them into liquid gold. This isn’t just jelly; it’s a conversation starter. It’s a “you made this from what?” moment at your next brunch. Let’s get foraging.
Why This Recipe Is Basically Magic in a Jar
So, why bother picking flowers out of the grass instead of just grabbing a jar of Smucker’s? C’mon, where’s your sense of adventure?
First, the flavor is unreal. It’s delicate, sweet, and floral with notes of honey and a hint of fruity iced tea. It’s unlike anything you’ve ever tasted from a grocery store shelf. You will feel like a sophisticated woodland creature, and I fully support that vibe.
Second, it’s deceptively easy. If you can make tea and boil water, you can make this jelly. The hardest part is picking the flowers, and let’s be real, that’s just a good excuse to get some sunshine.
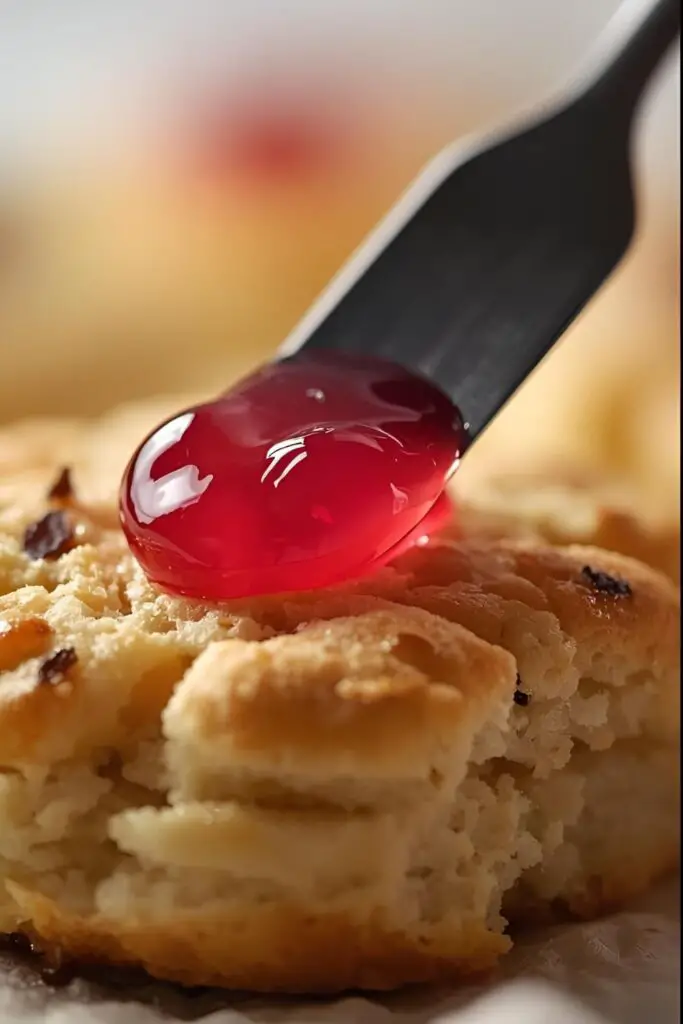
Finally, the bragging rights are off the charts. Picture this: your friend is slathering this gorgeous, rosy-pink jelly on a scone and asks where you bought it. The look on their face when you casually say, “Oh, this old thing? I just whipped it up from the clover in my backyard,” is worth every single second. Priceless.
Ingredients: Your Grocery (and Lawn) List

This recipe is beautifully simple. No weird, impossible-to-find ingredients here. Just good old-fashioned kitchen science.
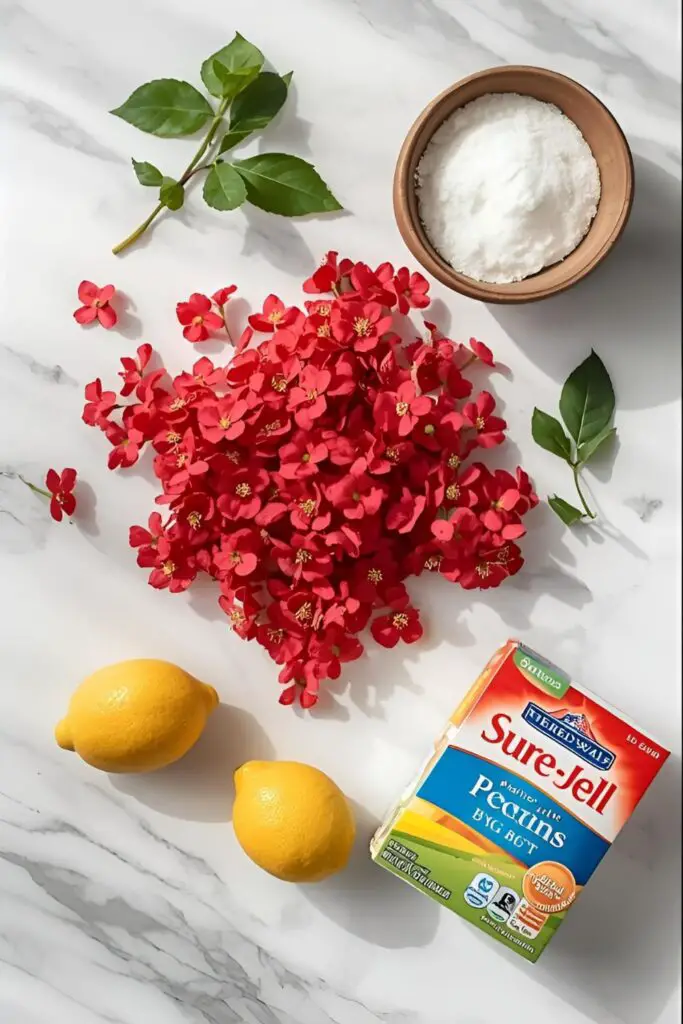
- 4 cups packed fresh red clover blossoms: Just the flower heads, please. Leave the leaves and stems for the rabbits.
- 4 cups boiling water: To make our magical clover tea.
- 1/4 cup lemon juice: Use bottled lemon juice! This is non-negotiable for canning safety. Its acidity level is standardized, which is crucial for preventing nasty bacteria. Don’t play fast and loose with food safety, folks.
- 1 packet (1.75 oz) regular powdered pectin: I use Sure-Jell, but any standard pectin will do. Don’t grab the low-sugar kind unless you’re planning on following the low-sugar variation below.
- 4 cups granulated sugar: Yes, it’s a lot of sugar. We’re making jelly, not a health smoothie. Lean into it.
Tools & Kitchen Gadgets Used
To make your journey from forager to jelly-master as smooth as possible, you’ll want these trusty sidekicks.
- Foraging Bag or Basket: For collecting your floral treasures.
- Kitchen Scissors: Helpful for snipping the blossoms.
- Large Heatproof Bowl: For steeping the clover infusion.
- Fine-Mesh Sieve or Cheesecloth: To strain your clover tea and get a beautifully clear jelly.
- Large Pot or Dutch Oven: A heavy-bottomed pot is your best friend for making the jelly itself.
- Measuring Cups and Spoons: Precision is key in the jelly game.
- Water Bath Canner with Rack: Essential for safely preserving your jelly for shelf stability.
- Canning Jars, Lids, and Rings: You’ll need about 5-6 half-pint (8 oz) jars.
- Jar Lifter: Trust me, you do not want to try grabbing boiling hot jars with your bare hands.
- Canning Funnel: For a mess-free transfer of hot jelly into jars.
- Ladle: For scooping that liquid gold.
Step-by-Step Instructions: Let’s Make Some Jelly!
Alright, ready to transform those humble flowers into something spectacular? Let’s do this.
Step 1: Forage and Prep Your Clover
First things first: source your clover wisely. Do not, I repeat, do not pick clover from the side of a busy road or a lawn that’s been treated with pesticides or herbicides. Find a clean, unsprayed meadow or backyard. Give the flower heads a gentle shake to dislodge any freeloading insects. Rinse them gently in a colander and let them air dry a bit on a clean kitchen towel. You only want the purple/pink blossoms, so try to remove as much of the green base as you can, but don’t drive yourself crazy over it.
Step 2: Brew the Magic Potion (aka Clover Infusion)
Place your 4 cups of packed clover blossoms into a large, heatproof bowl. Pour 4 cups of boiling water over them. Give it a gentle stir, pushing the flowers down to make sure they’re all submerged. Now, cover the bowl and let that floral magic steep for at least 4 hours, or even overnight in the fridge for a more robust flavor. I usually let mine go for about 8 hours.
Step 3: Strain and Combine
Once steeped, your liquid will be a lovely amber color. Strain the infusion through a fine-mesh sieve or several layers of cheesecloth into a large measuring cup. Squeeze every last drop of that precious liquid out! You should have about 3.5 to 4 cups of clover tea. If you’re a little short, just top it off with a bit of water to reach 3.5 cups.

Pour 3.5 cups of the clover tea into your large pot or Dutch oven. Add the 1/4 cup of bottled lemon juice and the packet of pectin. Whisk it all together until the pectin is completely dissolved.
Step 4: The Jelly Transformation
Place the pot on the stove over high heat. Bring the mixture to a full, rolling boil—that’s a boil that you can’t stir down. Keep stirring constantly so it doesn’t scorch.
Once it hits that roaring boil, dump in all 4 cups of sugar at once. Yes, all of it. Stir like your life depends on it until the sugar is fully dissolved. The mixture will come back to a boil. Let it boil hard for exactly one minute, still stirring constantly.
Step 5: Jarring and Processing
After that one-minute boil, immediately remove the pot from the heat. If you see any foam on top, skim it off with a metal spoon for a crystal-clear jelly.
Using your funnel and ladle, carefully pour the hot jelly into your prepared, sterilized canning jars, leaving about 1/4 inch of headspace at the top. Wipe the rims of the jars with a clean, damp cloth to ensure a good seal. Place the lids on and screw on the rings until they are “fingertip tight”—snug, but not Herculean tight.
Carefully place the jars into your water bath canner rack and lower them into the simmering water. Make sure the water covers the jars by at least 1-2 inches. Put the lid on the canner, bring the water to a full boil, and process the jars for 10 minutes. (Adjust for altitude if you live way up in the mountains!).

After 10 minutes, turn off the heat, remove the canner lid, and let the jars sit for 5 minutes before removing them with your jar lifter. Place them on a towel-lined countertop and leave them undisturbed for 24 hours. You’ll soon hear the sweet, sweet sound of success: the pop of the lids sealing.
Calories & Nutritional Info
Let’s be honest, this is a treat. But for those who are curious:
- Serving Size: 1 tablespoon
- Estimated Calories per Serving: Approximately 45-50 calories.
- Primary Macronutrient: Carbohydrates (from sugar).
- A Fun Note: Red clover is historically known for being rich in isoflavones and other nutrients, but let’s not pretend this sugary jelly is a health food. It’s soul food, and that’s just as important. 🙂
Common Mistakes to Avoid (Or, How Not to Make Clover Syrup)
We’ve all been there. Here’s how to sidestep the common pitfalls.
- Freaking Out About the Color: When you first make the clover tea, it looks brownish-yellow. Don’t panic! The moment you add the lemon juice, a little bit of kitchen chemistry magic happens, and it transforms into that beautiful rosy pink hue.
- Getting Creative with Acidity: I said it before, and I’ll say it again: use bottled lemon juice. Fresh lemons have variable pH levels, which can make your jelly unsafe for shelf-stable canning. This isn’t the time for artistic license.
- Not Achieving a “Rolling Boil”: A gentle simmer won’t activate the pectin properly. You need a boil that’s bubbling furiously and absolutely refuses to be calmed by your stirring. This is crucial for getting your jelly to set.
- Skipping the Water Bath: If you plan to eat the jelly within a few weeks and store it in the fridge, you can skip the canning process. But for a shelf-stable product that will last a year, you must process it in a water bath canner.
Variations & Customizations
Feeling fancy? Here are a few ways to jazz up your jelly.
- Spicy Clover Jelly: Add one finely minced habanero or jalapeño pepper (seeds removed for less heat) to the pot along with the clover tea and pectin. It adds a surprising and delightful kick that’s amazing with cream cheese and crackers.
- Lavender-Clover Dream: Add 1 tablespoon of dried culinary lavender to the clover blossoms while they steep. This creates an incredibly aromatic and floral jelly perfect for scones and tea time.
- Low-Sugar Red Clover Jelly: Want the flavor without the sugar rush? Use a pectin specifically designed for low or no-sugar recipes (like Ball Low or No-Sugar Needed Pectin). Follow the instructions on that specific pectin package, as the sugar-to-pectin ratios and cooking methods will differ.
FAQ: Your Burning Questions Answered
What does red clover jelly taste like?
It has a unique, delicate flavor that’s hard to pin down. Most people describe it as a light, sweet, and floral taste with strong notes of honey and hints of stone fruit, like peach or apricot.
Is it really safe to eat red clover?
Yes, for most people, red clover blossoms are perfectly safe to eat. However, as with any foraged food, be 100% sure of your identification. Pregnant or nursing women and individuals on blood-thinning medication should consult a doctor before consuming red clover, as it contains compounds that can have hormonal and blood-thinning effects.
Can I use dried red clover blossoms?
You can, but the flavor will be different—more like a brewed herbal tea. Use about half the amount of dried blossoms as you would fresh ones (so, 2 cups of dried blossoms).
Help! Why didn’t my jelly set?
This is the most common jelly-making tragedy. It’s usually due to one of three things: an incorrect ratio of sugar or acid, not using enough pectin, or not boiling the mixture hard enough for the full minute. Don’t despair! You can either embrace your delicious “clover syrup” for pancakes or try re-cooking it with a bit more pectin.
Where is the best place to find red clover?
Look in open, sunny fields, meadows, and untreated lawns. The key is to find a place far away from road pollution and free of any chemical sprays. Your own backyard (if you don’t spray it) is often the best place to start!
How long does homemade red clover jelly last?
If properly sealed and processed in a water bath canner, the jelly will be shelf-stable for up to 18 months in a cool, dark place. Once opened, store it in the refrigerator and use it within a month or two.
Do I use the whole flower head or just the petals?
Just use the flower heads. You don’t need to painstakingly pull each tiny petal off. Just snip the main pink/purple blossom from the stem. A little bit of the green base is totally fine and won’t affect the flavor.
Final Thoughts
You did it! You took a common “weed” and turned it into a jar of glistening, delicious art. Go ahead, give yourself a pat on the back. You’re officially a kitchen wizard and a foraging genius.
Now go slather that beautiful jelly on everything—toast, biscuits, scones, or even as a glaze for pork or chicken. And the next time someone compliments your amazing homemade jelly, just smile mysteriously and say, “Oh, it’s an old family secret.” Your secret is safe with me. 😉