The Ultimate Guide to Baking a Cake That Doesn’t Suck (You Can Do This!)
Let’s be honest. The idea of baking a cake from scratch can be terrifying. It feels like a high-stakes science experiment where one wrong move results in a dense, dry puck of sadness. We’ve all been tempted by that siren song of the box mix, only to be left with a cake that tastes vaguely of cardboard and regret. Well, my friend, today we draw a line in the flour. I’m going to show you how to make cakes from scratch, and I promise it’s not as scary as it looks. In fact, it’s about to become your new favorite party trick.
Why This Recipe is Awesome (And Will Make You Look Like a Pro)
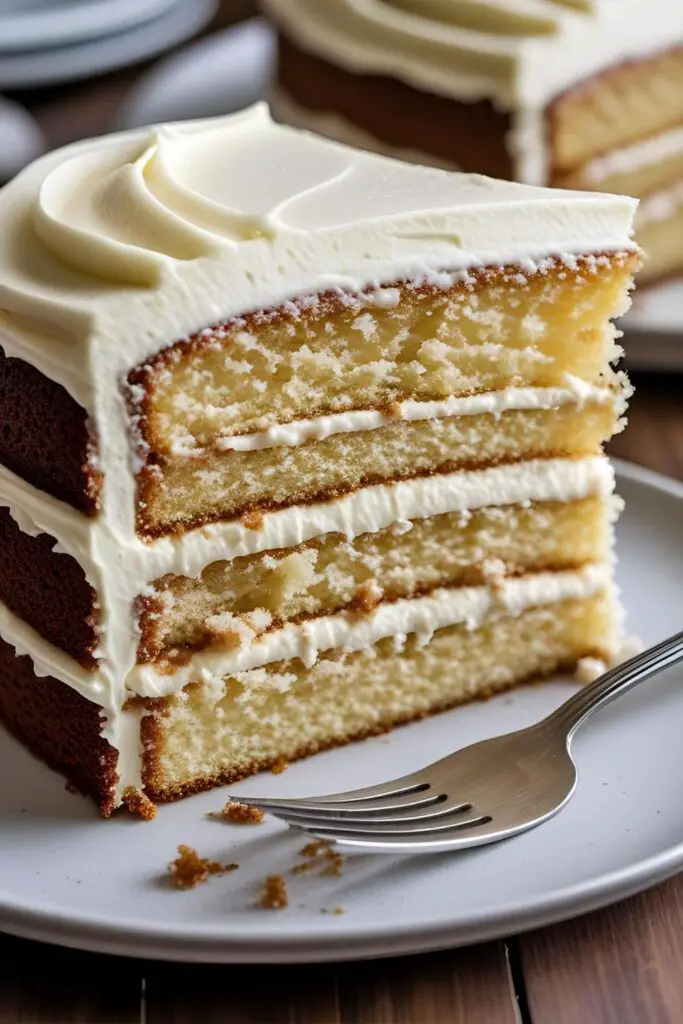
So, why bother when a box mix is right there? Flavor, my friend, glorious flavor. A homemade cake is moist, tender, and packed with rich vanilla goodness that no mix can replicate. It’s the difference between a love letter and a text message – both get the point across, but one is just so much better.
This recipe is your foundational, never-fail, ride-or-die vanilla cake. It’s simple enough for a total beginner but so delicious that even seasoned bakers will be impressed. You’ll learn the basic techniques that unlock the entire world of cake-baking. Plus, imagine the look on your friends’ faces when you present a stunning, from-scratch layer cake. You’ll be a legend. TBH, the bragging rights alone are worth it.
Ingredients
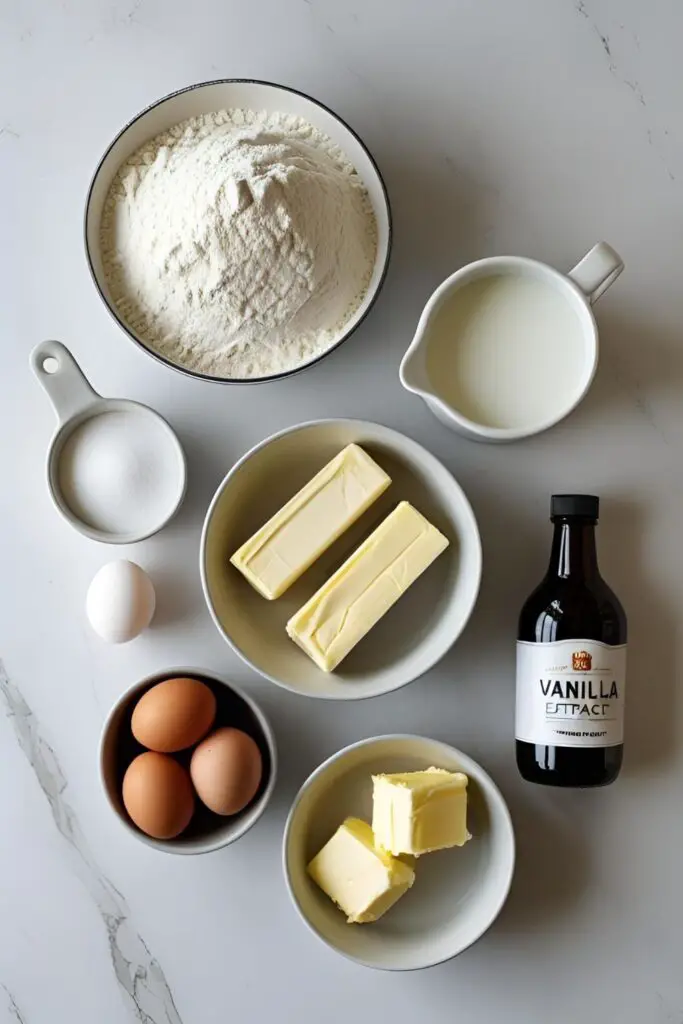
This is your classic, all-star lineup for a perfect vanilla cake. No weird, hard-to-find ingredients here.
- 2 ½ cups all-purpose flour. (Or cake flour if you’re feeling extra fancy and want a super tender crumb).
- 2 ½ teaspoons baking powder. This is what gives your cake its lift!
- ½ teaspoon salt. Don’t skip it! It balances all the sweetness.
- 1 cup (2 sticks or 227g) unsalted butter, softened. And I mean softened, not a melted puddle. Leave it on the counter for an hour.
- 1 ¾ cups granulated sugar. The sweet stuff.
- 4 large eggs, at room temperature. This is important for a smooth, emulsified batter.
- 1 tablespoon pure vanilla extract. Use the good stuff, not the imitation kind. It makes a huge difference.
- 1 ¼ cups whole milk, at room temperature. Again, room temp is your friend.
Tools & Kitchen Gadgets Used
Having the right gear makes the process a thousand times easier. Here’s your cake-baking starter kit:
- Stand Mixer or Hand Mixer: While you could do this by hand, an electric mixer does the hard work of creaming and aerating for you, which is key to a light, fluffy cake.
- Mixing Bowls: You’ll need at least one large bowl (for the main batter) and one medium bowl (for the dry ingredients).
- Whisk: For combining your dry ingredients perfectly.
- Rubber Spatula: Essential for scraping the bowl to make sure everything is incorporated. No batter left behind!
- Measuring Cups and Spoons: Baking is a science! Precision is key.
- Two 8-inch or 9-inch Round Cake Pans: The classic choice for a layer cake.
- Parchment Paper: For lining your pans to guarantee your cakes pop right out.
- Wire Cooling Rack: Crucial for allowing your cakes to cool properly without getting soggy.
Step-by-Step Instructions
Alright, deep breath. Let’s bake a cake. It’s go-time!
- Prep Your Station: First things first, preheat your oven to 350°F (175°C). Grease your two round cake pans with butter or baking spray, line the bottoms with parchment paper, and then grease the parchment paper. Dust the pans with flour, tapping out any excess. Yes, it’s a lot of steps, but do you want your cake to stick? I didn’t think so.
- Dry Team, Assemble!: In your medium bowl, whisk together the flour, baking powder, and salt. Whisking helps distribute the baking powder evenly, preventing weird pockets of bitterness. Set it aside.
- The Creaming Method: This is the most important step! In your large bowl, use your electric mixer to beat the softened butter and granulated sugar together on medium-high speed for a solid 3-5 minutes. The mixture should become very pale, light, and fluffy. You’re literally beating air into the fat, which is what creates a tender cake.
- Egg Time: With the mixer on medium-low, add the room temperature eggs one at a time, beating well after each addition until it’s fully incorporated. Scrape down the sides of the bowl as needed. The mixture might look a little curdled, but don’t panic. It’s fine.
- Vanilla Vibes: Beat in the vanilla extract. Your kitchen should be smelling like heaven right about now.
- The Alternate Reality: Here comes another key technique. With the mixer on low speed, you’re going to alternate adding the dry ingredients and the milk. Start by adding about one-third of the dry mixture, mixing until just combined. Then add half of the milk, mixing until just combined. Repeat: another third of the dry, the rest of the milk, and finally, the last of the dry. Do not overmix! Mix only until you no longer see streaks of flour.
- Divide and Conquer: Evenly divide the glorious batter between your two prepared cake pans. Use your spatula to smooth the tops.
- Into the Fire: Bake for 30-35 minutes, or until a wooden skewer or toothpick inserted into the center comes out clean with a few moist crumbs attached.
- Cool It: Let the cakes cool in their pans on a wire rack for about 15 minutes. Then, carefully run a knife around the edges and invert the cakes onto the wire rack to cool completely. And I mean completely before you even think about frosting them.
Calories & Nutritional Info (The Part We Look at and Then Ignore)

This is a rough estimate per slice, assuming you cut the cake into 12 generous servings.
- Calories: Approximately 350-400 (without frosting)
- Fat: ~18-22g
- Carbohydrates: ~45-50g
- Sugar: ~30g (It’s a cake, what did you expect?)
- Protein: ~5g
Let’s just call it happiness on a plate and move on, shall we?
Common Mistakes to Avoid (Or, How Not to Create a Cake-tastrophe)
- Using Cold Ingredients: I know I sound like a broken record, but room temperature butter, eggs, and milk are non-negotiable. Cold ingredients don’t emulsify properly, leading to a dense, curdled batter and a heavy cake.
- Overmixing the Batter: Once you add the flour, you’re on the clock. Overmixing develops the gluten in the flour, turning your tender, fluffy cake into a tough, rubbery doorstop. Mix only until the flour disappears.
- Inaccurate Measuring: Baking is chemistry for hungry people. Use proper measuring cups and spoons. For flour, spoon it into the measuring cup and level it off with a knife. Don’t just scoop it out of the bag!
- Opening the Oven Door: I know it’s tempting to peek, but opening the oven door lets out heat and can cause your beautiful, rising cake to sink tragically in the middle. Wait until you think it’s close to done before you check it.
Variations & Customizations (Because Vanilla is Just the Beginning)
Once you’ve mastered this base, you can take it anywhere!
- Lemony Berry Bliss: Add the zest of two lemons to the butter and sugar mixture. Gently fold in 1 ½ cups of fresh or frozen berries (tossed in a little flour to prevent sinking) into the finished batter.
- Almond Funfetti Party Cake: Reduce the vanilla extract to 1 teaspoon and add 1 teaspoon of almond extract. Fold in ¾ cup of rainbow sprinkles at the very end. Instant celebration!
- Marble Cake Magic: Make the batter as directed. Divide it in half. To one half, gently fold in a mixture of ¼ cup cocoa powder and 2 tablespoons of milk. Alternate dollops of the vanilla and chocolate batters in the pans and swirl gently with a knife before baking.
FAQ Section (Answering Your Deepest Cake-Related Fears)
Let’s put those baking anxieties to rest.
Q: What is the real secret to making a moist cake? A: A few things! Using full-fat ingredients (like whole milk and butter), not over-baking it, and making sure you don’t overmix the flour are the three golden rules for a moist cake.
Q: Can I really not make a good cake without a mixer? A: You can, but it’s a serious arm workout. You’ll need a whisk and a lot of stamina to cream the butter and sugar properly. An electric mixer just makes it much, much easier to get that light and airy texture.

Q: Why did my cake sink in the middle? A: The most common culprits are opening the oven door too early, under-baking it, or using expired baking powder. Check your baking powder’s expiration date!
Q: What’s the difference between all-purpose flour and cake flour? A: Cake flour has a lower protein content, which results in a finer, more tender crumb. You can use it in this recipe for a slightly lighter texture. If you don’t have it, all-purpose flour works beautifully too.
Q: Should I use butter or oil for cakes? A: It depends on the cake! Butter provides a rich, delicious flavor. Oil provides superior moisture. This recipe is a butter cake, which gives it that classic, sturdy-yet-tender texture perfect for layering.
Q: How do I get my cake layers perfectly flat? A: Some bakers use cake strips (special insulated strips you wrap around the pan) to promote even baking. You can also just use a long serrated knife to carefully level off any domes after the cakes have cooled completely.
Q: How far in advance can I bake the cake layers? A: You can bake the layers a day or two ahead of time. Once they’re completely cool, wrap them tightly in plastic wrap and store them at room temperature or in the fridge. You can even freeze them for up to a month!
Final Thoughts (Go On, You Brilliant Baker, You!)
And there you have it. You are now armed with the knowledge and the power to bake a truly spectacular cake from scratch. It wasn’t so scary, was it? Ditch the box, embrace the butter, and get ready to fill your home with the glorious smell of victory. Go forth and conquer the kitchen. Your friends and family (and your own taste buds) will thank you.