Ditch the Dust: Why You Need to Make Your Own Garlic Powder Right Now
Ever been in the middle of a recipe, reach for that little jar of garlic powder, and find it’s either empty or has solidified into a single, unshakeable rock? Yeah, we’ve all been there. It’s a moment of pure culinary betrayal. But what if I told you that you could not only avoid this tragedy but also elevate your entire spice rack with a version that’s a million times more flavorful? Get ready, because I’m about to show you how to make garlic powder from scratch, and honestly, your cooking will never be the same.
Why This Recipe is Awesome (And Will Make You Feel Like a Kitchen God)
Okay, let’s be real. Making your own garlic powder sounds a little… extra. But hear me out. The stuff you buy in the store? It’s fine. It does the job. But homemade garlic powder is on a whole other level. The flavor is intensely aromatic and robust—it tastes like actual garlic, not some pale, dusty imitation. Can you imagine?
Plus, you get major bragging rights. Picture this: a friend is admiring your cooking, and you get to casually drop, “Oh, thanks. The garlic powder? I made it myself.” Boom. Instant respect. It’s also a fantastic way to use up a bunch of garlic before it starts growing those weird green sprouts. It’s resourceful, delicious, and makes your kitchen smell absolutely divine (if you’re a garlic lover, that is. If not, maybe this isn’t for you :/ ).
Ingredients
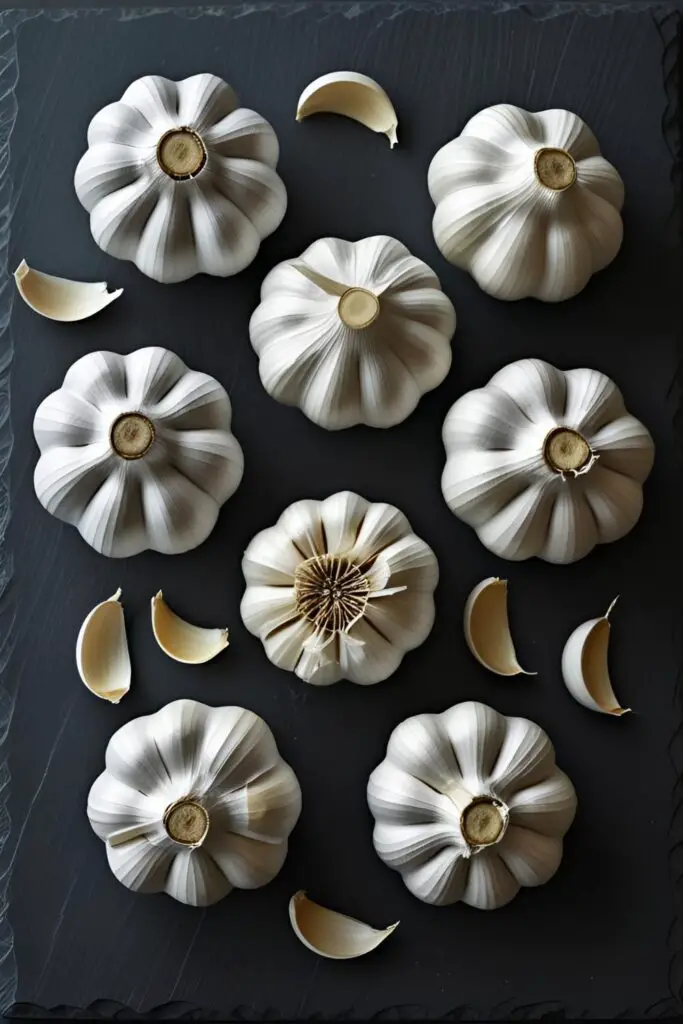
Prepare yourself for the most complex, mind-bending ingredient list you’ve ever seen. Ready?
- Fresh Garlic.
That’s it. That’s the list. How much? As much as you want! I’d recommend starting with at least 3-4 full heads of garlic to make it worth your while. The more you use, the more glorious powder you get.
Tools & Kitchen Gadgets Used

While the ingredient list is a joke, the tools are what make this process a breeze instead of a nightmare.
- A Good Chef’s Knife or a Mandoline Slicer: For getting those paper-thin, even slices. A mandoline is faster but also wants to slice your fingers off, so be careful.
- Cutting Board: A sturdy surface for all that slicing action.
- Food Dehydrator OR a Conventional Oven: A dehydrator is the gold standard for this, giving you low, consistent heat. But don’t worry, your oven will work just fine too.
- Baking Sheets & Parchment Paper (for the oven method): To keep the garlic from sticking and ensure easy cleanup.
- A Spice Grinder, High-Powered Blender, or Mortar and Pestle: To turn those crispy garlic chips into a fine, magical dust. A coffee grinder dedicated to spices is perfect for this.
- An Airtight Jar: For storing your precious, potent creation.
Step-by-Step Instructions
Alright, let’s get down to business. Time to transform that humble bulb into a pantry superstar.
- The Great Peel-Off: This is, without a doubt, the most tedious part of the process. Separate all the cloves from the heads of garlic. Now, peel every single one. My favorite hack? Toss the cloves in a sealed jar or between two metal bowls and shake them like your life depends on it for 20-30 seconds. The peels should slip right off most of them. It’s a great way to get out some aggression.
- Slice and Dice (But Mostly Slice): Now, you need to slice the peeled garlic cloves as thinly and evenly as possible. This is super important. If your slices are all different thicknesses, they won’t dry at the same rate. A mandoline on its thinnest setting is your best friend here. If using a knife, just take your time and aim for consistency.
- Time to Get Dry: Here’s where you choose your own adventure.
- Dehydrator Method (The “Set It and Forget It”): Spread the garlic slices in a single layer on your dehydrator trays. Set the temperature to around 125°F (52°C) and let it run for 6-12 hours. The time will vary wildly based on humidity and slice thickness.
- Oven Method (The “I’m Watching You”): Preheat your oven to its lowest possible temperature, ideally 150-170°F (65-75°C). Spread the garlic slices in a single layer on a parchment-lined baking sheet. Bake for 2-4 hours, cracking the oven door slightly to let moisture escape. You’ll need to keep a close eye on it and flip the slices halfway through to prevent them from browning.
- The Snap Test: How do you know when it’s done? The garlic slices should be completely dry and brittle. They should snap cleanly when you try to bend them. If there’s any softness or give, they need more time. Do not proceed to the next step unless they are 100% dry.
- Cool Your Jets: Once the garlic is perfectly dehydrated, take it out and let it cool completely to room temperature. This is crucial. Grinding warm garlic chips will result in a gummy, clumpy paste. Patience is a virtue, my friend.
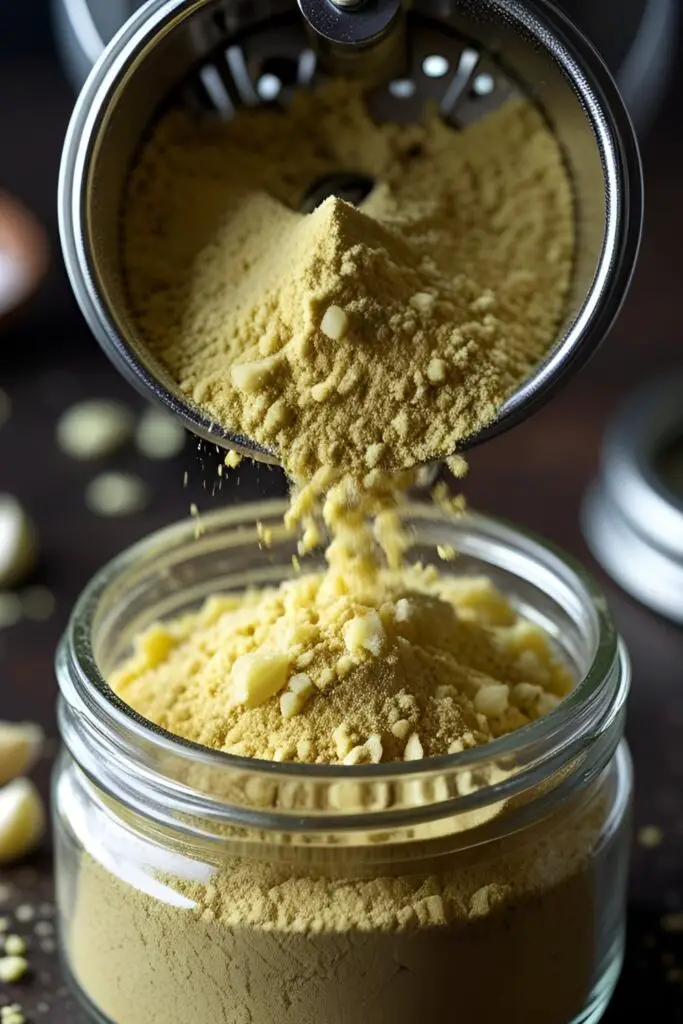
- Unleash the Grinder: Transfer your cooled garlic chips to your spice grinder, blender, or mortar and pestle. Pulse in short bursts until you have a fine powder. Let the dust settle for a minute before opening the lid, unless you want a face full of potent garlic essence (which, hey, might not be a bad thing).
- Store It Up: Pour your beautiful, homemade garlic powder into an airtight jar. Store it in a cool, dark place like your pantry. Congratulations, you’re officially a spice lord.
Calories & Nutritional Info (Because We’re Health-Conscious, Right?)
Here’s a rough estimate per teaspoon of your glorious homemade powder.
- Calories: Approximately 10
- Carbohydrates: ~2g
- Protein: <1g
- Sodium: Basically none
- Key Nutrients: While it’s a small amount, you’re still getting a concentrated dose of garlic’s goodness, which includes compounds like allicin, known for its potential health benefits. So, yeah, it’s practically a health food. 😉
Common Mistakes to Avoid (Learn From My Failures)
- Uneven Slicing: I can’t say it enough. If you have thick and thin slices, the thin ones will burn before the thick ones are dry. Consistency is key. Use that mandoline if you have one.
- Getting Impatient with Drying: If there is any moisture left in your garlic chips when you grind them, your powder will turn into a solid clump within days. It has to be crispy and completely brittle. When in doubt, give it more time.
- Burning, Not Dehydrating: You’re drying, not roasting. Keep the temperature low and slow. If your garlic starts to turn dark brown in the oven, your heat is too high. You want a pale, golden-blonde color.
- Grinding While Warm: Seriously, let it cool down completely. The residual heat will create steam and moisture when you grind, leading to a clumpy mess.
Variations & Customizations (Because Basic is Boring)
Now that you’ve mastered the classic, let’s get fancy.
- Smoked Garlic Powder: If you have a smoker, you can smoke the garlic slices for an hour or two before dehydrating them fully. Alternatively, add a teaspoon of smoked paprika to the finished powder for a smoky kick.
- Spicy Garlic Powder: Feeling fiery? Toss some dried chili flakes (like cayenne or red pepper flakes) into the grinder along with your dried garlic chips.
- Herbed Garlic Salt: This is a game-changer. Once your powder is ground, mix it with equal parts fine sea salt and about half a part of finely ground dried herbs like rosemary, thyme, or oregano. You’ve just made a custom seasoning blend!
FAQ Section (Answering Your Burning Garlic Questions)
Let’s tackle those nagging questions you’re too afraid to ask.
Q: Is homemade garlic powder really better than store-bought? A: Is a fresh-from-the-oven cookie better than one from a package? YES. The flavor is brighter, stronger, and contains no anti-caking agents or preservatives. IMO, there’s no comparison.

Q: How long does homemade garlic powder last? A: If it’s completely dry and stored in an airtight container in a dark place, it can easily last for up to a year. Though, let’s be honest, it’s so good you’ll probably use it up way before then.
Q: Do I need to blanch the garlic before dehydrating it? A: Nope, not necessary at all. Blanching is sometimes used to preserve color in other vegetables, but for garlic, you can just peel, slice, and dehydrate directly.
Q: Help! My garlic powder is clumping together! What did I do wrong? A: Ah, the dreaded clump. This means there was still some moisture in your garlic chips when you ground them. You can try spreading the clumpy powder on a baking sheet and putting it back in a warm (but turned off) oven for an hour to dry it out further, then re-grinding.
Q: Can I really make this without a food dehydrator? A: Absolutely! The oven method works perfectly well. You just have to be a little more attentive to make sure the garlic doesn’t get too hot and start to roast instead of dry.
Q: What’s the fastest way to peel a ton of garlic? A: The jar-shaking method is my go-to. You can also briefly microwave the whole head for 15-20 seconds; the steam helps the peels slide off. Or, you can buy pre-peeled garlic, but where’s the fun (and suffering) in that?
Q: Can I use pre-peeled garlic from the store? A: Yes, you can. It will save you the most annoying step. Just make sure the cloves are fresh and firm, not slimy or dried out.
Final Thoughts (Go Forth and Be Garlicky)

There you have it. You are now fully equipped to enter the elite world of homemade spice makers. You’ve learned how to turn a simple, humble ingredient into a powerhouse of flavor that will elevate everything from soups and stews to rubs and marinades. Go on, give it a try. Your taste buds will thank you, and that sad, solid rock of store-bought powder will become a distant memory.