How to Make Homemade Chocolate That Doesn’t Suck (Seriously!)
Let’s be real. At some point, you’ve stared at a fancy, artisan chocolate bar and thought, “Pfft, I could totally make that.” You’ve imagined yourself as a modern-day Willy Wonka, crafting silky smooth, decadent chocolate in your own kitchen. This is usually followed by a quick Google search, the appearance of terrifying words like “conching” and “tempering,” and the quiet closing of that browser tab.
But what if I told you there’s a way to learn how to make homemade chocolate without needing a PhD in food science or an industrial-sized stone grinder? What if you could take a few simple, high-quality ingredients and turn them into a legitimate, break-it-off-a-piece, “I-made-this-with-my-own-two-hands” chocolate bar?
Forget the complicated stuff. Today, we’re diving into the easy, no-fuss, surprisingly simple way to make chocolate at home. Get ready to unlock a new kitchen superpower.
Why This Recipe is Your New Favorite Party Trick
This isn’t just about making candy; it’s about a total kitchen power move. Here’s why you need to try this.
First, the bragging rights are astronomical. Imagine casually offering a friend a piece of chocolate and when they ask where you got it, you get to say, with a cool, nonchalant air, “Oh, I made it.” The look on their face will be worth the price of admission alone.
Second, you are the master of your chocolate universe. You control everything. Want it darker? Less sweet? Totally vegan? Want to make a keto-friendly version that doesn’t taste like sadness? You can do all of that. You’re no longer at the mercy of whatever the grocery store decides to stock.

Finally, TBH, it’s just plain cool. Turning a few basic ingredients into a solid, snappy, delicious chocolate bar feels like actual magic. It’s a fun, fascinating process that will give you a whole new appreciation for your favorite treat.
The Alchemist’s Shopping List: Ingredients
The quality of your ingredients will directly impact the quality of your chocolate. Choose wisely!
- 21 cup (115g) Food-Grade Cocoa Butter: This is the soul of your chocolate. It’s the pure fat from the cacao bean that gives chocolate that signature silky melt. This is non-negotiable. Do not substitute it with coconut oil or regular butter unless your goal is to make a waxy, sad-tasting coating.
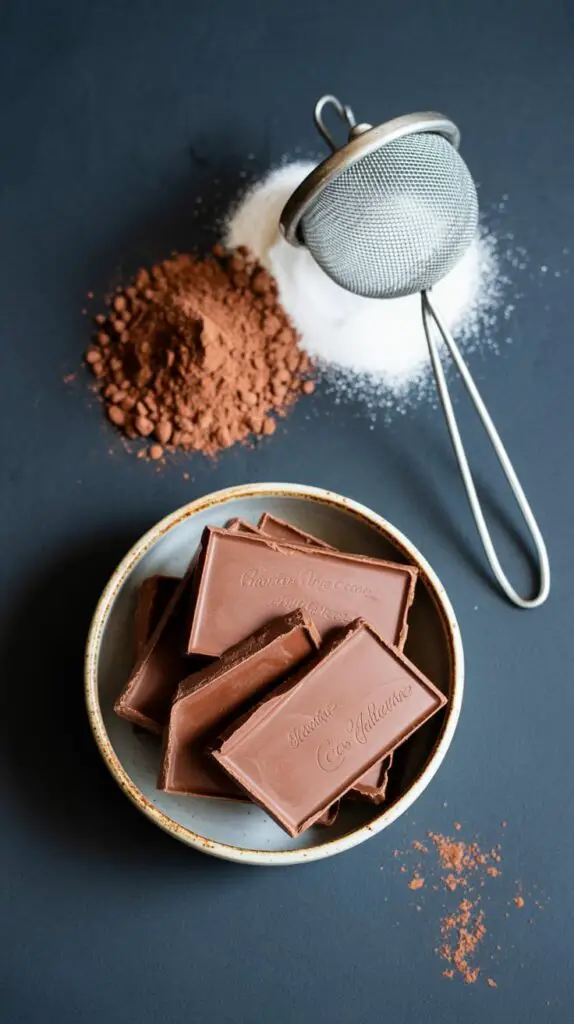
- 21 cup (60g) High-Quality Unsweetened Cocoa Powder: This is where your chocolate flavor comes from. I strongly recommend Dutch-processed cocoa powder, as it has a smoother, less acidic flavor and a richer, darker color.
- 21 cup (60g) Powdered Sugar: It must be powdered sugar, also known as confectioner’s or icing sugar. Regular granulated sugar will not dissolve properly in the fat, and your chocolate will be a gritty, sandy nightmare.
- 1 teaspoon Vanilla Extract: A little bit of vanilla makes the chocolate flavor pop.
- A Pinch of Salt: Just a tiny bit! It balances the sweetness and makes everything taste more chocolatey.
The Chocolatier’s Lab: Tools & Gadgets
You don’t need a factory, but these tools will make the process a whole lot smoother.
- Kitchen Scale: For the best, most consistent results, weighing your ingredients is the way to go. Chocolate making is a science!
- A Double Boiler: Or, you can easily make your own by placing a heatproof bowl (glass or metal) over a small saucepan of simmering water.
- Silicone Spatula: For stirring and ensuring you don’t waste a single drop of that precious chocolate.
- Fine-Mesh Sieve (or Sifter): This is your secret weapon against lumps. Do not skip this tool.
- Chocolate Molds: Silicone chocolate bar molds are cheap, easy to use, and give you that classic, satisfying shape. Silicone ice cube trays also work in a pinch for smaller, bite-sized chocolates.
- Whisk: For emulsifying your mixture into a smooth, liquid dream.
Step-by-Step: From Raw Materials to Delicious Reality
Ready to play god? Let’s create some chocolate.
H3: Part 1: The Meltdown
- Prep Your Workspace: Before you do anything, make sure your bowl, spatula, whisk, and molds are completely, 100% dry. Water is the mortal enemy of chocolate and will cause it to seize into a clumpy mess.
- Set Up the Double Boiler: Fill a small saucepan with about an inch of water and bring it to a gentle simmer over low-medium heat. You don’t want a rolling boil.
- Melt the Cocoa Butter: Place your cocoa butter wafers or chunks into the heatproof bowl and set the bowl over your simmering water. Make sure the bottom of the bowl isn’t touching the water. Let the gentle steam do its work, stirring occasionally until the cocoa butter is completely melted into a clear, golden liquid.
H3: Part 2: The Combination
- Sift Like Your Chocolate’s Life Depends on It: Place your fine-mesh sieve over the bowl of melted cocoa butter. Add the powdered sugar and the cocoa powder into the sieve. Gently tap the side of the sieve to sift the dry ingredients directly into the melted cocoa butter. This is the most important step for ensuring a smooth, non-gritty texture.
- Whisk It Together: Grab your whisk and start stirring the mixture. It will look a bit sludgy and separated at first. Don’t panic! This is normal.
- Create the Emulsion: Keep the bowl over the gentle heat and continue to whisk for a few minutes. You are encouraging the fats and solids to combine into a beautiful, smooth, glossy liquid. You’ll see it transform before your very eyes.
- Add the Finishing Touches: Once the mixture is smooth and glossy, remove the bowl from the heat. Carefully wipe the bottom of the bowl to prevent any condensation from dripping in. Stir in your vanilla extract and the pinch of salt.
H3: Part 3: The Final Form
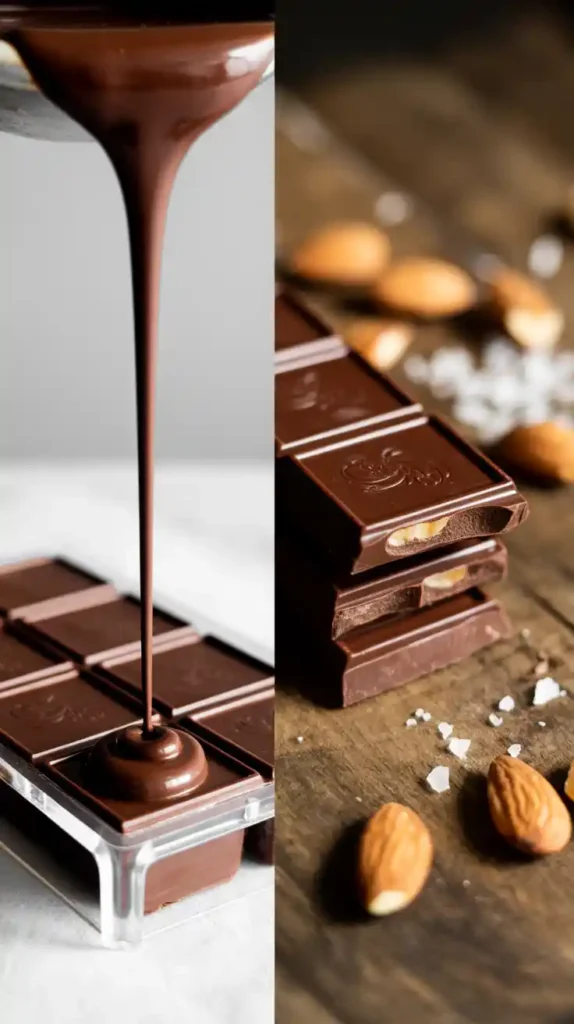
- Pour Into Molds: Carefully pour your liquid chocolate into your chocolate molds. Work quickly but don’t rush.
- Tap Out the Bubbles: Once filled, gently tap the molds flat on your countertop a few times. You’ll see little air bubbles rise to the surface. This helps ensure a smooth, solid bar.
- Chill Out: Place the molds in the refrigerator for at least 1 hour, or until the chocolate is completely firm all the way through.
- Unmold and Admire: Once solid, the chocolate bars should pop right out of the silicone molds. Take a moment to appreciate your creation. You just made chocolate. You’re basically a wizard.
Nutritional Info (The Obligatory Fine Print)
Let’s quickly look at the numbers before we devour our creation.
- Serving Size: 1 ounce (about 28g)
- Estimated Calories: Approximately 160-180 kcal
- Fat: High. This is from the cocoa butter, which is the point!
- Sugar: Present. You control how much.
- Note: You did not embark on this journey for the health benefits. You did it for glory, for science, and for delicious, homemade chocolate.
Common Mistakes to Avoid (Or, How Not to Ruin Your Masterpiece)
- The Grainy Calamity: You used granulated sugar. I can’t stress this enough: it will not dissolve in fat. You must use powdered sugar for a smooth texture.
- The Lumpy Tragedy: You got lazy and didn’t sift the cocoa powder and powdered sugar. Lumps in, lumps out. Take the extra 30 seconds to sift your dry ingredients.
- The Seized Abomination: A single drop of water found its way into your chocolate. Keep your workspace and all your tools impeccably dry.
- The Scorched Earth Policy: You got impatient and tried to melt the cocoa butter over direct heat. This can easily burn it, resulting in a bitter, unpleasant taste. The gentle heat of a double boiler is essential.
- The Coconut Oil “Shortcut”: You substituted cocoa butter with coconut oil. While you’ll get something that hardens, it’s not chocolate. It will melt instantly on your fingers and won’t have the characteristic snap or rich mouthfeel. Respect the cocoa butter.
Variations & Customizations (Now, Play God)
You’ve mastered the basic bar. Now it’s time to get creative.
- The Nut Job: Before pouring the chocolate into the molds, stir in a handful of toasted, chopped nuts. Almonds, pecans, hazelnuts, or pistachios are all excellent choices. A sprinkle of flaky sea salt on top of this version is a must.
- The Spicy Enigma: Whisk a teaspoon of ground cinnamon and a tiny pinch (and I mean tiny) of cayenne pepper into your melted chocolate mixture. The gentle warmth and spice create an incredible flavor dimension that’s perfect for dark chocolate lovers.
- The Keto Champion: This is the ultimate keto hack. Simply replace the powdered sugar with an equal amount of a powdered keto-friendly sweetener like monk fruit or erythritol. You now have a custom, sugar-free chocolate bar that you can feel good about.
Frequently Asked Questions (Your Chocolate Hotline)
Is it really that easy to make homemade chocolate?

Using this method, yes! It’s more about technique than complex skill. As long as you use the right ingredients and keep things dry, you can get fantastic results on your first try.
What’s the best cocoa butter to use?
Look for “food-grade” or “culinary-grade” cocoa butter. It often comes in yellow wafers or a solid block. Ensure it’s 100% pure cocoa butter.
Why is Dutch-processed cocoa powder better for this?
It’s been treated to neutralize its natural acidity, which gives it a smoother, less bitter flavor and a darker, more classic “chocolatey” color. Natural cocoa powder can be a bit more acidic and reddish in hue.
Why is my homemade chocolate gritty or waxy?
Grittiness is almost always from using granulated sugar instead of powdered. A waxy texture might mean your ratios are off or the ingredients weren’t fully whisked and emulsified over the heat.
How should I store my homemade chocolate?
Wrap it in foil or put it in an airtight container and store it in a cool, dry place like a pantry. Avoid the refrigerator, as it can cause condensation and lead to sugar bloom (those white, chalky patches).
Can I add milk to make milk chocolate?
Not liquid milk! That will cause it to seize. Real milk chocolate is made with finely milled dry milk powder. You can experiment by sifting in a few tablespoons of full-fat milk powder with your other dry ingredients for a creamier, milder bar.
Do I need to temper this chocolate?

For this simple, homemade version, no. Tempering is a specific heating and cooling process that aligns the crystals in the cocoa butter, giving professional chocolate a super glossy finish and a sharp “snap.” This recipe will still produce a delicious, solid chocolate bar without this advanced (and often frustrating) step.
Final Thoughts
You did it. You took powders and fats and turned them into one of civilization’s greatest achievements. You are now, officially, a chocolatier (home edition, but it totally counts). You’ve looked behind the curtain and mastered the magic.
So go on, break off a piece of your very own creation. Taste the rich flavor, feel the smooth texture, and enjoy the immense satisfaction of knowing you made it yourself. You’ll never look at a store-bought bar the same way again.