The Ultimate Pink Bento Cake Recipe (Your Guide to Adorable Mini Cakes)
Have you seen them? Scrolling through your social media feed, nestled in their own little lunchboxes, looking impossibly cute and effortlessly cool? Yes, we’re talking about the bento cake trend. These tiny, minimalist cakes are the perfect antidote to, well, everything. They’re a personal-sized declaration of self-love, a celebration of the small wins, and frankly, just too adorable not to make.
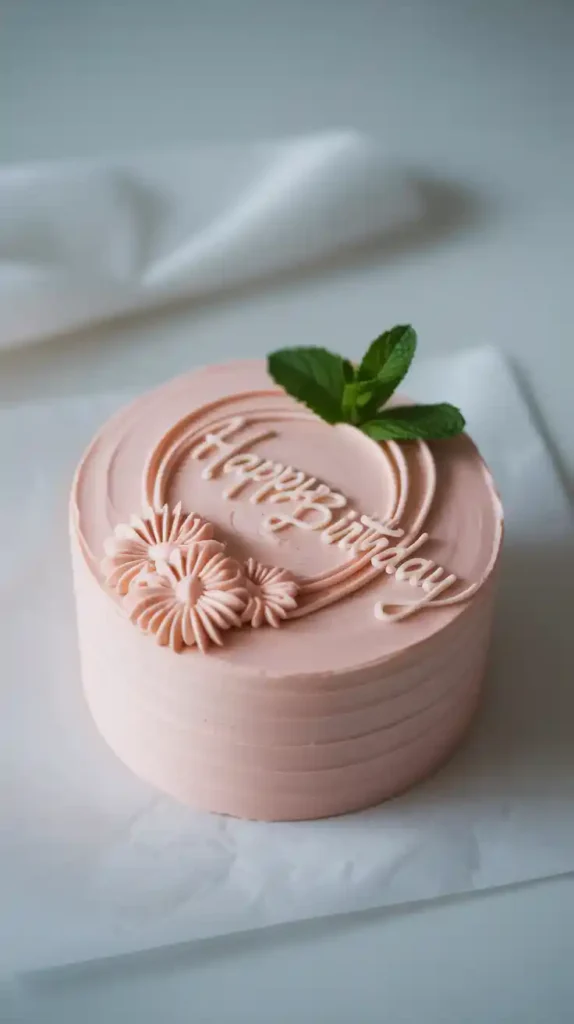
But they seem so perfect, so pristine. It must be some kind of dark baking magic, right? Wrong. I’m here to pull back the curtain and demystify the magic. Today, we are going to learn how to make your very own pink bento cake, because everyone, and I mean everyone, deserves a tiny, personal cake they don’t have to share.
So, get ready to embrace your inner artist and create a dessert that’s as fun to make as it is to photograph (and, okay, to eat).
Why This Recipe is Awesome (And Will Make You an Instant Influencer)
First of all, let’s state the obvious: it’s ridiculously cute. It’s a tiny cake! In a tiny box! What’s not to love? It has an outsized “wow” factor that will make anyone you give it to feel incredibly special. It’s the definition of a small gesture with a huge impact.
Second, it’s portion control, but make it chic. This isn’t about deprivation; it’s about a perfectly satisfying, personal-sized indulgence. You get to have your cake and eat the whole thing too, without the subsequent guilt of demolishing a dessert meant for twelve people.

Finally, this is the ultimate low-pressure way to practice your cake decorating skills. Want to try your hand at smooth sides or elegant piping? A tiny 4-inch canvas is way less intimidating than a giant three-tiered monster. It’s your own little delicious art project.
Ingredients You’ll Need

We’re making a small cake, so we need a small-batch recipe. This will make two perfect 4-inch cake layers.
For the Tiny Vanilla Cake:
- ¾ cup + 2 tablespoons (115g) all-purpose flour
- ½ cup (100g) granulated sugar
- ¾ teaspoon baking powder
- ¼ teaspoon salt
- ¼ cup (57g) unsalted butter, softened to room temperature
- 1 large egg, at room temperature
- ½ teaspoon pure vanilla extract
- ⅓ cup (80ml) whole milk, at room temperature
For the Perfect Pink Buttercream:
- ½ cup (113g) unsalted butter, softened
- 1 ½ – 2 cups (180-240g) powdered sugar, sifted
- 1 tablespoon whole milk or heavy cream
- ½ teaspoon pure vanilla extract
- Pinch of salt
- 1-2 drops of pink gel food coloring (this is key!)
Tools & Kitchen Gadgets Used
This is a small cake, but having the right tools makes a world of difference.
- Two 4-inch Round Cake Pans: This is the ideal size for a classic bento cake.
- A Bento Box or Small Clamshell Takeout Container: The signature packaging! A 5×5 or 6×6 inch container is perfect.
- Small Offset Spatula: Essential for getting smooth frosting on a tiny surface.
- Cake Turntable: Even a small, simple one makes frosting so much easier.
- Piping Bags: You’ll want at least two.
- Piping Tips: A small star tip (like a Wilton #16) for borders and a small round tip (like a Wilton #2 or #3) for writing are perfect.
- Parchment Paper: For lining your pans and your bento box.
- Digital Kitchen Scale: Highly recommended for getting your small-batch measurements just right.
Step-by-Step Instructions: The Art of the Mini Cake
Ready to create something adorable? Let’s break it down into manageable, fun-sized steps.
H3: Part 1: Baking the Tiniest, Cutest Cake
- Prep Your Station: Preheat your oven to 350°F (175°C). Grease your two 4-inch cake pans, line the bottoms with parchment paper circles, and grease the parchment.
- The Dry Bowl: In a small bowl, whisk together the flour, baking powder, and salt. Set it aside.
- The Wet Bowl: In a larger bowl, use a hand mixer or a small stand mixer to beat the softened butter and sugar together until pale and fluffy, about 3 minutes. Add the room temperature egg and vanilla extract and beat until everything is combined and smooth.
- The Union: With the mixer on low, add half of the dry ingredients, followed by all of the milk. Mix until just combined, then add the remaining dry ingredients. Stop mixing the second it comes together. Overmixing a small cake is a fast track to a tough texture.
- Bake and Cool: Divide the batter evenly between your two prepared pans. Bake for 18-22 minutes, or until a toothpick inserted into the center comes out clean. Let the tiny cakes cool in the pans for 10 minutes before turning them out onto a wire rack to cool completely.
H3: Part 2: Creating the Perfect Pink Frosting
- Whip the Butter: In a medium bowl, beat the softened butter with your mixer on medium-high speed until it’s creamy and pale, about 3 minutes.
- Add the Sugar: Gradually add 1 ½ cups of the sifted powdered sugar, mixing on low until it’s incorporated.
- Get the Right Consistency: Add the vanilla, salt, and 1 tablespoon of milk. Now, beat it on high speed for 3-4 minutes until it’s incredibly light and fluffy. If it’s too stiff, add a tiny splash more milk. If it’s too thin, add more powdered sugar.
- Think Pink: Add one single drop of pink gel food coloring and mix it in. Gel coloring is super concentrated, so start small! You can always add another drop to get your desired shade of dreamy pink.
H3: Part 3: Assembling Your Tiny Masterpiece
- The Mini Stack: Place one cooled cake layer on a small plate or your turntable. Top with a few tablespoons of pink frosting and spread it evenly. Place the second cake layer on top.
- The Mini Crumb Coat: Apply a very thin layer of frosting all over the cake. This traps any loose crumbs. It might seem silly for a small cake, but it’s the secret to a flawless finish. Chill the cake in the fridge for 15-20 minutes.
- The Final Coat: Cover the chilled cake with a final, smooth layer of your beautiful pink frosting. Use your small offset spatula and turntable to get it as smooth as you can. But don’t stress! A little rustic is also very chic.
- The Minimalist Decor: This is where the bento cake shines. Less is more. Use a piping bag with a small star tip to create a simple border on the top and bottom edges. Use a different bag with a small round tip to write a short, cheeky message (“HBD,” “luv u,” “for me,” “ugh”) or draw a simple heart.
- The Grand Presentation: Cut a piece of parchment paper to fit the bottom of your bento box. Carefully use a spatula to lift your finished cake and place it in the center of the box. Add a cute candle, and you’re done. You are an artist.
Calories & Nutritional Info

The best part of a tiny cake? The tiny calorie count… sort of.
- Calories per cake (the whole thing!): Approximately 1200-1400 kcal.
- Serving Size: Who are we kidding? It serves one. Or two, if you’re feeling generous.
- Nutritional Value: The primary nutrient is serotonin. It is clinically proven (by me) to induce happiness and make you feel fancy.
Common Mistakes to Avoid (Don’t Ruin the Cuteness)
This is a delicate art form. Avoid these common pitfalls.
- The Maximalist Mess: You got excited and added every sprinkle you own, plus a giant frosting rosette and some edible glitter. No! The bento cake’s charm is its minimalism. A simple border and a tiny message are all you need. Step away from the sprinkle cabinet.
- Using the Wrong Pink: You used that liquid food coloring from the grocery store, and now your buttercream is a watery, sad, salmon-colored mess. Use concentrated gel food coloring. It gives you a vibrant, beautiful color without ruining the frosting’s texture.
- The Wrong Sized Cake: You tried to cram a 6-inch cake into a 5-inch box. It got squished, the frosting smeared, and now it looks like it’s been in a fight. Respect the tiny proportions. Bake a small cake for a small box.
- Skipping the Crumb Coat: Yes, even on a mini cake, it matters! If you skip it, you’ll be dragging little cake crumbs all through your final pink frosting layer, and it will drive you bonkers. That 15-minute chill is worth it.
Variations & Customizations
Once you’ve mastered the pink vanilla, the tiny world is your oyster.
- Vintage Heart Bento Cake: Bake your cake in a 4-inch heart-shaped pan. Use different shades of pink and white frosting and various small star tips to create elaborate, vintage-style Lambeth piping. Very on-trend.
- Chocolate Strawberry Bento: Make a small-batch chocolate cake. Fill it with a thin layer of strawberry jam and frost it with a beautiful pink strawberry buttercream (made by adding a spoonful of seedless strawberry puree to the frosting).
- Matcha & Pink Bento: For a different aesthetic, make a small-batch matcha green tea cake. Frost it in a clean white vanilla buttercream and use your pink frosting for delicate piped accents, like tiny cherry blossoms.
FAQ Section: Your Tiny Cake Questions, Answered
- What exactly is a bento cake? It’s a small, minimalist cake, typically 4 inches in diameter, designed to serve one or two people. It’s packaged in a small “bento” or lunchbox-style container, hence the name. The trend originated in South Korea.
- What if I don’t have 4-inch cake pans? No problem! Bake a thin layer of your cake batter in a regular 8-inch or 9-inch pan. Once it’s cooled, use a 4-inch cookie cutter or the rim of a glass to cut out two perfect circles.
- What’s the best way to write on a tiny cake? Use a piping bag with a very small round tip (like a Wilton #2). The key is to have a frosting that’s not too stiff. And a steady hand! IMO, practicing on a piece of parchment paper first is a lifesaver.
- What is the best frosting for bento cakes? A stable crusting buttercream like American buttercream (this recipe) or Swiss meringue buttercream is ideal. They hold their shape well for piping and get a nice, smooth finish.
- How do I store a bento cake? Store it right in its little bento box in the refrigerator for up to 3 days. Let it sit at room temperature for about 20 minutes before eating for the best texture.
- Why is it called a “bento” cake? It’s named after the Japanese bento box—a single-portion takeout or home-packed meal. The cake mimics this concept by being a single-portion dessert packed neatly in its own little box.
- Can I use a box mix for this? You can, but it’s tricky. You’d have to measure out a small portion of the mix (about 1 cup of dry mix) and then figure out the tiny proportions of egg, water, and oil needed. A from-scratch, small-batch recipe like this one is often easier and yields better results.
Final Thoughts
And there you have it. Your very own personal, portable, perfectly pink piece of art. It’s a cake that says, “I’m celebrating,” even if what you’re celebrating is just the fact that you made it through another Wednesday.
It’s almost too cute to eat. Almost. Now go take a dozen pictures of it, post at least three of them, and then devour the entire thing without a single ounce of regret. You made it. You deserve it.