The Ultimate Fresh Fruit Birthday Cake Recipe (It’s a Showstopper)
Let’s be honest, sometimes a traditional birthday cake can feel like a delicious, sugary brick. You know the ones—dense cake, an inch of intensely sweet buttercream. You have one slice and immediately need a nap. What if I told you that you could have a celebration cake that’s light, refreshing, stunningly beautiful, and won’t send you into a sugar coma? Welcome, my friend, to the glorious, elegant world of the fresh fruit birthday cake.
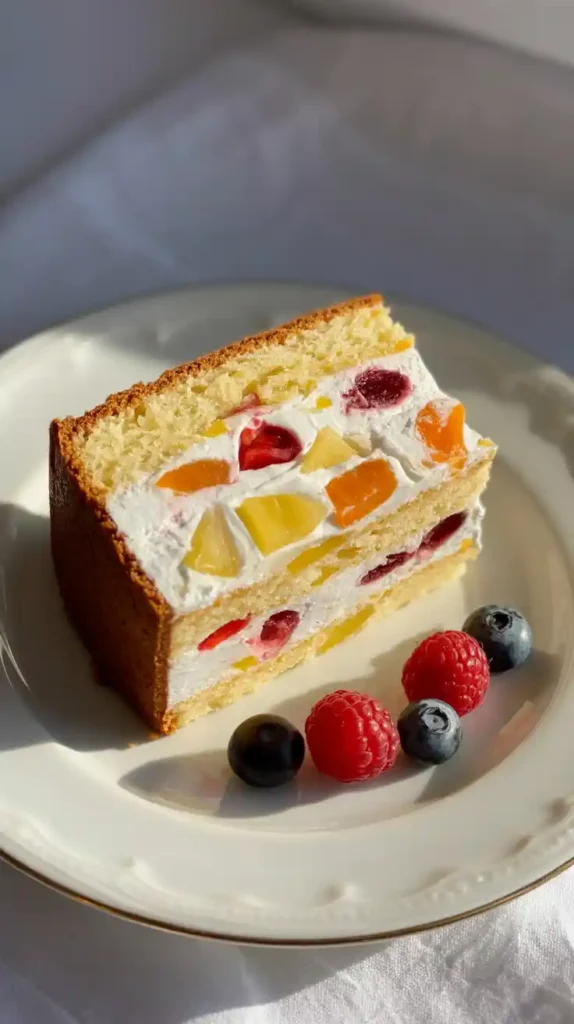
This is the cake you’ve seen in the windows of fancy bakeries, looking like an edible work of art. It’s a masterpiece of soft, airy sponge cake, cloud-like whipped cream, and a vibrant crown of glistening fresh fruit. It looks incredibly impressive, but here’s the secret: it’s surprisingly simple to make, and nature does most of the decorating for you.
Why This Cake is a Breath of Fresh Air
So, why is this the perfect cake for just about any occasion? Let’s get into it.
- It’s Refreshingly Light and Delicious: This cake is the absolute opposite of heavy and cloying. The airy sponge cake, paired with a lightly sweetened stabilized whipped cream frosting, is a dream. The fresh fruit on top adds a natural sweetness and a touch of tartness that cuts through the richness beautifully.
- It’s Naturally Gorgeous: You don’t need to be a piping pro to make this cake look stunning. A beautiful arrangement of colorful, fresh, seasonal fruit is all the decoration you need. It’s a rustic, elegant showstopper that always gets a “wow.”
- It’s Incredibly Versatile: This cake is a perfect canvas. You can switch up the fruit based on the season or the birthday person’s favorites. Berries in the summer, citrus in the winter, tropical fruits for a special theme—the possibilities are endless.
The Ingredient List: The Anatomy of Freshness
To build this light and lovely creation, we need a few key components.
For the Ethereal Sponge Cake:
- Cake Flour: 2 cups, sifted. This is key for a light, tender crumb.
- Granulated Sugar: 1 ½ cups, divided.
- Baking Powder: 2 teaspoons.
- Salt: ½ teaspoon.
- Large Eggs: 6, separated into yolks and whites, at room temperature.
- Vegetable Oil: ½ cup.
- Water or Milk: ¾ cup, at room temperature.
- Vanilla Extract: 2 teaspoons.
- Cream of Tartar: ½ teaspoon (for stabilizing the egg whites).
For the Cloud-Like Stabilized Whipped Cream:
- Heavy Whipping Cream: 3 cups, very cold.
- Powdered Sugar: 1 cup, sifted.
- Unflavored Gelatin: 1 ½ teaspoons.
- Cold Water: 3 tablespoons.
- Vanilla Extract: 1 ½ teaspoons.
For the Crown Jewels (The Fruit & Glaze):
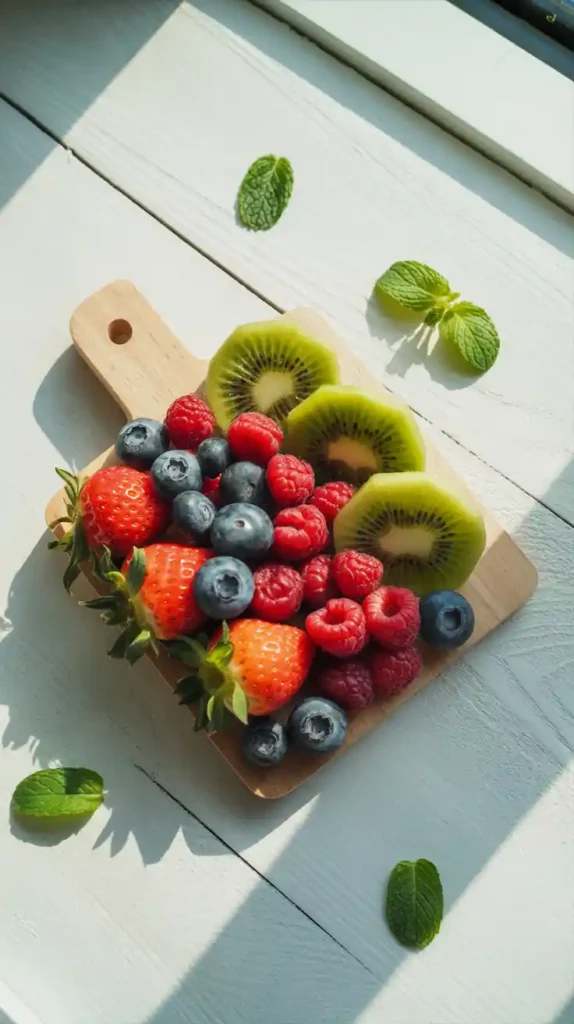
- Assorted Fresh Fruit: About 4-5 cups. Think strawberries, blueberries, raspberries, kiwi, mango, orange segments, blackberries, peaches.
- Simple Syrup: ½ cup water and ½ cup sugar, for brushing on the cake layers.
- Apricot Jam or Jelly: ¼ cup, for the shiny glaze.
- Water: 1 tablespoon.
Tools & Kitchen Gadgets: Your Orchard Kit
You don’t need a ton of fancy equipment, but these tools will help you achieve that bakery-quality look.
- A Stand Mixer with a Whisk Attachment: Very highly recommended for whipping the egg whites and the cream to perfection.
- Two 8-inch or 9-inch Round Cake Pans.
- A Cake Turntable: For smooth, even frosting.
- An Offset Spatula and a Bench Scraper.
- A Sharp Paring Knife: For slicing your fruit beautifully.
- A Pastry Brush: For applying the simple syrup and the apricot glaze.
- A Small Saucepan.
Step-by-Step Instructions: Creating Your Masterpiece
Ready to build something beautiful? Let’s break it down.
Step 1: Bake the Airy Sponge
- Prep: Preheat your oven to 325°F (165°C). Grease and line your cake pans with parchment paper.
- Mix the Base: In a large bowl, whisk together the flour, 1 cup of the sugar, baking powder, and salt. In a separate bowl, whisk the egg yolks, oil, water/milk, and vanilla. Pour the wet ingredients into the dry and whisk until just smooth.
- Whip the Whites: In your clean stand mixer bowl, beat the egg whites and cream of tartar on medium speed until foamy. Gradually stream in the remaining ½ cup of sugar and whip on high speed until stiff, glossy peaks form.
- Fold and Bake: Gently fold the whipped egg whites into the yolk mixture in three additions. Be very gentle so you don’t deflate the whites. Divide the airy batter between your pans and bake for 30-35 minutes, until a skewer comes out clean. Let cool completely.
Step 2: Prepare Your Fruit and Glazes
- While the cake cools, prepare your simple syrup by simmering ½ cup sugar and ½ cup water until the sugar dissolves. Set aside to cool.
- Prepare your apricot glaze by heating ¼ cup of apricot jam with 1 tablespoon of water until it’s a smooth, brushable consistency.
- Wash and thoroughly dry all your fruit. This is a crucial step. Slice larger fruits like strawberries and kiwi.
Step 3: Whip the Stabilized Cream
- In a small bowl, sprinkle the gelatin over the 3 tablespoons of cold water and let it “bloom” for 5 minutes. Then, microwave it for 5-10 seconds until it’s just melted and liquid.
- In your cold stand mixer bowl, whip the very cold heavy cream and sifted powdered sugar until soft peaks form.
- With the mixer on low, slowly stream in the melted (but not hot!) gelatin and the vanilla extract. Increase the speed to high and whip until stiff peaks form.
Step 4: The Elegant Assembly
- Level your cooled cake layers. Place one layer on your cake stand.
- Generously brush the layer with your cooled simple syrup. This is the secret to a moist cake!
- Spread a thick layer of the stabilized whipped cream on top. You can add a layer of finely chopped fruit here as well.
- Top with the second cake layer, brush it with simple syrup, and then frost the entire cake with the remaining whipped cream. Use your bench scraper to get a smooth, clean finish.
Step 5: The Art of Arrangement

This is the fun part! Arrange your beautiful, dry, sliced fruit on top of the cake. You can create a crescent shape, a full circle, a cascading pile in the center, or a neat, geometric pattern. Once you’re happy with your design, gently brush the fruit with the warm apricot glaze. This gives it a beautiful, professional shine and helps to seal it.
Calories & Nutritional Info (A Lighter Indulgence)
This cake is a celebration of freshness, and it’s a much lighter option than its buttercream-laden cousins.
- Serving Size: One refreshing slice.
- Calories: Approximately 350-450 kcal.
- Good Stuff: Packed with vitamins and antioxidants from all that fresh fruit!
- Vibe: Light, airy, and guilt-free (mostly).
Common Mistakes to Avoid (Fruit Fails)
- A Soggy, Weeping Mess: This is the #1 enemy of a fruit cake. It’s caused by two things: wet fruit or un-stabilized whipped cream. Pat your fruit completely dry with paper towels. And don’t skip the gelatin in the whipped cream—it’s the magic that keeps it from deflating.
- A Dry, Sad Sponge: That light, airy sponge cake needs a little help to stay moist. Brushing the layers with simple syrup is a non-negotiable step.
- Arranging the Fruit Too Early: Fresh fruit will eventually release its juices. For the best, freshest result, decorate the cake with the fruit no more than 3-4 hours before you plan to serve it.
- The Dreaded Fruit Smear: When you slice the cake, the fruit can get dragged through the pristine white cream, making a mess. The secret is to use a long, sharp knife, run it under hot water, and wipe it clean between every single slice.
Variations & Customizations (The Fruit Market)
The beauty of this cake is its adaptability to any season or taste.
1. The Tropical Paradise
Use a light coconut sponge cake (add coconut extract and shredded coconut to the batter). For the frosting, use a coconut-infused whipped cream. Top with a vibrant arrangement of sliced mango, kiwi, passionfruit pulp, and toasted coconut flakes.
2. The Berries and Cream Dream
A timeless classic. Use a lemon-zested sponge cake for a bright base. Fill and top the cake with a beautiful mixture of fresh strawberries, blueberries, raspberries, and blackberries. This is perfect for a summer birthday.
3. The Winter Citrus Jewel Box
For a winter celebration, use an almond or orange-infused sponge cake. Create a stunning, jewel-toned topping with thinly sliced blood oranges, Cara Cara oranges, grapefruit segments, and a scattering of sugared cranberries and pomegranate seeds.
FAQ: Your Freshest Questions, Answered
How do I make stabilized whipped cream?

The gelatin method (in the recipe) is foolproof. Sprinkle 1.5 tsp of gelatin over 3 tbsp of cold water, let it bloom for 5 minutes, then microwave for 5-10 seconds to melt. Slowly stream this into your whipped cream as it’s whipping. You can also add a few tablespoons of cream cheese or instant pudding mix to your cream to help it stabilize.
What are the absolute best fruits to put on a cake?
Berries (strawberries, blueberries, raspberries), kiwi, mango, peaches, nectarines, and citrus segments all hold up very well and look beautiful. Avoid fruits with a very high water content, like watermelon or cantaloupe, as they will make the cake soggy quickly.
Can I use frozen fruit?
For the topping, fresh is always best. Frozen fruit will release a lot of water as it thaws and will make your whipped cream a soupy mess. However, you can use cooked-down frozen fruit in the filling between the layers.
How far in advance can I make a fresh fruit cake?
You can bake the cake layers 1-2 days ahead. Let them cool completely, wrap them tightly, and store them at room temperature. For the best result, assemble the cake and decorate it with the fresh fruit on the day you plan to serve it.
How do I keep my cut fruit (like apples or bananas) from browning?
If you want to use fruits that brown easily, toss them in a little bit of lemon juice right after you slice them. The citric acid will prevent oxidation.
How do I store leftovers?
This cake must be stored in the refrigerator because of the whipped cream and fresh fruit. Keep it in a cake carrier or loosely covered. It’s best eaten within 1-2 days.
My whipped cream still melted. What did I do wrong?

Make sure everything is ice cold! Use a chilled metal bowl for whipping, and make sure your heavy cream is straight from the back of the fridge. Warm cream will not whip properly, stabilizer or not.
Final Thoughts
You’ve done it. You have created a cake that is a celebration of freshness, a work of art, and a testament to the fact that birthday cakes can be both beautiful and light. You’ve proven that sometimes, the most elegant decorations aren’t made of sugar and food coloring—they’re grown on trees, vines, and bushes.
So go on, present your stunning creation. Enjoy the bright, fresh flavors. And get ready for everyone to ask for a second slice (because they actually have room for it!).