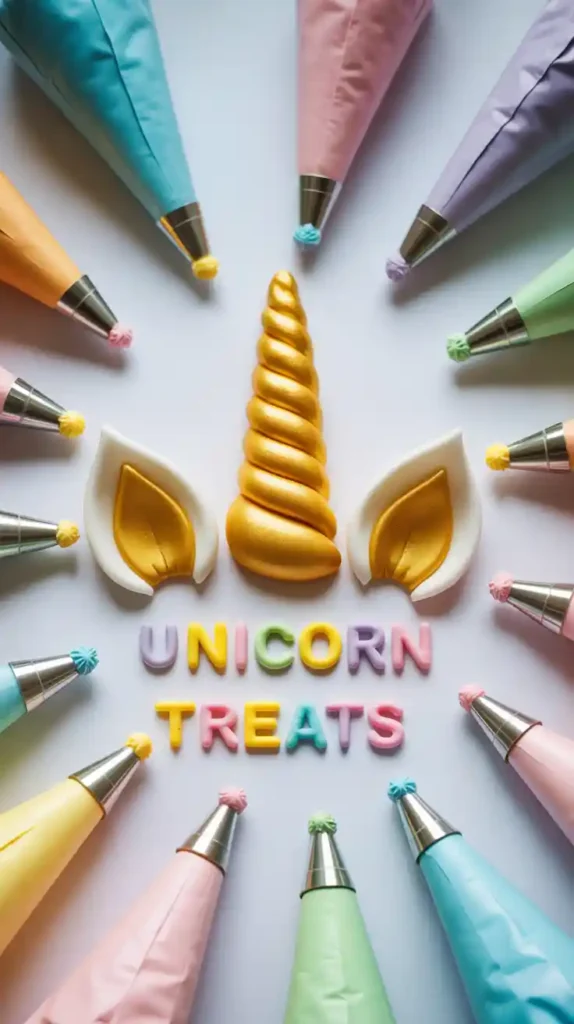
The Ultimate Guide to Making a Magical Unicorn Theme Cake
Let’s be real for a moment. Deep down, in that part of your heart that still believes in magic and thinks glitter is a perfectly acceptable food group, you’ve always wanted a unicorn. While getting a real, live, mythical creature might be a logistical nightmare (think of the vet bills!), I am here to offer you the next best thing. Today, we are going to bake a legend. We are making the ultimate, sparkling, magical unicorn theme cake.
Forget those sad, flat cakes from the grocery store. We are about to create a tall, majestic, rainbow-maned masterpiece that will be the undisputed star of any birthday party. It looks like it was delivered by fairies from an enchanted forest, but I’m going to let you in on a secret: it’s surprisingly easy to make. Ready to bake a myth into reality?
Why This Cake is Pure Magic
So why is this the one and only unicorn cake recipe you’ll ever need?
- It’s a Show-Stopping Masterpiece: This cake is an event. With its tall stature, golden horn, and glorious rainbow mane, it’s guaranteed to elicit gasps of delight. It’s the kind of cake that makes a birthday party feel truly magical.
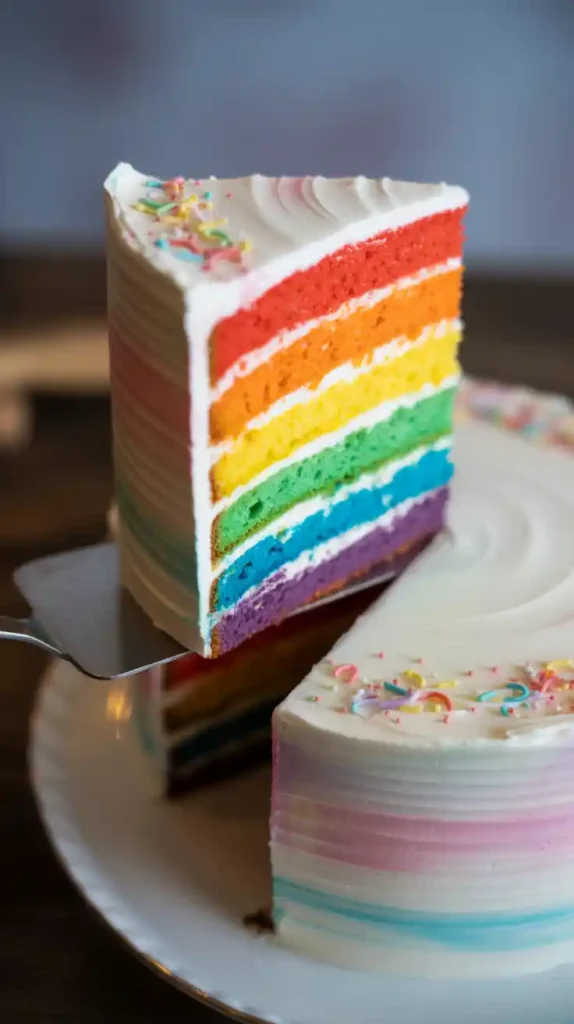
- The Surprise Inside: The magic isn’t just on the outside! We’re making beautiful rainbow layers on the inside, so every slice is a colorful, joyful surprise. The “wow” moment happens all over again when you cut into it.
- Easier Than It Looks: I know it looks intimidating, but I promise, the decorating is just a series of simple, fun steps. The iconic rainbow mane is created with one piping tip! If you can make a rosette, you can make this cake.
The Ingredient List: A Recipe for Enchantment
To create our mythical beast, we need a colorful cake and a whole lot of dreamy buttercream.
For the Magical Rainbow Cake:
- All-Purpose Flour: 3 cups.
- Granulated Sugar: 2 cups.
- Baking Powder: 1 tablespoon.
- Salt: ½ teaspoon.
- Unsalted Butter: 1 cup (2 sticks), softened.
- Vegetable Oil: ½ cup.
- Large Egg Whites: 6, at room temperature (this keeps the cake white so the colors pop).
- Vanilla Extract: 1 tablespoon.
- Buttermilk: 1 ¼ cups, at room temperature.
- Gel Food Colorings: An assortment of rainbow colors (red, orange, yellow, green, blue, purple).
For the Dreamy Buttercream & Decorations:
- Unsalted Butter: 3 cups (6 sticks), softened.
- Powdered Sugar: 8-9 cups, sifted.
- Vanilla Extract: 1 tablespoon.
- Milk or Heavy Cream: 6-8 tablespoons.
- Salt: A pinch.
- Gel Food Colorings: Pastel or vibrant shades for the mane (pink, purple, blue, yellow, etc.).
- For the Horn & Ears:
- White and Pink Fondant.
- A wooden skewer.
- Edible Gold Luster Dust or edible gold paint.
- For the Finishing Touches:
- Black gel food coloring or an edible ink pen for the eyes.
- Lots of edible glitter and magical sprinkles.
Tools & Kitchen Gadgets: The Unicorn Tamer’s Kit
You don’t need a magic wand, but a few key tools will make this enchanting process much easier.
- Four 8-inch Round Cake Pans: For a nice, tall cake. (You can re-use two pans if needed).
- A Stand Mixer or Hand Mixer.
- A Cake Turntable: Essential for getting a smooth finish on a tall cake.
- A Tall Bench Scraper or a large offset spatula.
- Piping Bags and a Large Star Tip (like a Wilton 1M): This is the key tool for creating that beautiful, multi-colored mane.
- A small, food-safe paintbrush.
- A Sturdy Cake Board.
Step-by-Step Instructions: The Magical Creation Process

Put on your favorite sparkly outfit. It’s time to make some magic happen.
Phase 1: Bake a Rainbow
- Prep: Preheat your oven to 350°F (175°C). Grease and flour your cake pans.
- Make the Batter: In a large bowl, whisk together the dry ingredients. In your mixer, beat the butter and sugar until fluffy. Add the oil, then the egg whites one at a time, followed by the vanilla. On low speed, alternate adding the dry ingredients and the buttermilk until just combined.
- Create the Colors: Divide the white cake batter evenly among 4-6 bowls. Add a different gel food coloring to each bowl and mix until you have your desired rainbow shades.
- Bake: Pour each color into a prepared pan and bake for 18-22 minutes, or until a toothpick comes out clean. Let the layers cool completely.
Phase 2: Craft the Unicorn Accessories
- The Horn: Roll a long, tapered cone shape out of white fondant. Carefully twist it and insert a wooden skewer through the center. Let it dry for at least a few hours, or preferably overnight, until it’s hard. Once dry, mix your gold luster dust with a few drops of clear alcohol (like vodka) or lemon extract to create a paint, and paint the horn gold.
- The Ears: Cut out two leaf-shapes from white fondant for the outer ears and two smaller ones from pink fondant for the inner ears. Pinch the bottoms slightly to give them some shape and let them dry.
Phase 3: Whip the Buttercream and Assemble
- Make your buttercream by beating the softened butter, then gradually adding the powdered sugar, vanilla, salt, and milk until light and fluffy.
- Build Your Tower: Level your rainbow cake layers. Stack them on your cake board, adding a layer of white buttercream between each colorful layer.
- Apply a thin crumb coat of white buttercream all over the cake and chill for 30 minutes. Once firm, apply a final, smooth, beautiful coat of white buttercream.
Phase 4: Create the Rainbow Mane
- Divide about 2 cups of your remaining buttercream among 3-4 bowls and tint each one a different pastel color (pink, purple, blue, yellow, etc.).
- The Magic Piping Trick: Lay a long piece of plastic wrap on your counter. Spoon lines of each colored frosting side-by-side onto the plastic wrap. Gently roll it up into a log and snip off one end. Place this log into a piping bag fitted with a large star tip (like a Wilton 1M).
- Now, pipe a beautiful cascade of rosettes, stars, and swirls down one side of the cake and across the top to form the mane. The colors will magically swirl together as you pipe!
Phase 5: The Final Enchantment
- Carefully insert the finished golden horn into the center top of the cake.
- Place the ears on either side of the horn, pressing them gently into the frosting.
- Using a bit of black frosting in a piping bag with a tiny round tip (or an edible ink pen), draw on two simple, sleepy, curved lines for the eyes.
- Finish with a generous dusting of edible glitter and sprinkles. Because it’s not a unicorn without sparkle.
Calories & Nutritional Info (Powered by Magic)
This cake is a mythical creature, and as such, it operates outside the normal rules of nutrition.
- Main Ingredient: Pure, unadulterated joy.
- Vitamins: Rainbow.
- Calories: Let’s just say they’re as magical and elusive as the unicorn itself.
Common Mistakes to Avoid (Magical Mishaps)
- A Wobbly Unicorn: A tall cake needs a stable base. Make sure you level your cake layers so they stack flat. If your cake is very tall (more than 4 layers), consider using a central dowel for support.
- A Droopy, Sad Horn: If you don’t let your fondant horn dry completely until it’s hard, it will droop and bend when you place it on the cake. Patience is a virtue. The sugar cone hack (painting a sugar cone gold) is a great, sturdy alternative.
- Muddy-Colored Mane: When you’re filling your piping bag, lay the colors side-by-side, don’t just blob them in. This will give you those beautiful, distinct multi-colored swirls instead of a brownish-grey mess.
- Forgetting the Sparkle: I cannot be clearer about this. A unicorn cake must sparkle. Edible glitter is non-negotiable. This is a hill I will die on.
Variations & Customizations (Choose Your Mythical Beast)
Every unicorn is unique. Here’s how to customize yours.
1. The Galaxy Unicorn
Instead of a rainbow mane, use frosting colors like deep blue, violet, black, and pink. After piping, splatter the mane with a little white food coloring (flicked from a paintbrush) and sprinkle with edible silver star glitter for a celestial, galaxy-themed unicorn.
2. The Golden & White Unicorn
For a more elegant, sophisticated unicorn, keep the cake and most of the mane a pure white. Pipe just a few rosettes using buttercream tinted with the same gold as the horn. It’s chic, minimalist, and absolutely stunning.
3. The “Lazy” Unicorn Sheet Cake
Don’t want to mess with a tall, layered cake? No problem! Frost a 9×13 inch sheet cake white. Pipe the colorful rainbow mane along one of the long edges. Lay the horn and ears flat on the surface of the cake above the mane, and draw the eyes on the side. All the magic, half the stress.
FAQ: Your Most Mystical Questions, Answered
Do I have to make the horn and ears out of fondant?

Nope! For an easy horn, take a sugar ice cream cone, trim the bottom to your desired height, and paint it with edible gold paint. For the ears, you can cut the shapes out of sturdy cardstock and attach them to toothpicks. Just remember to remove them before serving!
What’s the secret to getting that beautiful multi-colored frosting swirl?
It’s the plastic wrap trick mentioned in the instructions. By laying your colors out side-by-side on plastic wrap and then rolling it into a log, you keep the colors separate until the moment they come out of the piping tip.
Can I make the rainbow layers with a box mix?
Absolutely! Prepare one box of white cake mix according to the directions. Divide the batter among several bowls, tint each one a different color, and bake as directed. It’s a great shortcut.
How do I make the black frosting for the eyes?
You don’t need to buy a whole tub of black frosting. Just take a tablespoon of your white buttercream and mix in a few drops of black gel food coloring. A little goes a long way.
Is edible glitter safe to eat?
Yes, as long as you buy glitter that is specifically marketed as “edible” and made from food-grade ingredients like sugar or cornstarch. Avoid “non-toxic” craft glitter, which is not meant to be eaten.
How do I get my buttercream so white?
Butter can give your buttercream a yellowish tint. The secret is to add the tiniest possible drop of violet gel food coloring. The purple counteracts the yellow tones on the color wheel, tricking your eye into seeing a brighter white. It’s color theory magic!
How far in advance can I make this cake?

You can bake the cake layers and make the horn/ears up to 2 days in advance. Store the wrapped cake layers at room temp and the horn/ears in a dry, safe place. Frost and assemble the cake the day of or the day before your party for the freshest results.
Final Thoughts
You have done it. You have harnessed the power of rainbows and glitter. You have baked a myth into a delicious reality. You are now the proud creator of a majestic, magical unicorn theme cake that is destined to be the star of the party.
Go on, present your masterpiece. Watch the birthday kid’s eyes light up. Make a wish, cut a giant slice (revealing the rainbow inside!), and enjoy a taste of pure, unadulterated magic. You’ve earned it.