The Ultimate Boyfriend Birthday Cake (That You Can’t Actually Mess Up)
Let’s be honest. His birthday is creeping up on the calendar, and the annual panic is starting to set in. What do you get the guy who has everything, or worse, says he wants nothing? You could buy another video game he’ll play for a week, or a shirt that will mysteriously find its way to the back of the closet. Or… you could bake him the most legendary boyfriend birthday cake of all time. I’m not talking about a dry, crumbly box mix tragedy. I’m talking about a rich, decadent, “I-can’t-believe-you-made-this” masterpiece that will secure your spot as Partner of the Year.
Sound intimidating? It’s not. This cake is your secret weapon. It looks like it took hours of slaving away in a hot kitchen, but between you and me, it’s deceptively simple. It’s the kind of cake that gets rave reviews, earns you infinite brownie points (or, well, cake points), and makes him look at you with that sparkly-eyed adoration usually reserved for pizza and puppies.
So, are you ready to ditch the store-bought stress and become a baking legend? Good. Let’s do this.
Why This Recipe is Your New Best Friend
First off, this cake is unbelievably moist. We’re using a secret ingredient (spoiler: it’s coffee) that deepens the chocolate flavor and guarantees a perfect, tender crumb every single time. No more sad, dry cakes that need a gallon of milk to wash down. This is the chocolate cake of his dreams.
Second, it’s a one-bowl wonder for the cake batter. Fewer dishes? Yes, please. You basically dump, mix, and bake. It’s designed to be foolproof, so even if your last baking attempt resulted in a smoke alarm serenade, you can handle this. I promise.
Finally, the wow factor is off the charts. A two-layer chocolate cake with glossy, rich fudge frosting just screams “I love you and I have my life together.” He doesn’t need to know it was easier than assembling IKEA furniture. That’ll be our little secret.
The A-List: Ingredients
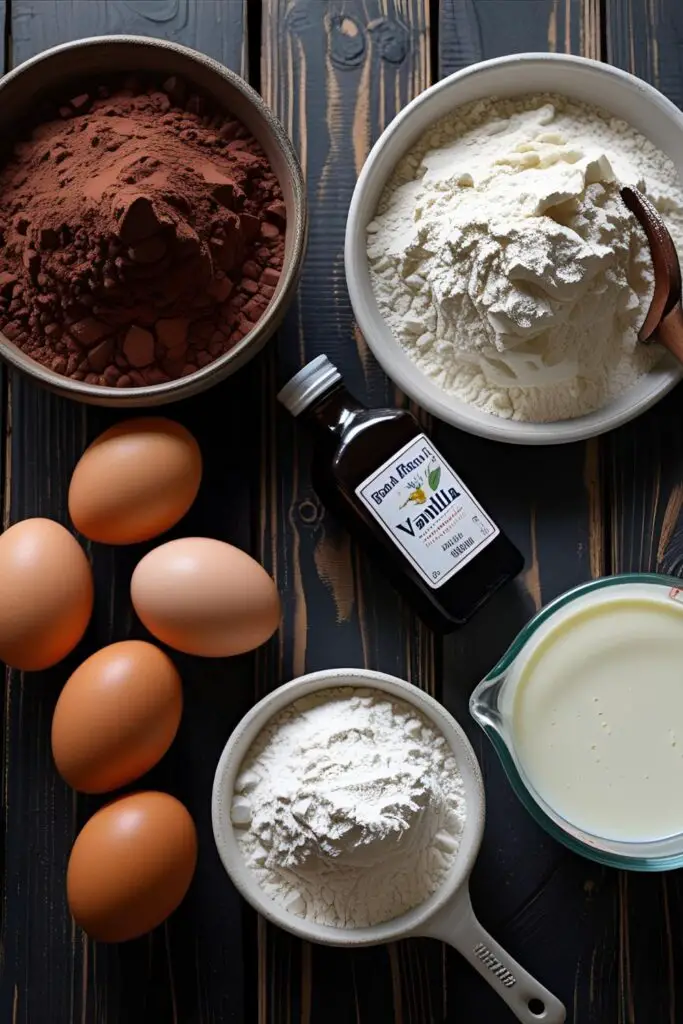

Let’s get our cast of characters together. Don’t skimp on the good cocoa powder—it makes all the difference.
For the World’s Most Moist Chocolate Cake:
- 2 cups all-purpose flour
- 2 cups granulated sugar
- 3/4 cup unsweetened cocoa powder (the good stuff, like Dutch-process, if you’re feeling fancy)
- 2 teaspoons baking soda
- 1 teaspoon baking powder
- 1 teaspoon salt
- 1 cup buttermilk (Don’t have any? Key Substitution: Mix 1 cup of regular milk with 1 tablespoon of lemon juice or white vinegar. Let it sit for 5 minutes. Voila, instant buttermilk!)
- 1/2 cup vegetable oil
- 2 large eggs, at room temperature
- 1 teaspoon vanilla extract
- 1 cup freshly brewed hot coffee (or 1 cup hot water, but coffee is better, trust me)
For the Dreamy Chocolate Fudge Frosting:
- 1 cup (2 sticks) unsalted butter, softened
- 3/4 cup unsweetened cocoa powder
- 4 cups powdered sugar
- 1/2 cup milk or heavy cream
- 2 teaspoons vanilla extract
- A pinch of salt
Your Trusty Sidekicks: Tools & Kitchen Gadgets
Having the right tools makes you feel like a pro, even if you’re just winging it. Here’s what you’ll need to pull this off without a hitch.
- Stand Mixer or a reliable Hand Mixer: For that perfectly whipped frosting. Your arm will thank you.
- Large and Medium Mixing Bowls: One for the dry stuff, one for the wet stuff, or just one big one if you’re feeling bold.
- Measuring Cups and Spoons: Baking is a science, people! Eyeballing it is for chili, not for cakes.
- Whisk: Essential for getting rid of those pesky flour lumps.
- Silicone Spatula: For scraping every last delicious bit of batter and frosting from the bowl. No man left behind.
- Two 9-inch Round Cake Pans: The classic choice for a stunning layer cake.
- Parchment Paper: The non-negotiable secret to getting your cakes out of the pan in one piece.
- Wire Cooling Rack: Because a hot cake and frosting are a recipe for a slippery disaster.
- Offset Spatula: The key to getting those smooth, professional-looking swirls in your frosting.
- Cake Turntable (Optional): If you want to feel like you’re on a baking show, this makes frosting a breeze.
Let’s Bake a Cake! Step-by-Step Instructions
Deep breaths. You’ve got this. We’ll break it down into manageable chunks.
H3: Part 1: The Main Event – The Cake
- Prep Your Station: Preheat your oven to 350°F(175°C). Grease and flour your two 9-inch round cake pans. For extra insurance, trace the bottom of the pan on parchment paper, cut it out, and place it in the bottom. Do not skip this part unless you enjoy surgically removing cake from a pan.
- Mix the Dry Stuff: In a large bowl (or the bowl of your stand mixer), whisk together the flour, sugar, cocoa powder, baking soda, baking powder, and salt. Get it all nice and combined. No streaks allowed.
- Add the Wet Stuff: Add the buttermilk, oil, eggs, and vanilla to the dry ingredients. Mix on medium speed for about two minutes. The batter will be thick. Scrape down the sides of the bowl to make sure everyone is in the pool.
- The Magic Ingredient: Now for the fun part. Carefully pour the hot coffee into the batter. Mix on low speed until just combined. The batter will be very thin—don’t panic! This is what makes it so moist. It should look like chocolate soup. This is correct.
- Divide and Conquer: Pour the batter evenly between your two prepared pans. A kitchen scale helps here if you’re a perfectionist, but eyeballing it is totally fine.
- Bake It: Bake for 30-35 minutes, or until a wooden toothpick inserted into the center comes out clean or with a few moist crumbs attached.
- Cool It: Let the cakes cool in the pans on a wire rack for about 15 minutes. Then, carefully run a knife around the edges and invert them onto the wire rack to cool completely. And I mean COMPLETELY. Don’t even think about frosting a warm cake.
H3: Part 2: The Frosting That Steals the Show
- Cream the Butter: In your mixer, beat the softened butter until it’s creamy and smooth, about 2 minutes.
- Go for Cocoa: Add the cocoa powder and mix on low until it’s combined. It will look a bit pasty.
- The Sugar Rush: Beat in the powdered sugar, alternating with the milk, starting and ending with the sugar. Add about a cup of sugar, then a splash of milk, and repeat. This prevents a sugar explosion all over your kitchen.
- Final Touches: Once everything is combined, add the vanilla and pinch of salt. Crank the mixer up to medium-high and beat for a full 3-5 minutes until the frosting is light, fluffy, and glorious. Licking the beater is not only allowed, it’s encouraged.
H3: Part 3: The Grand Assembly
- Level Up: If your cake layers have a dome, use a long serrated knife to gently slice it off. (Bonus: you get to eat the scraps).
- First Layer: Place one cake layer, top-side down, on your serving plate or cake stand. Scoop a generous amount of frosting (about 1 cup) onto the layer and spread it evenly with your offset spatula.
- Stack It: Carefully place the second cake layer on top.
- Crumb Coat (The Pro Move): Apply a very thin layer of frosting all over the top and sides of the cake. This traps any loose crumbs. Pop the whole thing in the fridge for 20-30 minutes to set. This step is the difference between a clean finish and a crumbly mess.
- Final Frosting: Once the crumb coat is chilled, cover the entire cake with the remaining frosting. Go for smooth, elegant swirls or a rustic, textured look. You’re the artist here.
By the Numbers: Calories & Nutritional Info
Listen, it’s a birthday cake. Let’s not get too caught up in the details, okay? But for those who are curious, here’s a rough estimate per slice (assuming you cut it into 12 generous servings).
- Calories: Approximately 620 kcal
- Fat: 34g
- Carbohydrates: 75g
- Sugar: 55g
- Protein: 6g
- A Note from Your Conscience: This cake is best enjoyed with friends, laughter, and zero guilt. It’s fuel for celebrating, not for running a marathon. IMO, it’s worth every single calorie.
Common Mistakes (And How to Feel Superior by Avoiding Them)
We’ve all been there. Here’s how to sidestep the most common cake-tastrophes.
- The Over-Mixed Hockey Puck: You mixed the batter until it was perfectly smooth, right? Wrong. Stop mixing as soon as the ingredients are combined. A few lumps are okay. Over-mixing develops gluten, which makes your cake tough. Don’t do it.
- The Sticking Point: You thought a quick spray of oil was enough. Grease, flour, AND use parchment paper. Your future self will thank you when the cake slides out like a dream instead of breaking into a million sad pieces.
- The Meltdown: You frosted a warm cake. I warned you. The frosting will melt, the layers will slide, and it will look like a chocolate mudslide. Patience is a virtue. Let those layers cool completely. Touch them. Are they even slightly warm? Walk away.
- Lumpy Frosting: Your butter was too cold. You can’t rush softened butter. Let the butter sit on the counter for at least an hour before you even start. If you’re in a hurry, you can microwave it in 5-second bursts, but that’s risky business.
Mix It Up: Variations & Customizations
Feeling adventurous? Here are a few ways to customize this cake and make it uniquely his.
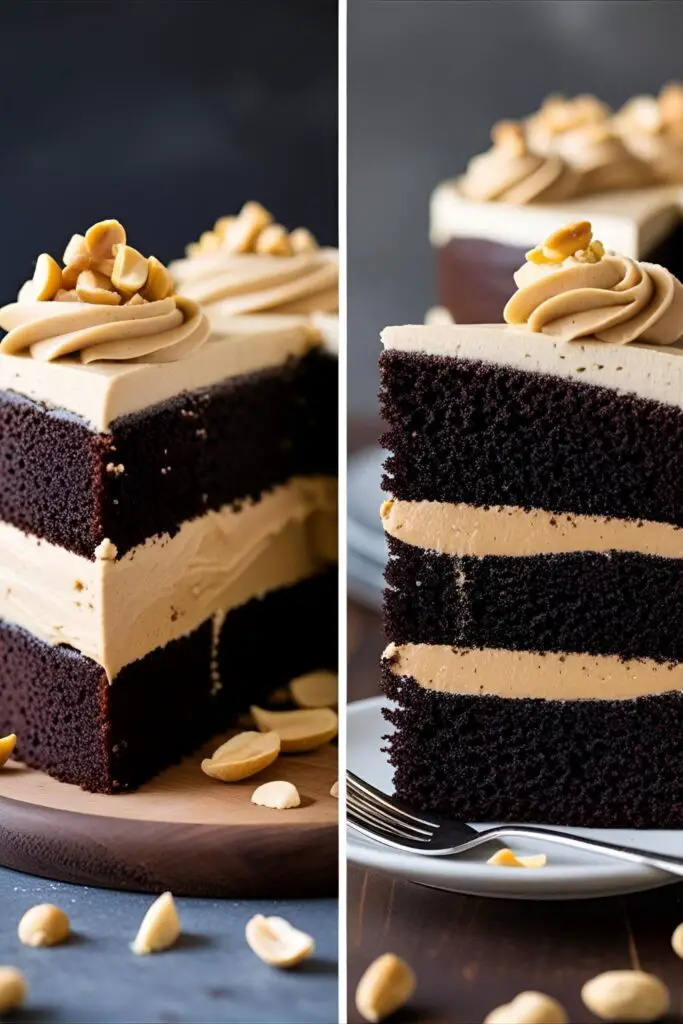
- The Peanut Butter Lover’s Dream: Is he obsessed with peanut butter? Swap the chocolate frosting between the layers with your favorite creamy peanut butter frosting. You can also add a cup of peanut butter chips to the cake batter for an extra surprise.
- Mocha Madness: For the coffee aficionado, amp up the flavor. Use strong espresso instead of regular coffee in the batter. You can also add 2 teaspoons of instant espresso powder to the chocolate frosting to create a rich mocha buttercream.
- The “Adults Only” Upgrade: Add a little kick by incorporating his favorite spirit. A quarter cup of Irish cream (like Baileys), coffee liqueur (like Kahlua), or a good bourbon added to the batter along with the coffee adds a sophisticated warmth. FYI, a splash in the frosting works wonders, too.
Your Burning Questions Answered: FAQ Section

I get it, you have questions. Let’s clear a few things up.
Can I make this cake ahead of time?
Absolutely! You can bake the cake layers up to two days in advance. Let them cool completely, then wrap them tightly in plastic wrap and store them at room temperature. You can also make the frosting a day or two ahead and store it in an airtight container in the fridge. Just let it come to room temperature and give it a good whip before using.
My chocolate cake is always dry. What am I doing wrong?
The two main culprits are over-baking and mis-measuring flour. Use the “scoop and level” method for flour (fluff it up, scoop it into your measuring cup, and level it off with a knife) to avoid packing it in. And start checking your cake for doneness a few minutes before the recipe says to. A moist crumb is what you want, not a bone-dry toothpick.
Do I have to use coffee?
You don’t have to, but you really should. You won’t taste the coffee, I promise. It just enhances and deepens the chocolate flavor, making it taste more chocolatey. If you’re dead set against it, you can use an equal amount of hot water.
How do I store leftovers?
Assuming there are any? Store the cake in an airtight container. It can stay at room temperature for a day, but for any longer, it’s best to keep it in the fridge for up to 4-5 days. Let it sit out for 20 minutes before serving to take the chill off.
Can I make these as cupcakes?
Yes! This recipe makes about 24-30 amazing cupcakes. Line your muffin tin with paper liners and fill them about 2/3 full. Bake at 350°F(175°C) for 18-22 minutes, or until a toothpick comes out clean.
Help! My frosting is too thin/thick. How do I fix it?

Easy fix! If it’s too thin, add more powdered sugar, a quarter cup at a time, until it reaches the right consistency. If it’s too thick, add more milk or cream, one tablespoon at a time.
Can I use a different size pan for this recipe?
You can, but you’ll need to adjust the baking time. For a 9×13-inch sheet cake, bake for 35-40 minutes. For three 8-inch round layers, bake for 25-30 minutes. Always rely on the toothpick test, not just the timer.
Final Thoughts
There you have it. You are now armed with a recipe so powerful it can win arguments, elicit declarations of love, and generally make you look like a domestic superstar. You didn’t just bake a cake; you created an experience. A delicious, chocolatey, unforgettable experience.
So go forth and conquer that birthday. When he takes that first bite and his eyes widen in disbelief, just give a casual shrug and say, “Oh, this old thing?” Welcome to the big leagues, baker. You’ll never go back to store-bought again.
Now, go share a picture of your masterpiece! You’ve earned the bragging rights. 🙂