Painting with acrylics can be an incredibly rewarding experience, but as a beginner, you may feel overwhelmed by the process. By exploring important techniques and understanding the unique properties of acrylic paints, you can elevate your artwork and unleash your creativity. In this guide, you’ll discover practical tips to help you achieve vibrant colors, smooth blending, and effective layering while avoiding common pitfalls. Embrace these insights to transform your painting journey and develop your skills with confidence.
Understanding Acrylic Paint
To start your journey into acrylic painting, it’s important to grasp the unique characteristics of acrylic paint. Known for its quick-drying nature and versatility, acrylics can mimic the properties of both watercolors and oils. This adaptability makes them an excellent choice for beginners, allowing you to experiment with various techniques and styles without long waiting times or complicated setups.
Types of Acrylic Paint
To effectively choose your supplies, you should familiarize yourself with different types of acrylic paint.
| Student Grade | Affordable and great for beginners. |
| Artist Grade | Higher pigment concentration for better color saturation. |
| Heavy Body | Thick texture ideal for impasto techniques. |
| Fluid Acrylics | Thin consistency perfect for fine details. |
| Interactive Acrylics | Allows for longer working time before drying. |
After you understand these types, you’ll be better positioned to select the right paints for your projects.
Choosing the Right Medium
One of the first decisions you’ll face is selecting the right medium to mix with your acrylics. The right medium can enhance your artistic expression and result in varied textures and finishes.
Also, exploring different mediums such as gloss gels, matte gels, or retarders can dramatically change your painting experience. While some mediums will speed up drying times, others can increase the workable time of your paint, allowing for more blending and layering. Caution is advised with mediums that can alter the integrity of your pigments. A well-chosen medium can elevate your artwork, making it rich and dynamic.
Essential Tools for Acrylic Painting
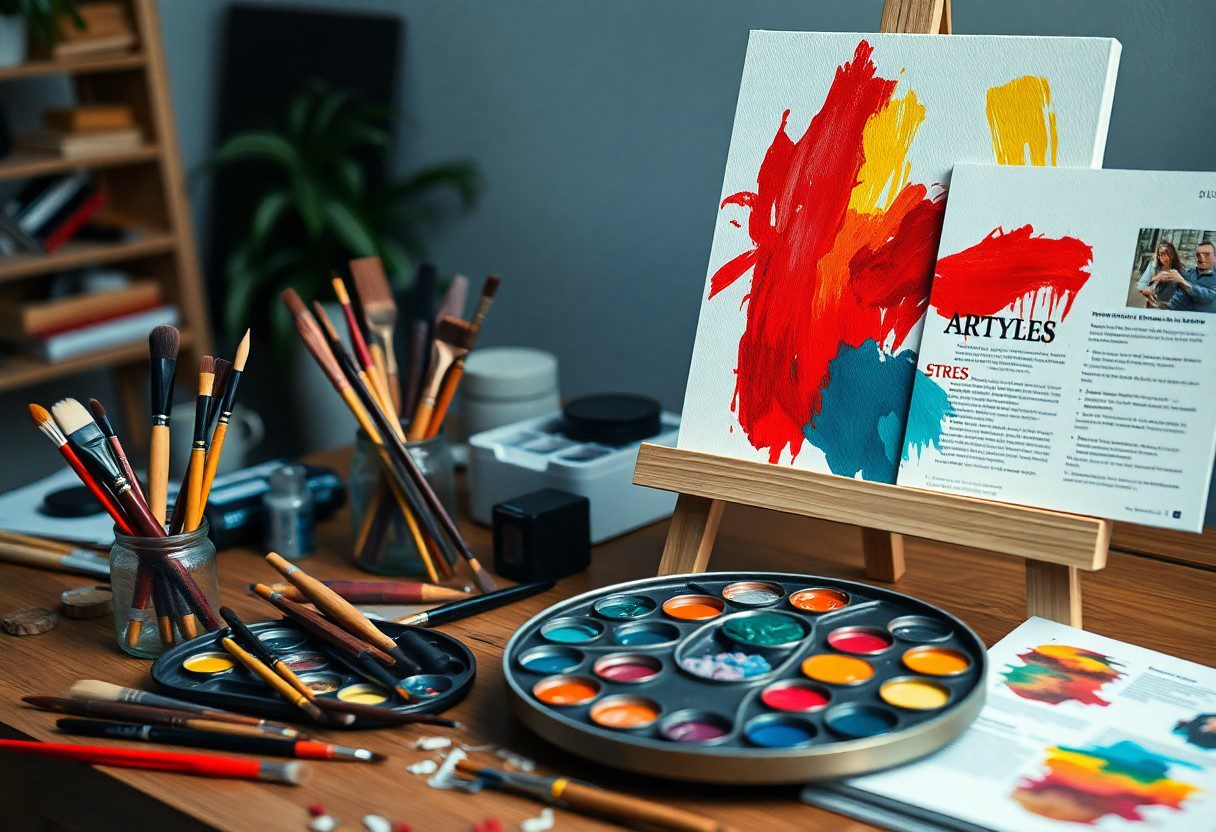
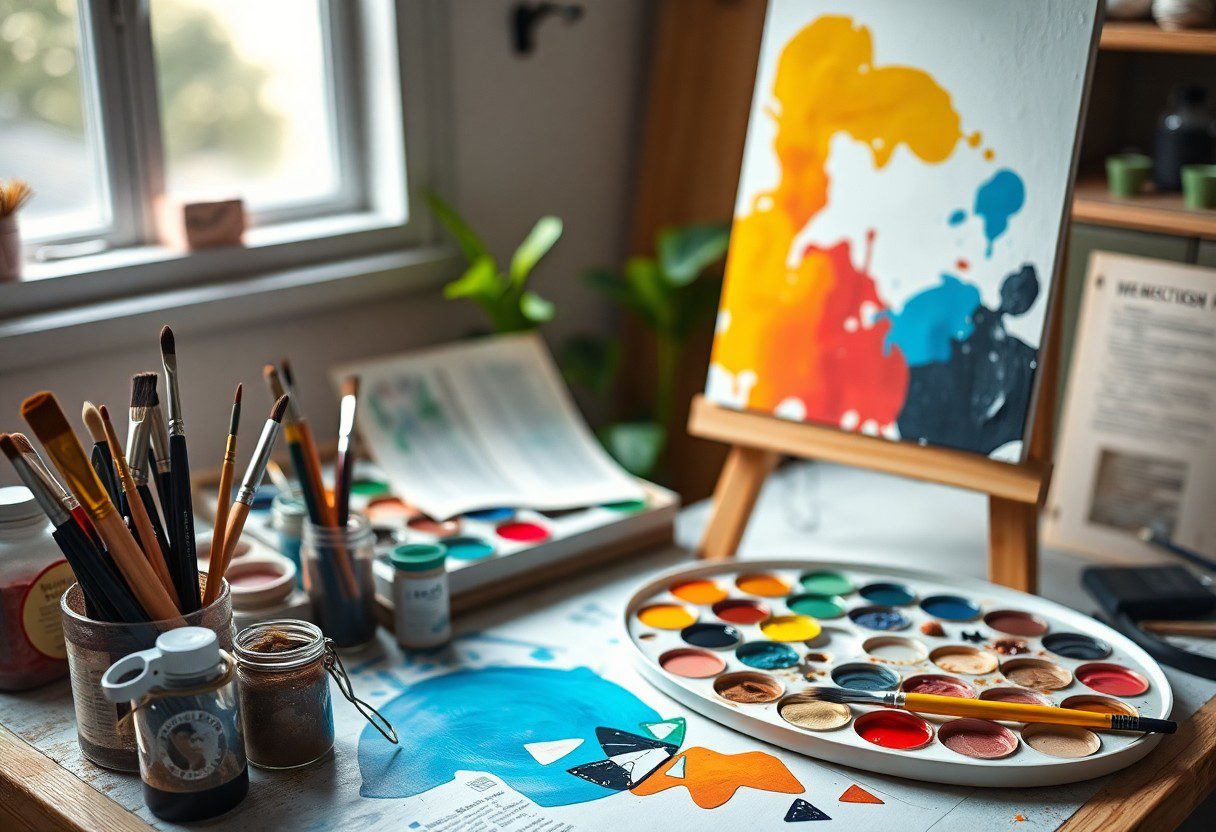
Even the best acrylic paintings begin with the right tools. To elevate your artistry, you need a selection of imperative supplies, including brushes, palettes, and surfaces. Each tool plays a vital role in your painting process, contributing to the quality and outcome of your work. By investing in the right tools, you can enhance your creativity and achieve impressive results in your acrylic painting journey.
Brushes
Essential for any acrylic artist, your brushes come in various shapes and sizes, allowing you to create different textures and effects. A good mix of flat, round, and filbert brushes will provide you with the versatility needed for detailed work, broad strokes, and blending. Don’t overlook the importance of maintaining your brushes; clean them thoroughly after each use to prolong their lifespan and performance.
Palettes and Surfaces
Behind every successful acrylic painting, the choice of palettes and surfaces significantly impacts your workflow. You should consider using a non-porous palette for easy mixing, while canvases, wood panels, or acrylic paper serve as suitable surfaces for your work. These choices will ensure that your colors remain vibrant and your techniques shine during the painting process.
Consequently, both your palette and surface play an important role in achieving your desired results. A non-absorbent palette prevents paint from drying too quickly, allowing for smooth blending and easy color manipulation. Furthermore, choosing the right surface—such as a stretched canvas or acrylic paper—can enhance paint application and adhesion. It’s imperative to understand that each surface presents unique challenges and advantages, so experimenting with different materials can help you find the perfect combination for your artistic style.
Techniques for Beginners
Any beginner artist commenceing on an acrylic painting journey should familiarize themselves with different techniques to effectively express their creativity. Techniques such as blending, layering, and creating texture are fundamental to achieving depth and character in your artwork. As you practice these methods, you will discover your unique style and gain confidence in your painting abilities. Experimentation with these techniques will help you grow as an artist and enhance your overall creative experience.
Blending and Layering
Around your palette, start mixing colors to create smooth transitions and rich layers in your work. Blending allows you to achieve softer edges and gradients, while layering adds depth. You can use a wet-on-wet technique to blend colors on the canvas or apply dry layers for more defined shapes. Exploring these methods will refine your skills and open new avenues in your acrylic art practice.
Brush Strokes and Texture
Techniques for creating brush strokes and texture can significantly enhance your acrylic paintings. Use various brush types to produce different effects, such as flat brushes for broad strokes and round brushes for fine details. Experiment with dry brushing to create texture or stippling for a more intricate design. Play with the pressure and angle of the brush, as even a slight adjustment will yield distinct results. By exploring these options, you become attuned to the medium, transforming your vision into a tactile experience.
Even the texture in your artwork can add an extraordinary component to your paintings. By using a palette knife or a sponge, you can create stunning, unexpected effects that bring your work to life. Layer your paint for added richness, and don’t shy away from using unconventional tools like old credit cards or your fingers to experiment with texture. This playful approach will not only strengthen your understanding of acrylics but also encourage you to break traditional boundaries in your artistic expression.
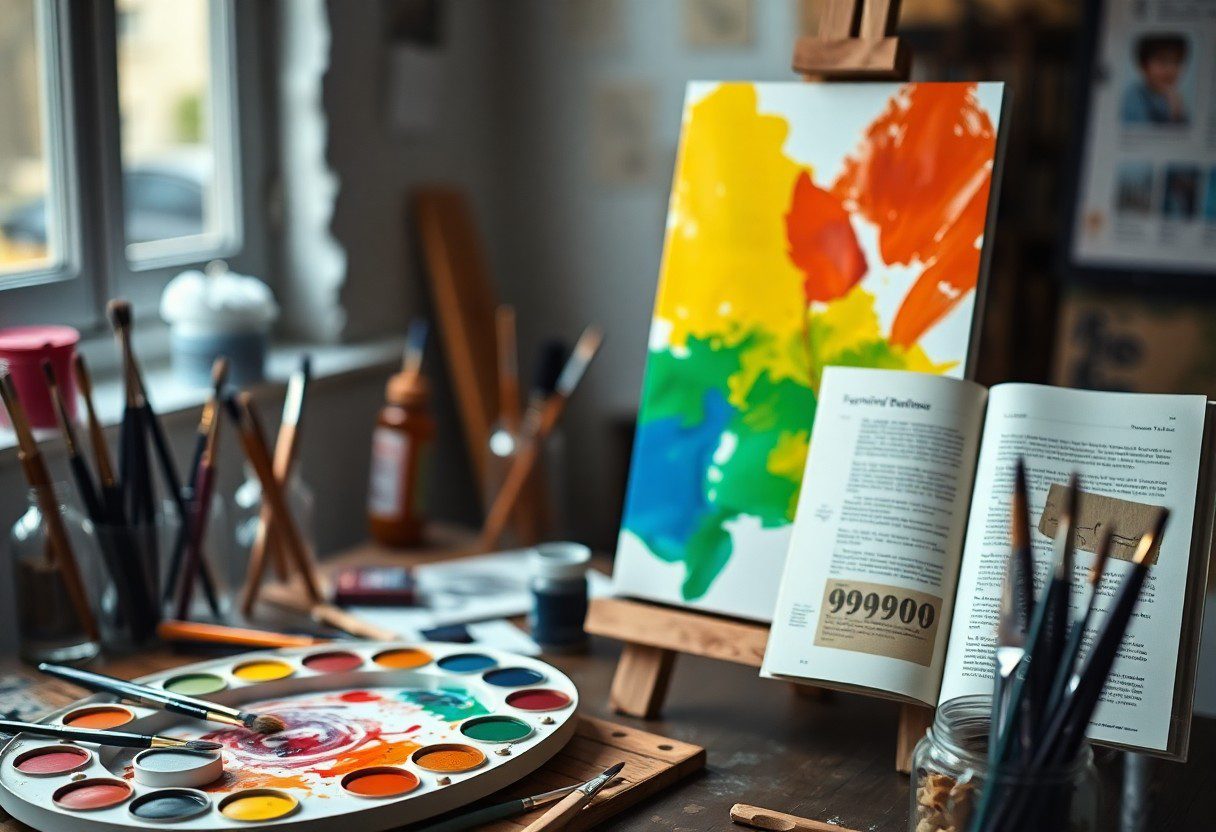
Color Mixing Basics
Many beginner artists feel overwhelmed when it comes to mixing colors. Understanding the basics of color mixing can elevate your acrylic painting skills significantly. Start by familiarizing yourself with the color wheel, which serves as a practical tool to visualize relationships between colors and enhance your creative palette.
Primary and Secondary Colors

With a grasp of primary colors—red, blue, and yellow—you can create secondary colors by mixing them. By combining these primaries, you can produce vibrant hues like purple, green, and orange, giving you a broader range of colors to work with in your paintings.
Using a Color Wheel
Across the art world, the color wheel is an indispensable guide for artists of all levels. It helps you identify complementary and analogous colors, making your color mixing more intuitive and efficient.
Colors can evoke emotions and set the tone of your artwork, so using a color wheel enables you to select harmonious color combinations that elevate your painting. When you understand the relationships between colors, you can avoid muddy mixes and achieve a clean, cohesive look in your work. Using complementary colors can create striking contrasts, while analogous colors can foster a more subtle harmony. Whether you are painting a landscape or a portrait, the color wheel is a tool that can enrich your artistic process.
Maintaining Your Painting Supplies
After investing in your acrylic painting supplies, it’s important to maintain them for longevity and performance. Proper care not only extends the life of your brushes and palettes but also improves the quality of your work. A little effort in your maintenance routine can lead to better painting experiences and results.
Cleaning Brushes and Palettes
Any artist knows the importance of cleaning brushes and palettes immediately after use. Acrylic paint dries quickly, and if left unattended, it can ruin your tools. Use warm, soapy water to thoroughly clean your brushes and palettes, ensuring no paint residue remains, as it can affect future colors.
Storing Paint Properly
The way you store your paint can significantly impact its usability and lifespan. Proper storage not only preserves the quality of your colors but also keeps your workspace organized. Ensure that your acrylic paints are tightly sealed and stored in a cool, dry place to prevent drying out and separation.
At home, consider placing your acrylic paints in a storage container with a secure lid or within a designated drawer, putting frequent access in mind. Avoid placing them in direct sunlight or areas with fluctuating temperatures, as these conditions can harm the paint consistency. Additionally, keeping paints stored upright will help minimize spill risks and ensure you can quickly locate your colors when inspiration strikes. Taking these steps will enhance your painting experience and help you achieve better results.
Overcoming Common Challenges
Despite the initial hurdles you may face as a beginner, embracing the unique qualities of acrylic paint will enhance your creative journey. With practice and perseverance, you can tackle common challenges, turning them into opportunities for growth. Whether it’s the drying time or mistakes on the canvas, understanding how to navigate these issues will boost your confidence and elevate your skills as an artist.
Dealing with Drying Time
On your artistic journey, managing the quick drying time of acrylics can feel overwhelming. To counter this, consider using a palette with a wetting agent, or simply misting your palette with water to keep the paint workable longer. Additionally, you can explore slow-drying acrylic mediums that will allow you more time to blend and manipulate your colors, giving you greater freedom to express your creativity.
Fixing Mistakes
To effectively address mistakes in your artwork, acknowledge that they are a natural part of the creative process. Rather than viewing them as setbacks, embrace them as opportunities for innovation. You can easily paint over unwanted areas with a fresh layer or use techniques like sanding or scraping to alter your canvas. Sometimes, these accidents can lead to unexpected and beautiful results that enhance the overall piece!
Due to the nature of acrylics, mistakes can be rectified swiftly and effectively. If you paint over an area that didn’t turn out as you hoped, let it dry thoroughly before applying a new layer. When scraping back paint, be gentle to avoid damaging the canvas. If you want to experiment further, you can incorporate additional textures or colors that can transform the perceived errors into creative elements. This flexibility can lead to surprising, positive outcomes in your artwork, pushing your creative boundaries while strengthening your problem-solving skills!
To wrap up
Presently, as you launch on your journey into acrylic painting, implementing these imperative tips will help enhance your skills and bring your creative vision to life. From understanding color mixing to mastering brush techniques, each practice will build your confidence and artistry. Keep experimenting and don’t fear mistakes; they are part of the learning process. By staying patient and dedicated, you’ll watch your talent flourish in ways you never imagined. Let your passion for painting guide your growth as an artist.
FAQ
Q: What are some basic supplies I need to start acrylic painting?
A: To begin acrylic painting, you will need the following supplies: a set of acrylic paints in primary colors (red, blue, yellow), a palette for mixing colors, various brushes (flat, round, and detail brushes), a canvas or acrylic paper, and a jar of water for rinsing brushes. You may also want to include a palette knife for mixing paints and paper towels or cloth for cleaning up spills.
Q: How can I achieve a smooth blend of colors in my acrylic painting?
A: To create a smooth blend, work while the paint is still wet. Use a wet brush to mix two colors directly on the canvas, starting with a small amount of each color. Use gentle, back-and-forth strokes to blend them together. You can also use a damp sponge or a soft brush to soften edges for a seamless transition. If the paint starts to dry, you can always mist it with water to help blend further.
Q: What are some effective techniques for layering in acrylic painting?
A: Layering in acrylic painting can be achieved through techniques like glazing and dry brushing. For glazing, dilute your acrylic paint with water or medium to create a translucent layer over dry paint. This enhances depth and vibrancy. Dry brushing involves using a minimal amount of paint on a dry brush to apply a thin layer of color on top of a dry base layer. Both techniques allow you to build rich, complex colors without losing the layers beneath.
Q: How do I clean and maintain my acrylic brushes?
A: Clean your acrylic brushes by rinsing them in water immediately after use. Make sure to remove all paint from the bristles; a gentle soap can be used if paint is particularly stubborn. Reshape the bristles and lay the brushes flat or hang them to dry to maintain their shape. Avoid soaking brushes in water or standing them upright in a jar, as this can damage the bristles.
Q: What tips can help me improve my acrylic painting skills?
A: To improve your acrylic painting skills, practice regularly and experiment with different techniques. Watch online tutorials and take notes on what resonates with you. Keep a sketchbook to plan your compositions and color mixes. Don’t hesitate to paint over areas that don’t meet your expectations; layering is part of the process. Finally, seek constructive feedback from fellow artists or join a local art group to gain new perspectives and insights.