3 Simple Chocolate cake Decoration Ideas That Look Insanely Professional
Let’s talk about that moment of panic. You’ve baked a beautiful chocolate cake (or, let’s be real, you bought a perfectly good one from the store—no judgment here). It smells divine. It promises to be a fudgy, glorious experience. But it just sits there on the counter, looking… naked. And now you have to make it look pretty. Suddenly, you’re having flashbacks to disastrous Pinterest fails and watching cake decorating shows that require the steady hand of a surgeon.
If you’re looking for a guide to simple chocolate cake decoration, you’ve come to the right place. Forget complex fondant sculptures, intricate piping, or anything that requires an airbrush. We’re not doing that today. Today, we are embracing the art of looking like a pastry god with minimal effort.
This is your official permission slip to skip the stress. We’re going to explore three ridiculously easy, yet stunningly beautiful, ways to dress up your chocolate cake. Ready to turn that plain brown circle into a work of art? Let’s get to it.
Why These Decoration “Recipes” Are Your New Best Friends
Seriously, why should you even bother reading on? Because these aren’t just decorating ideas; they are your ticket to baking glory without the breakdown.
- They are ridiculously easy. We’re talking “can you melt chocolate?” and “can you sprinkle things?” level of easy. There are no advanced degrees in buttercream roses required here. You genuinely cannot mess these up (okay, maybe you can, but I’ll tell you how to avoid that).
- They use minimal, simple ingredients. You won’t need a shopping list a mile long filled with specialty items like edible glitter and isomalt nibs. We’re using chocolate, cream, berries, and other things you can find at any grocery store.
- The “Wow” Factor is HUGE. These techniques are all about maximum impact for minimum effort. Your friends and family will be convinced you spent hours crafting your masterpiece. Do you have to tell them it only took you 15 minutes? Absolutely not. Let them live in awe.
The Ingredients & Tools for Your Decorating Arsenal
We’re going to break this down by technique. Pick your fighter, or get wild and combine them!
Technique 1: The Perfect Chocolate Ganache Drip

This is the little black dress of cake decorating—timeless, elegant, and always impressive.
- Ingredients:
- 8 ounces (about 1½ cups) high-quality semi-sweet or dark chocolate, finely chopped
- 1 cup heavy whipping cream
- Tools:
- A small saucepan
- A heatproof bowl
- A whisk
- A spoon or a squeeze bottle for application
Technique 2: The Rustic Berry & Shaving Crown
This technique screams “effortlessly chic farmhouse baker,” even if you live in a high-rise apartment.
- Ingredients:
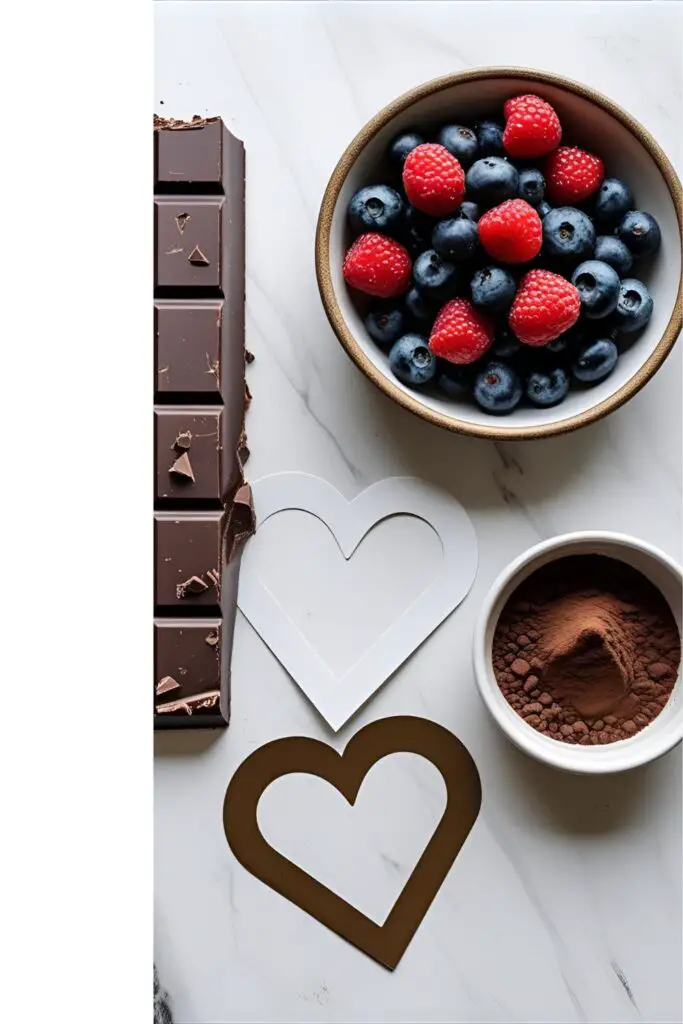
- 1 cup of fresh mixed berries (raspberries, blueberries, blackberries, and sliced strawberries work well)
- A 4-ounce bar of good quality chocolate (at room temperature)
- Optional: A few mint sprigs for a pop of green
- Tools:
- A vegetable peeler (this is the secret weapon!)
- Your hands!
Technique 3: The Modern Cocoa Powder Stencil
For the minimalist who loves clean lines and a touch of drama. This is the easiest one of all.
- Ingredients:
- 2 tablespoons unsweetened cocoa powder or powdered sugar
- Tools:
- A fine-mesh sieve or sifter
- Cake stencils (you can buy these, make them from parchment paper, or even use things like paper doilies!)
Step-by-Step Instructions: Your Path to Glory
Alright, deep breath. Your plain cake is waiting. Let’s give it the makeover it deserves. Crucial first step for all techniques: Start with a chilled, frosted cake. A cold cake is firm and will make your life infinitely easier.
Technique 1: The Perfect Chocolate Ganache Drip
- Chop & Heat: Finely chop your chocolate and place it in a heatproof bowl. In a small saucepan, heat the heavy cream until it just starts to simmer around the edges. Don’t let it boil!
- Melt & Wait: Pour the hot cream directly over the chopped chocolate. Let it sit, untouched, for 5 minutes. This allows the hot cream to gently melt the chocolate without scorching it.
- Whisk to Perfection: After 5 minutes, gently whisk the mixture starting from the center and working your way out. It might look separated at first, but keep whisking! It will magically transform into a smooth, glossy, liquid dream.
- The All-Important Cool Down: Now, you have to let the ganache cool. It needs to be thick enough to cling to the cake but thin enough to drip. This usually takes about 15-20 minutes at room temperature. It should feel slightly warm, not hot.
- Let it Drip! Using a spoon or a squeeze bottle, apply the ganache around the top edge of your chilled cake. Push a small amount over the edge and let gravity do the work. Continue around the entire cake, then pour the remaining ganache in the center and spread it to meet the edges. Voila!
Technique 2: The Rustic Berry & Shaving Crown
- Make it Shave: Take your room-temperature chocolate bar and a vegetable peeler. Pull the peeler firmly along the flat side of the chocolate bar. You’ll create beautiful, delicate chocolate curls and shavings. Don’t aim for perfection; rustic is the whole point.
- Create a Mound: Gently pile the chocolate shavings in the center of your cake. Create a nice, generous mound.
- Arrange the Berries: Now, artfully arrange your fresh berries on and around the chocolate shavings. I like to create a crescent moon shape on one side, but a simple pile in the middle looks great too.
- Finishing Touches: Add a few mint sprigs for color and freshness. You’re done. Seriously, that’s it. It probably took you less time than it took to read this.
Technique 3: The Modern Cocoa Powder Stencil
- Choose Your Design: Select your stencil. You can create stripes with strips of parchment paper, a heart shape, or use a pre-made cake stencil.
- Position the Stencil: Gently lay the stencil on the surface of your chilled, frosted cake. Make sure it’s lying flat.
- Sift & Cover: Hold your fine-mesh sieve over the stencil and generously tap cocoa powder (or powdered sugar for a high-contrast look) over the design. Ensure you have an even, solid layer.
- The Grand Reveal: This is the most critical part. Carefully and slowly lift the stencil straight up. Try not to slide it, or you’ll smudge your beautiful, crisp design. Admire your work, you modern art genius.
The Calorie Question (Aka, “How Much Damage Are We Doing?”)

Since these are just toppings, the nutritional info is an add-on to your cake. These are rough estimates per slice (assuming a 12-slice cake).
- Ganache Drip: Adds approximately 100-150 calories per slice. It’s mostly glorious fat and sugar.
- Berry & Shaving Crown: Adds approximately 50-80 calories per slice. FYI, this is the “healthiest” option, thanks to the fruit.
- Cocoa Powder Stencil: Adds… basically nothing. Maybe 5 calories? It’s pure decoration, making it the clear winner if you’re counting.
Common Mistakes to Avoid (Or, How Not to Mess It Up)
Even simple things can go wrong. Here’s how to stay on the path of righteousness.
- Using Hot Ganache: If your ganache is too hot, it will slide right off the cake and pool at the bottom in a sad puddle. It might even melt your frosting. Patience is key. Let it cool until it’s just barely warm.
- Using Cold Chocolate for Shavings: If your chocolate bar is straight from the fridge, it won’t curl. It will just splinter into sad little bits. Room temperature chocolate is your friend.
- Smudging the Stencil: When lifting your stencil, go straight up. Don’t drag it sideways. A clean lift equals a clean design.
- Overcrowding the Berries: Less is more. You want to see the beautiful cake and shavings underneath. Don’t cover the entire surface with a fruit salad.
Variations & Customizations (Because You’re Fancy)

Feeling creative? Good. Here are a few ways to level up these simple ideas.
- White Chocolate Wonder: Use white chocolate for any of these techniques! A white chocolate ganache drip on a dark chocolate cake is stunning. White chocolate shavings also provide a beautiful contrast.
- Go Nuts: Instead of (or in addition to) berries, use toasted, chopped nuts. Pistachios add a gorgeous green color, while toasted hazelnuts or almonds add a sophisticated crunch.
- Candy Bar Chaos: This one is pure fun. Roughly chop up your favorite candy bars—Snickers, Reese’s Cups, Kit Kats, Twix—and pile them in the center of the cake after your ganache drip has set. It’s decadent, a little chaotic, and always a crowd-pleaser.
Frequently Asked Questions (The Stuff You Really Want to Know)
Let’s knock out those lingering questions.
1. Should I decorate a cake when it’s cold or at room temperature? Cold, cold, cold! A chilled cake is your best friend. The frosting will be firm, making it easier to handle and preventing smudges. A cold cake also helps set a ganache drip perfectly.
2. How far in advance can I decorate a chocolate cake? For the ganache and stencil methods, you can decorate it a day ahead and store it in the fridge. For the berry crown, it’s best to add the berries and shavings just a few hours before serving to keep them looking fresh.
3. What’s the best kind of chocolate to use? For ganache, use baking chocolate bars (like Ghirardelli or Baker’s) or high-quality chocolate chips/callets. For shavings, a simple bar like a Hershey’s or Cadbury bar at room temp works great because of its softness.
4. My ganache drip is too runny/thick! Help! If it’s too runny, it’s too warm. Let it cool longer. You can pop it in the fridge for 5-minute bursts, stirring in between, to speed things up. If it’s too thick, gently warm it over a double boiler or in the microwave in 10-second intervals, stirring until it loosens up.

5. How do I get super clean lines with my stencil? A chilled cake surface is key. Also, ensure your stencil is lying completely flat against the frosting. Lift straight up, and don’t try to reuse a stencil without cleaning it first, as the powder on the bottom can smudge.
6. Can I use these decoration ideas on other cakes, like vanilla or red velvet? Absolutely! All three of these techniques are incredibly versatile and look fantastic on almost any kind of cake. A dark cocoa powder stencil on a white vanilla buttercream is especially dramatic.
7. How do I transport a decorated cake without ruining it? A cake carrier is your best bet. If you don’t have one, use a box that is taller than the cake. To prevent it from sliding, put a dab of frosting or a piece of non-slip shelf liner on the bottom of the box before placing your cake plate inside. Drive like you’re transporting a member of the royal family.
Final Thoughts
See? That wasn’t so scary, was it? You are now officially armed with three foolproof methods for turning any boring cake into a certified showstopper. The world of simple chocolate cake decoration is your oyster.
So go ahead, grab that cake, and give it the glow-up it deserves. You’ll not only impress your guests, but you’ll also get that satisfying feeling of having created something beautiful with your own two hands. And TBH, that feels even better than the first bite. Almost.